Using FlashCards in a Course
Flashcards are an excellent addition to course content! Including Flashcard modules in a course offers learners an interactive and engaging method to review and retain information. By utilizing flip cards that feature both text and images, learners can enjoy a multi-modal learning experience that enhances understanding and memory retention. Key benefits include:
- Interactive Learning: Flash Cards provide an interactive learning experience where learners can actively engage with the content by flipping cards to reveal text and images.
- Visual Learning: Incorporating images alongside text helps cater to different learning styles, making the content more accessible and memorable for learners.
- Self-Paced Review: Learners can review the Flash Cards at their own pace, allowing them to focus on areas where they need additional reinforcement.
- Retention Enhancement: The repetitive nature of reviewing Flash Cards helps reinforce learning and improve retention of key concepts and information.
- Attractive Learning Model: The visually appealing nature of Flip Cards makes learning more attractive and enjoyable for learners, potentially increasing motivation and engagement.
By integrating Flash Card modules into course, you can provide learners with a dynamic and effective tool for learning and revision, enhancing their overall learning experience and academic success.
In this guide, we'll go over how to create a Flash Cards module, and what the learner will experience.
Creating a Flash Cards Module
Let's now go through how to create a Flash Cards Module!
-
From the Admin Dashboard, select Courses, then choose Flash Cards under the Modules header.

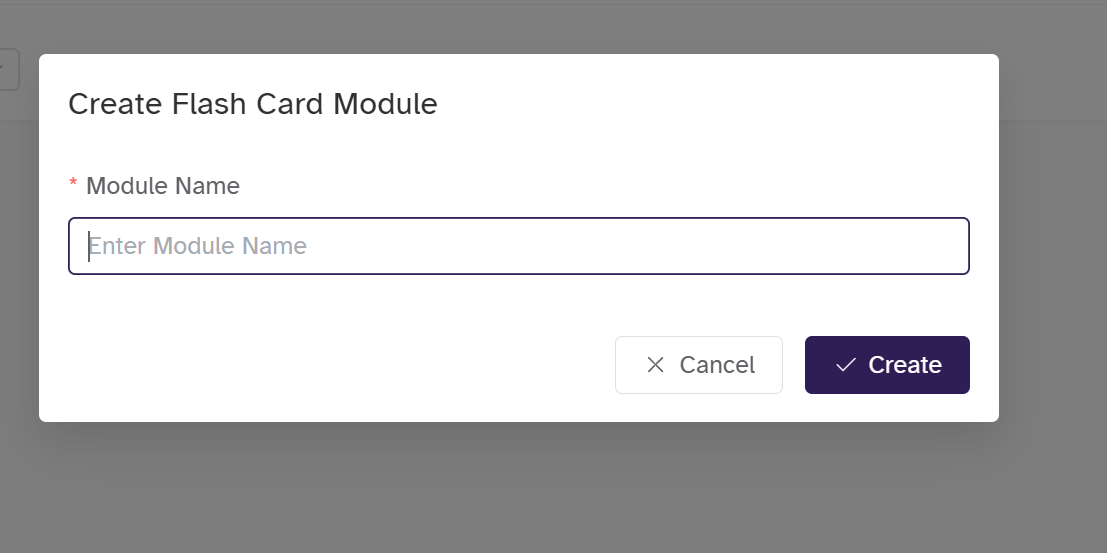
Click Create Flash Cards Module. A pop-up window will appear. Enter the Module Name, then click Create to add the Flash Cards module.
Edit Flash Cards Module
After creation, it will be redirected to the Edit Flash Card Module page, where settings are configured and flash card can be added.
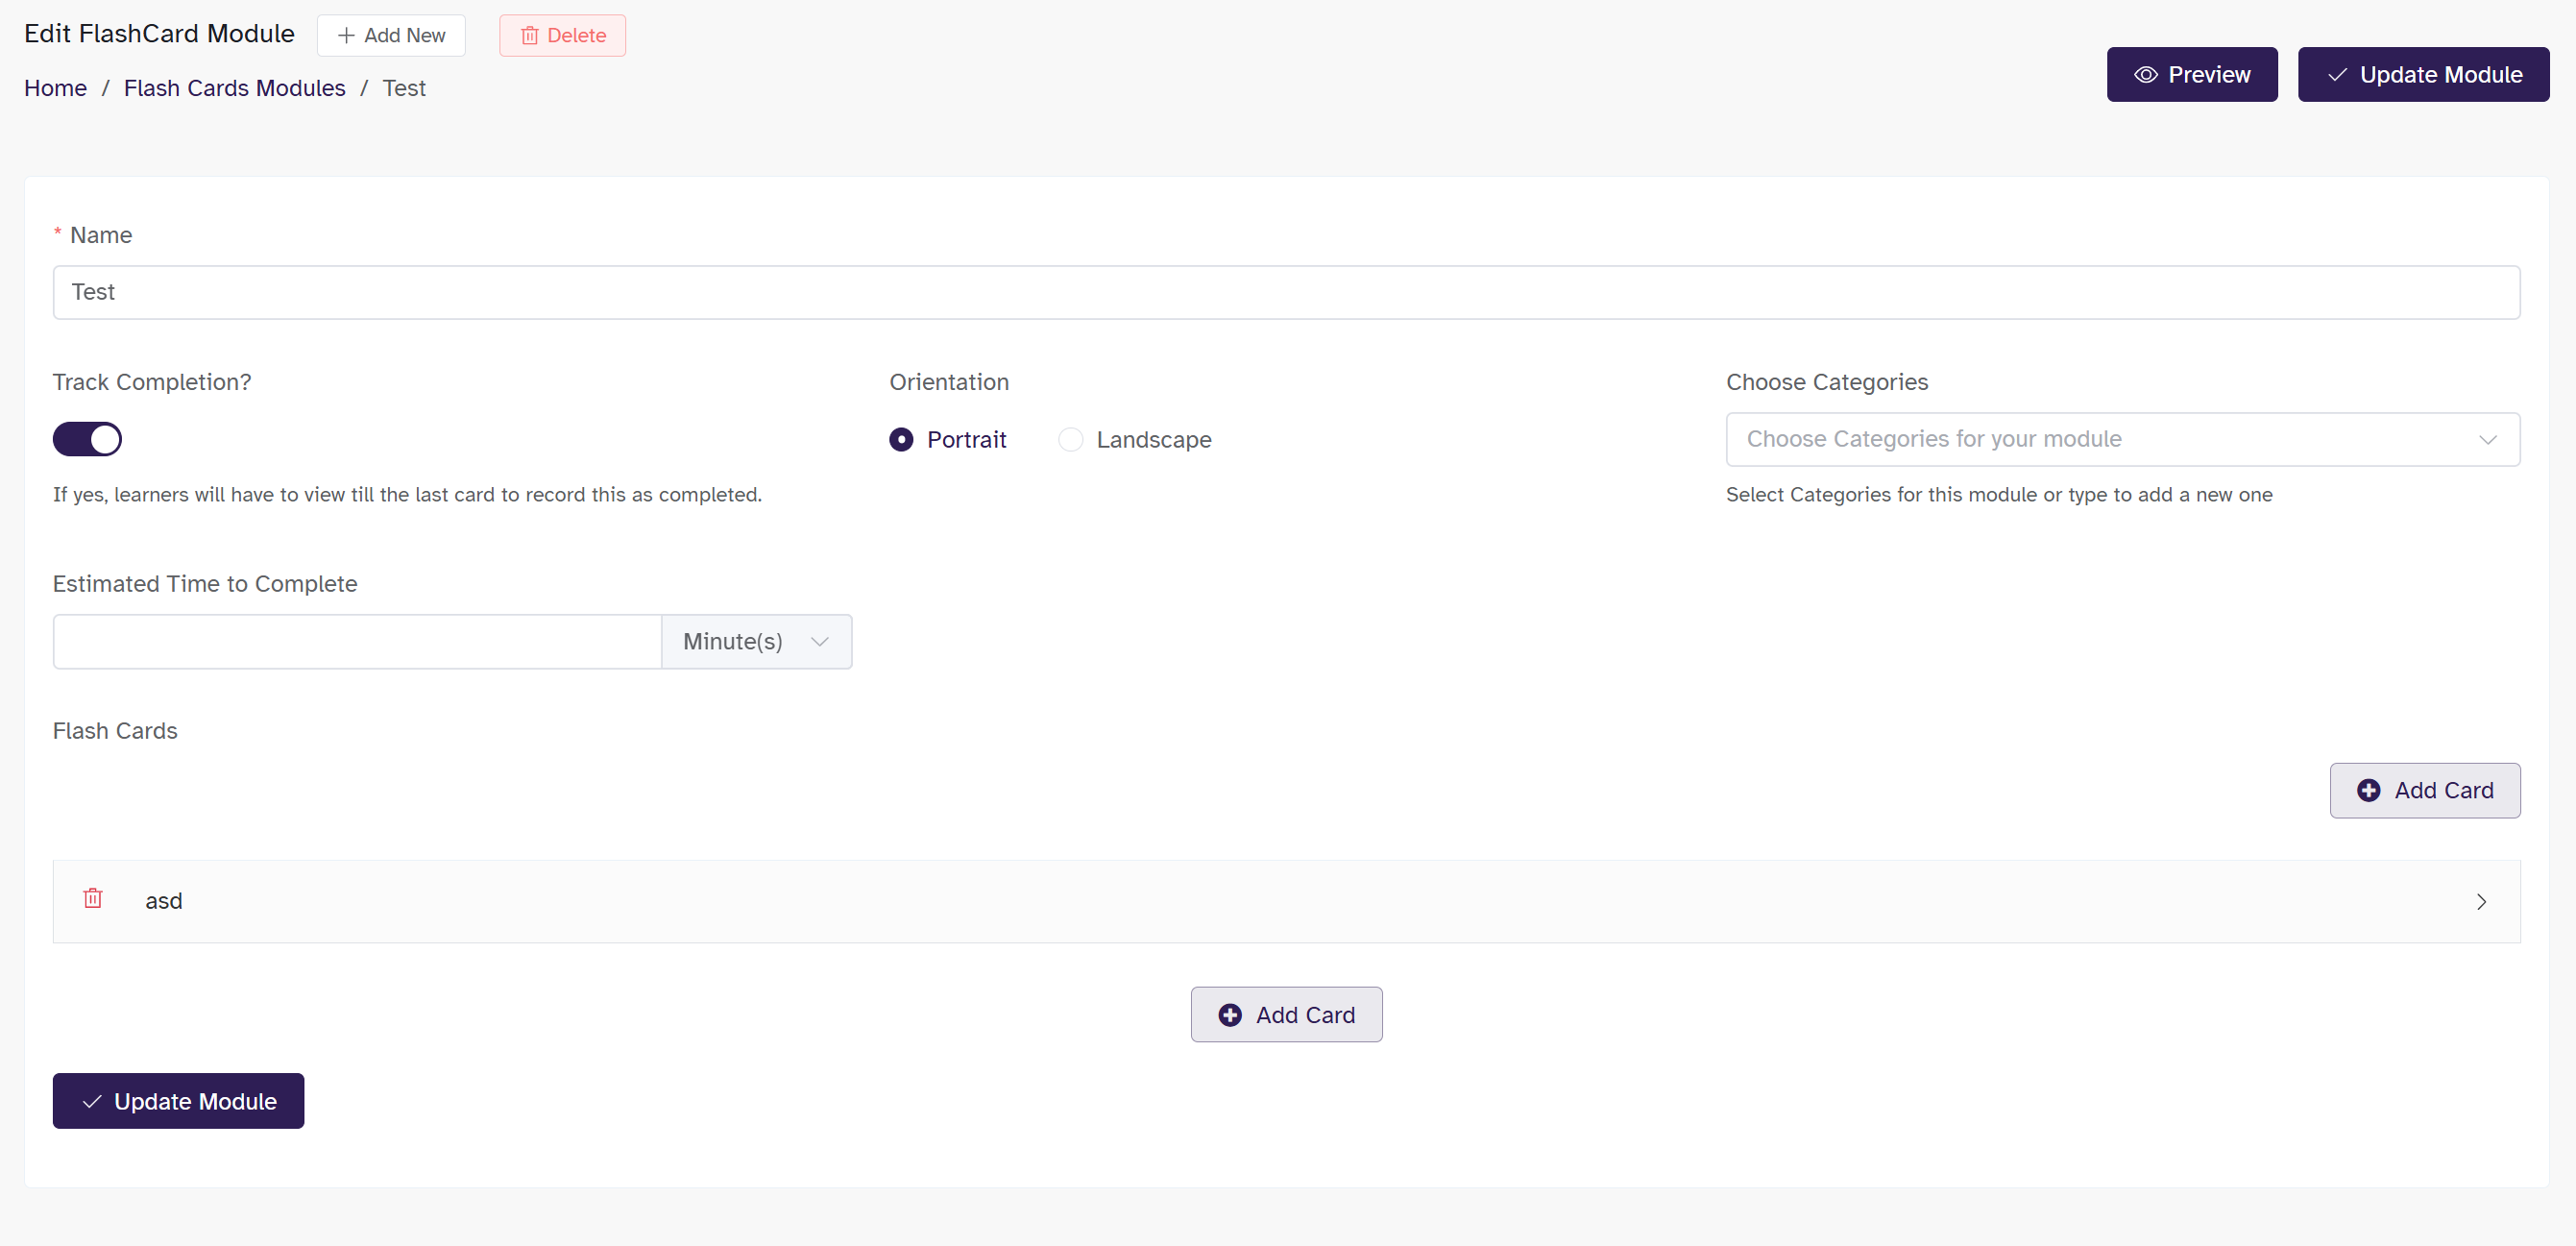
- Enabling Track Completion? will ensure that the learner must view all flash cards to complete the module.
- Select the orientation for the Flash Cards (Portrait/Landscape)
- Choose a category (optional), you can add a category if you wish to use this module as part of a Membership.
- You can set an estimated time to complete the module, which indicates the ideal amount of time required to finish it.
- Click on Add Card under Flash Cards
-
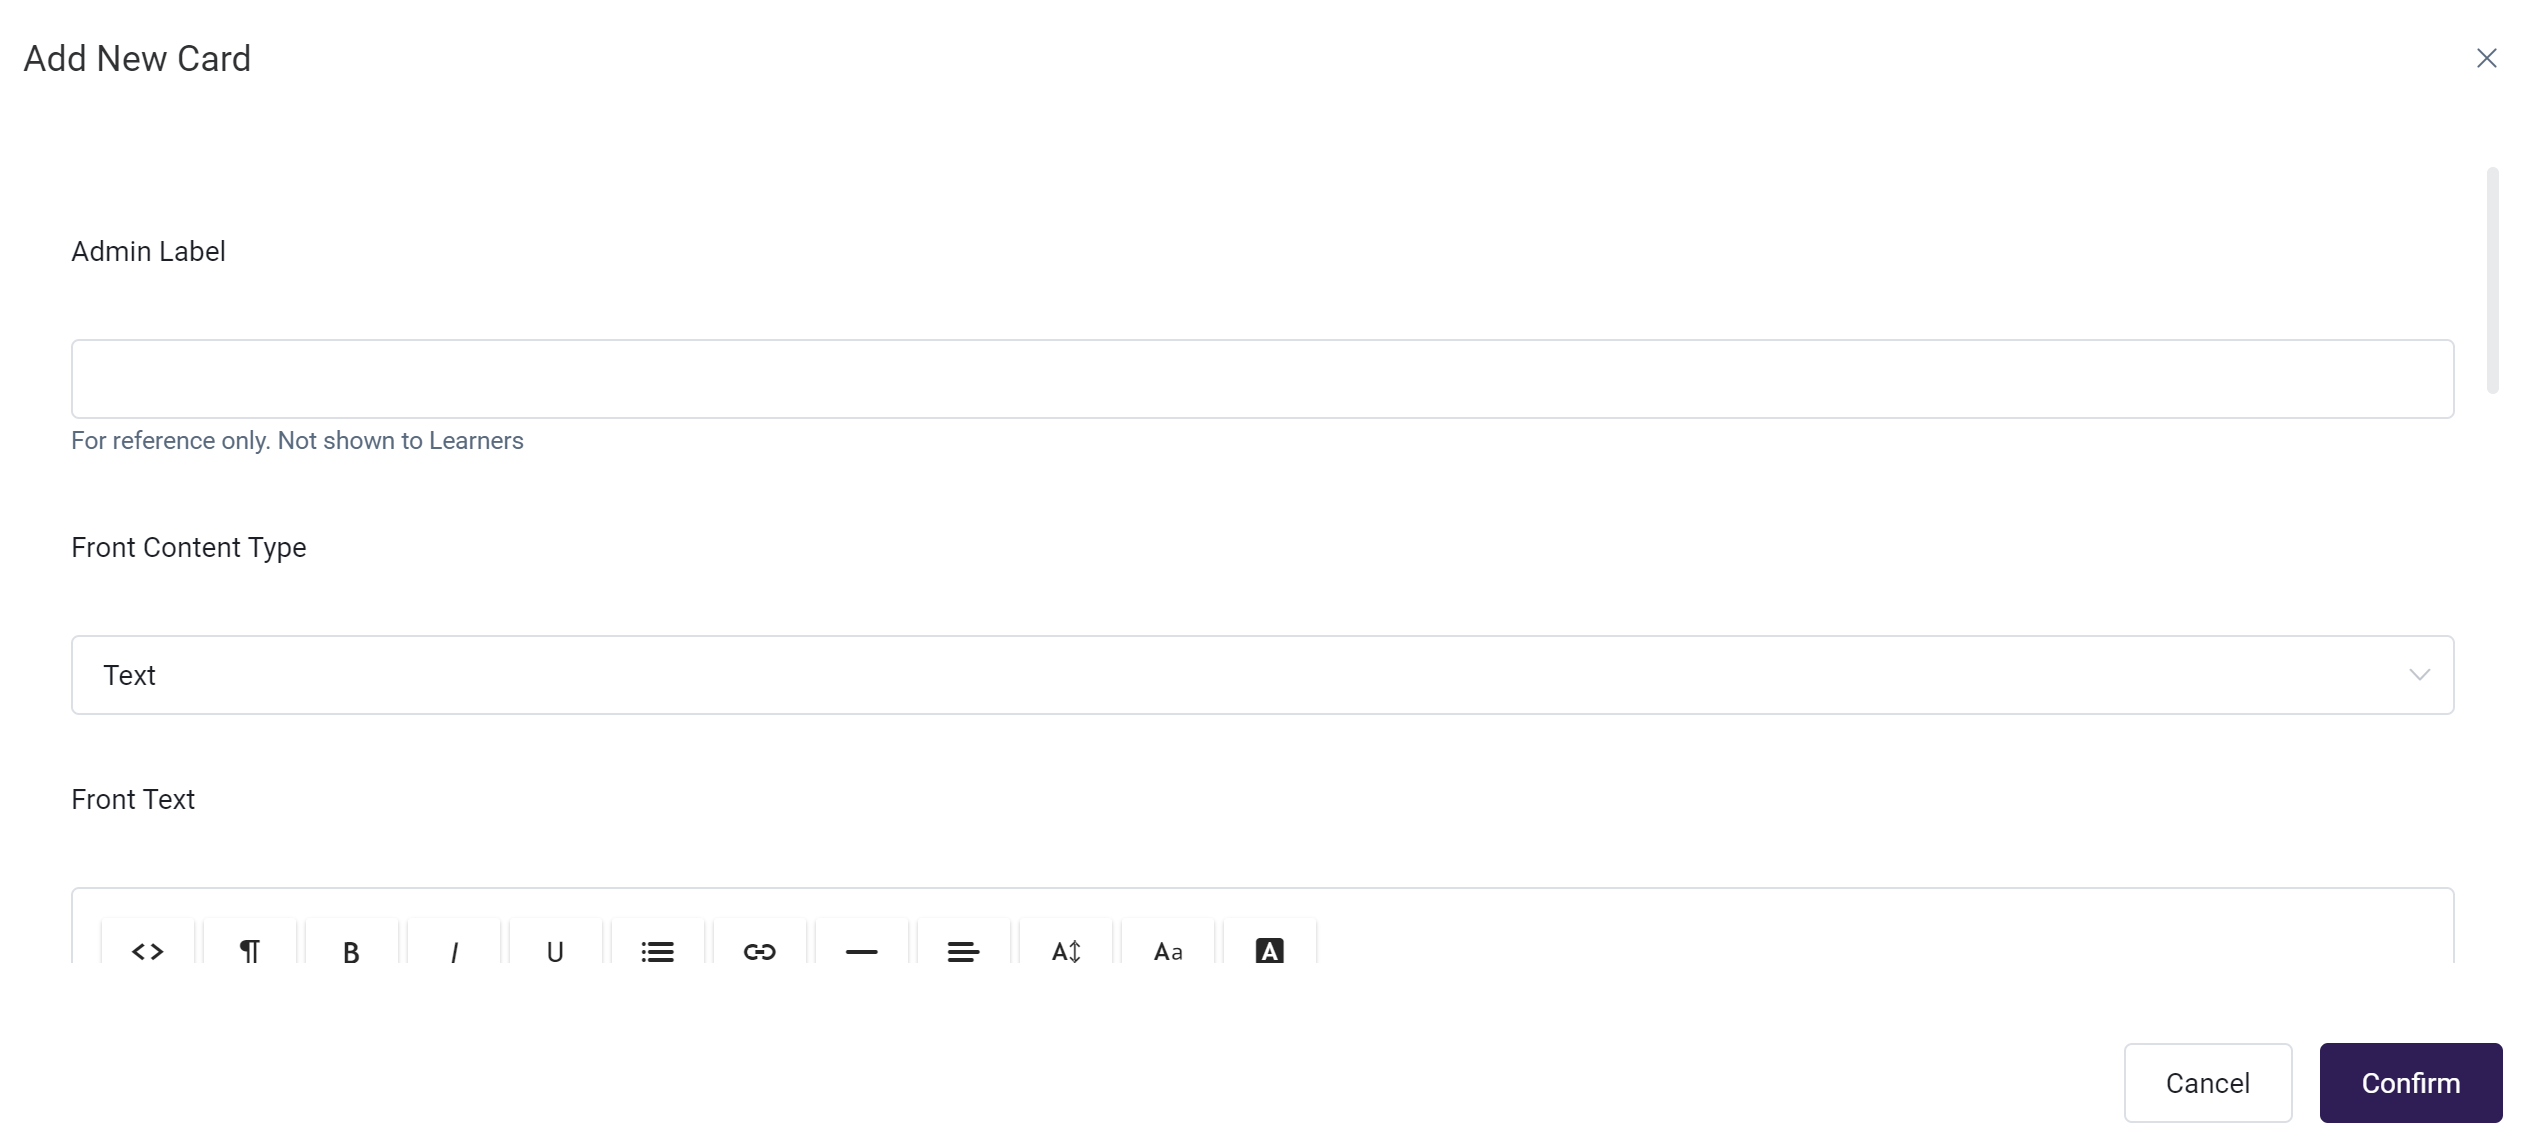
Fill in all the details mentioned below
Admin Label: Any number or alphabet or blank also works
Front Content Type : Select content type either Text or Image from the dropdown

Front Text: Enter the text which should be displayed in front card.
Front Text Color: Select text color for frontside of the card and click ok.
Front Background Color: Select background color of front card and click ok.
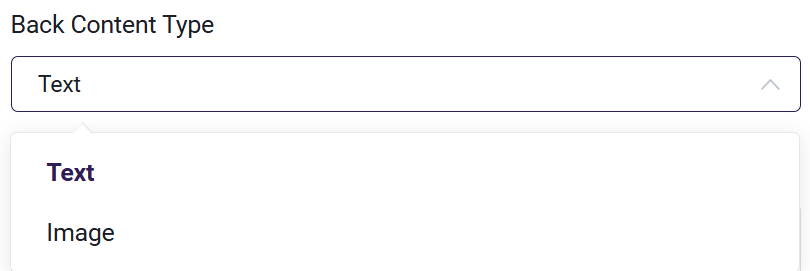
Back Content Type: Select Content type for back side of the card.
Back Text Color: Select text color for backside of the card and click ok.
Back Background Color: Select background color of back side of card and click ok.
Back Image: Select the Image you need display on back side of the card.
-
By following these steps, you'll be able to seamlessly add cards to the Flash card module

-
Click on Save Module button to save the Flash card module which can be used in courses.

-
Look for the "Preview" button and click on it to see the cards you've added

-
Users can easily review the number of cards added and navigate through them using the provided navigation options.
-
On each card, you'll have the option to flip (icon in below screenshot) it to see either images or text that you've fed into the system.

Adding a Flash Card Module to a Course
Now that your module has been created, you can add it to the Course or Courses so that it is accessible to learners:
-
From the Admin Dashboard, choose Courses, then All Courses
-
Find the Course you want to add the Module to, and click the three-dot action menu. Select Edit
-
Click the Step 2: Curriculum tab
-
Click "Add Module" and then opt to "Select an existing module from the list"
- search the drop-down menu for your Module name, and select it.
- Once the Module is added to the bottom of your course list, you have the option of entering the Edit Module page to make changes to its content or removing the module from the course.
-
You have the option to:
- Lock the Module, which forces a learner to complete it before being able to move on to the next module in the course.
- Set the availability of the Module, which allows you set a date when the module will be available to a learner. This gives an Admin or Instructor the control to make modules available to learners over time or to restrict a learner from completing the course too quickly.
- You can also set a minimum amount time spent in the module that the learner must abide by in the Module before being allowed to move on to the next module.
- You can also assign badges or points for each module . This option to assign Badge or Points will only be available if Gamification is enabled from the gamification section under Settings.
-
Save your course changes by clicking Update Course in the upper right corner.
Please see this guide for the full details of Creating and Updating a Course.
Learner Experience of a Flash Card Module
Learners will view your flash card slides from inside the Module.
The Module heading will still contain the Course controls, and the timer will be visible.
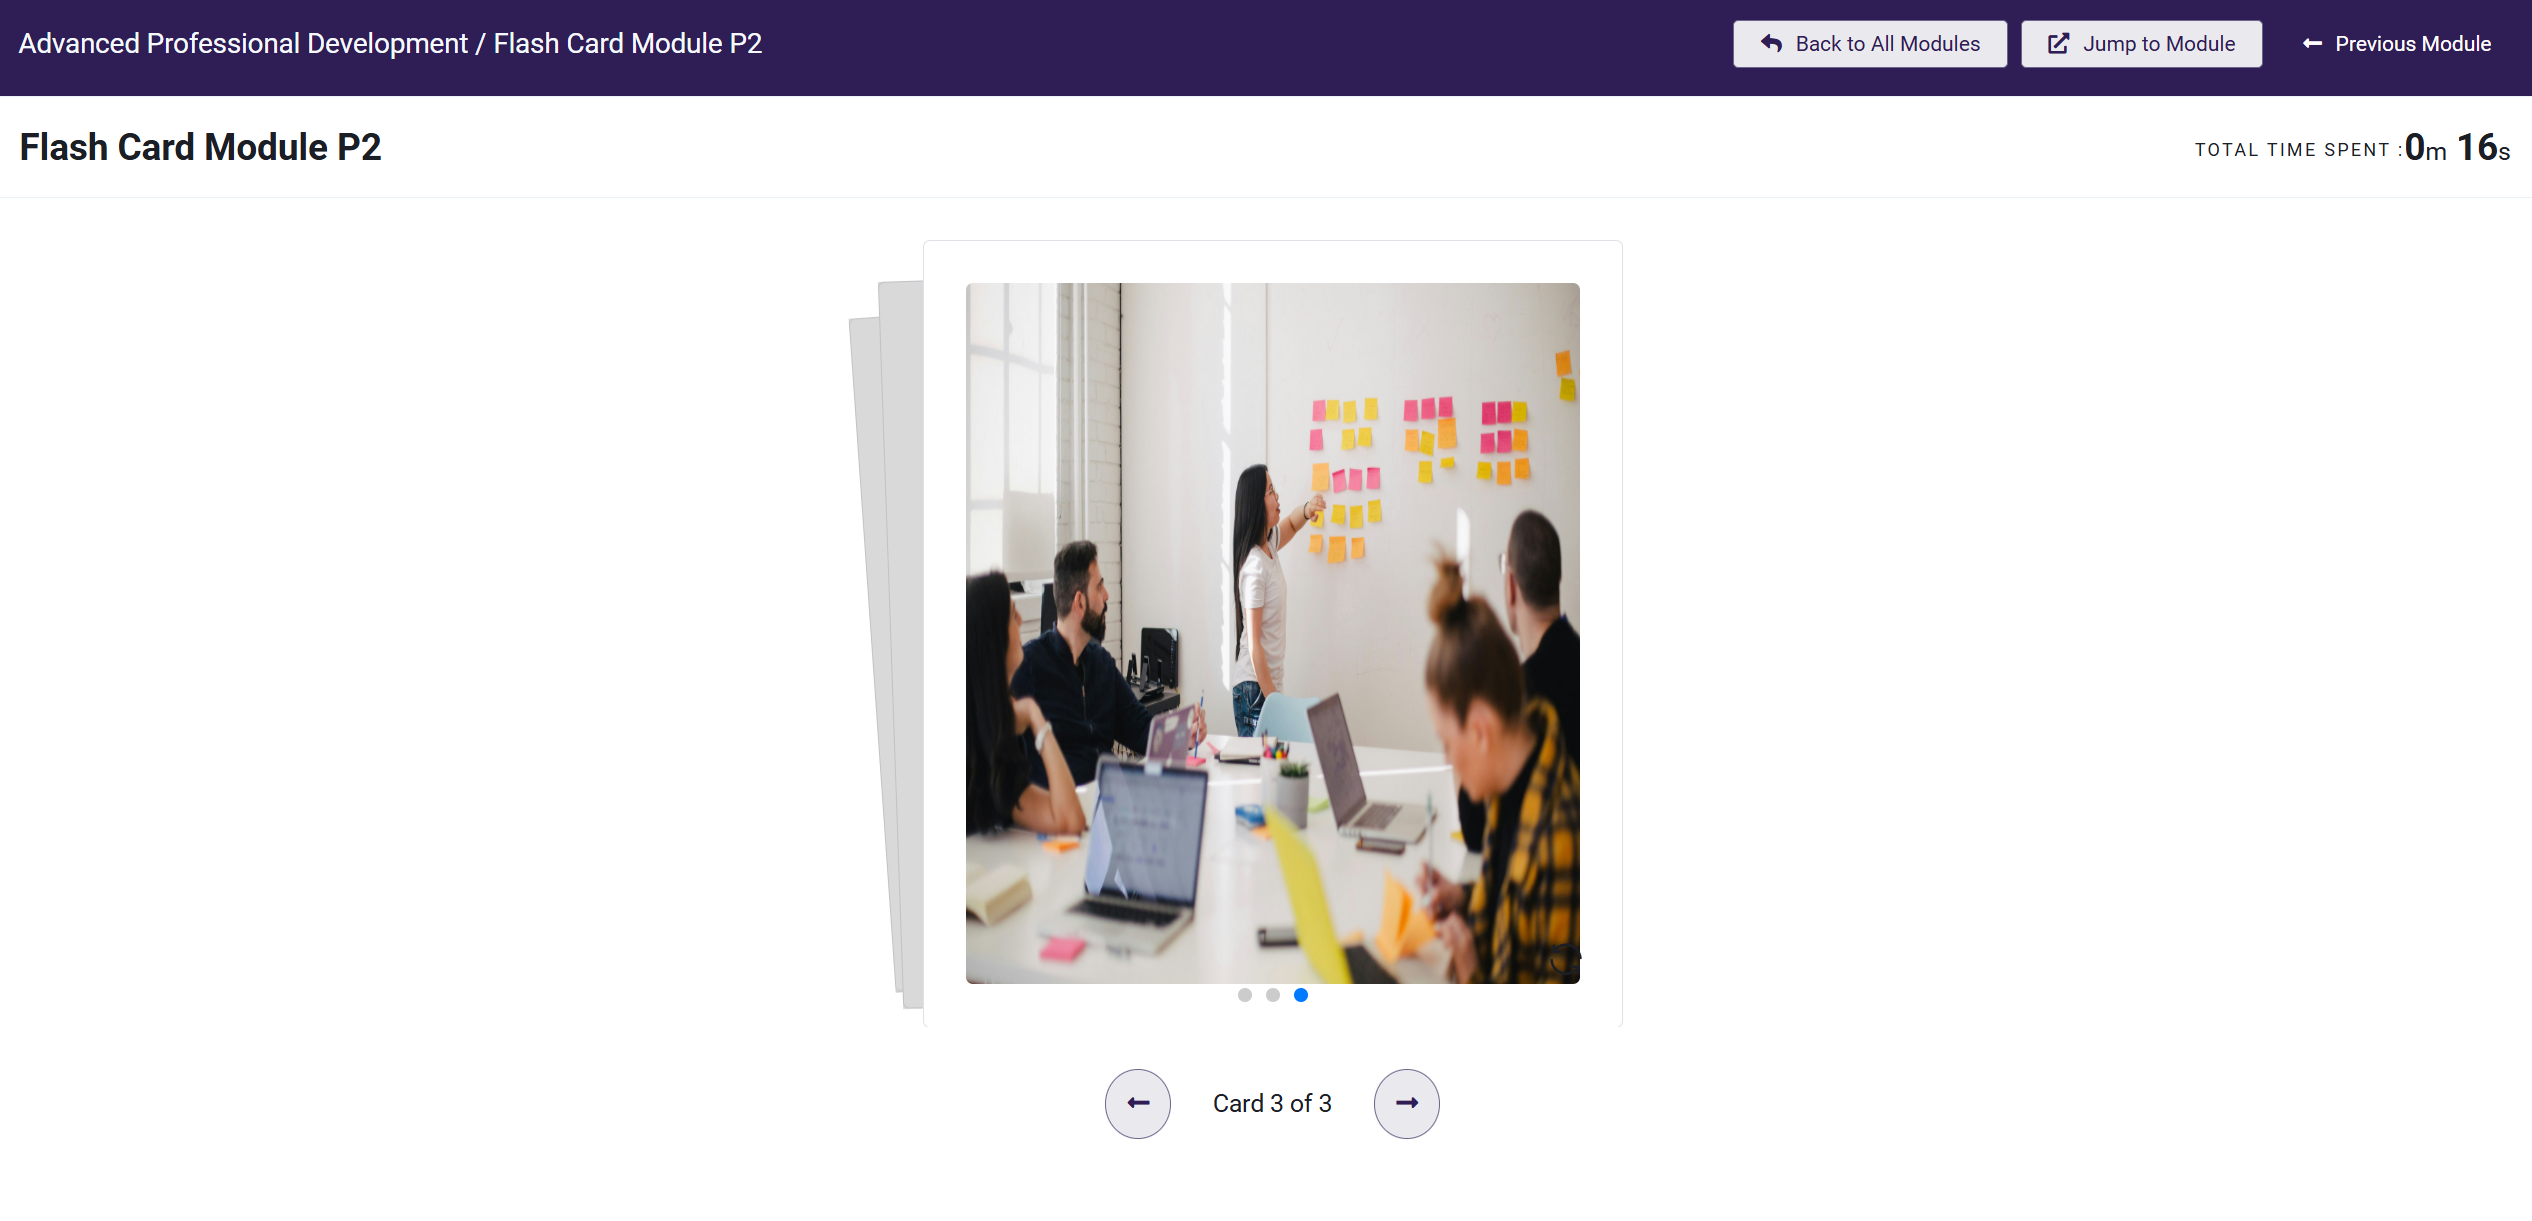
When the Module has been completed, the learner will be able to advance to the next module in the Course.