Using PDFs in a Course
PDF is a file format used for exchanging content. It ensures that documents, forms, and images in PDF format are displayed accurately on any device, including smartphones and tablets. To share course content as a PDF, you can create a PDF Module and add it to your course for direct access by learners.
This guide covers PDF best practices, the steps to create a PDF module, and an overview of the learner experience with a PDF module in a course.
PDF Best Practices
We have a few tips for the PDF file that you choose to upload, and how to display it:
- We discourage the use of extremely large PDF files. We have found that learners react more positively if a PDF file is limited to roughly 30 pages. Large files can also have problems loading in certain browsers, or at certain connection speeds. With that in mind, if you have a file larger than 30 pages, we recommend splitting it into smaller files, and creating multiple PDF modules.
- When a PDF file is displayed within the module, the learner will have controls to zoom in or out, but you may want to adjust the text size within the PDF file before you upload it to ensure easy readability.
Creating a PDF Module
Once you have your PDF file ready, create the PDF module using these steps:
-
From the Admin Dashboard, select Courses, then PDF under the Modules header
-
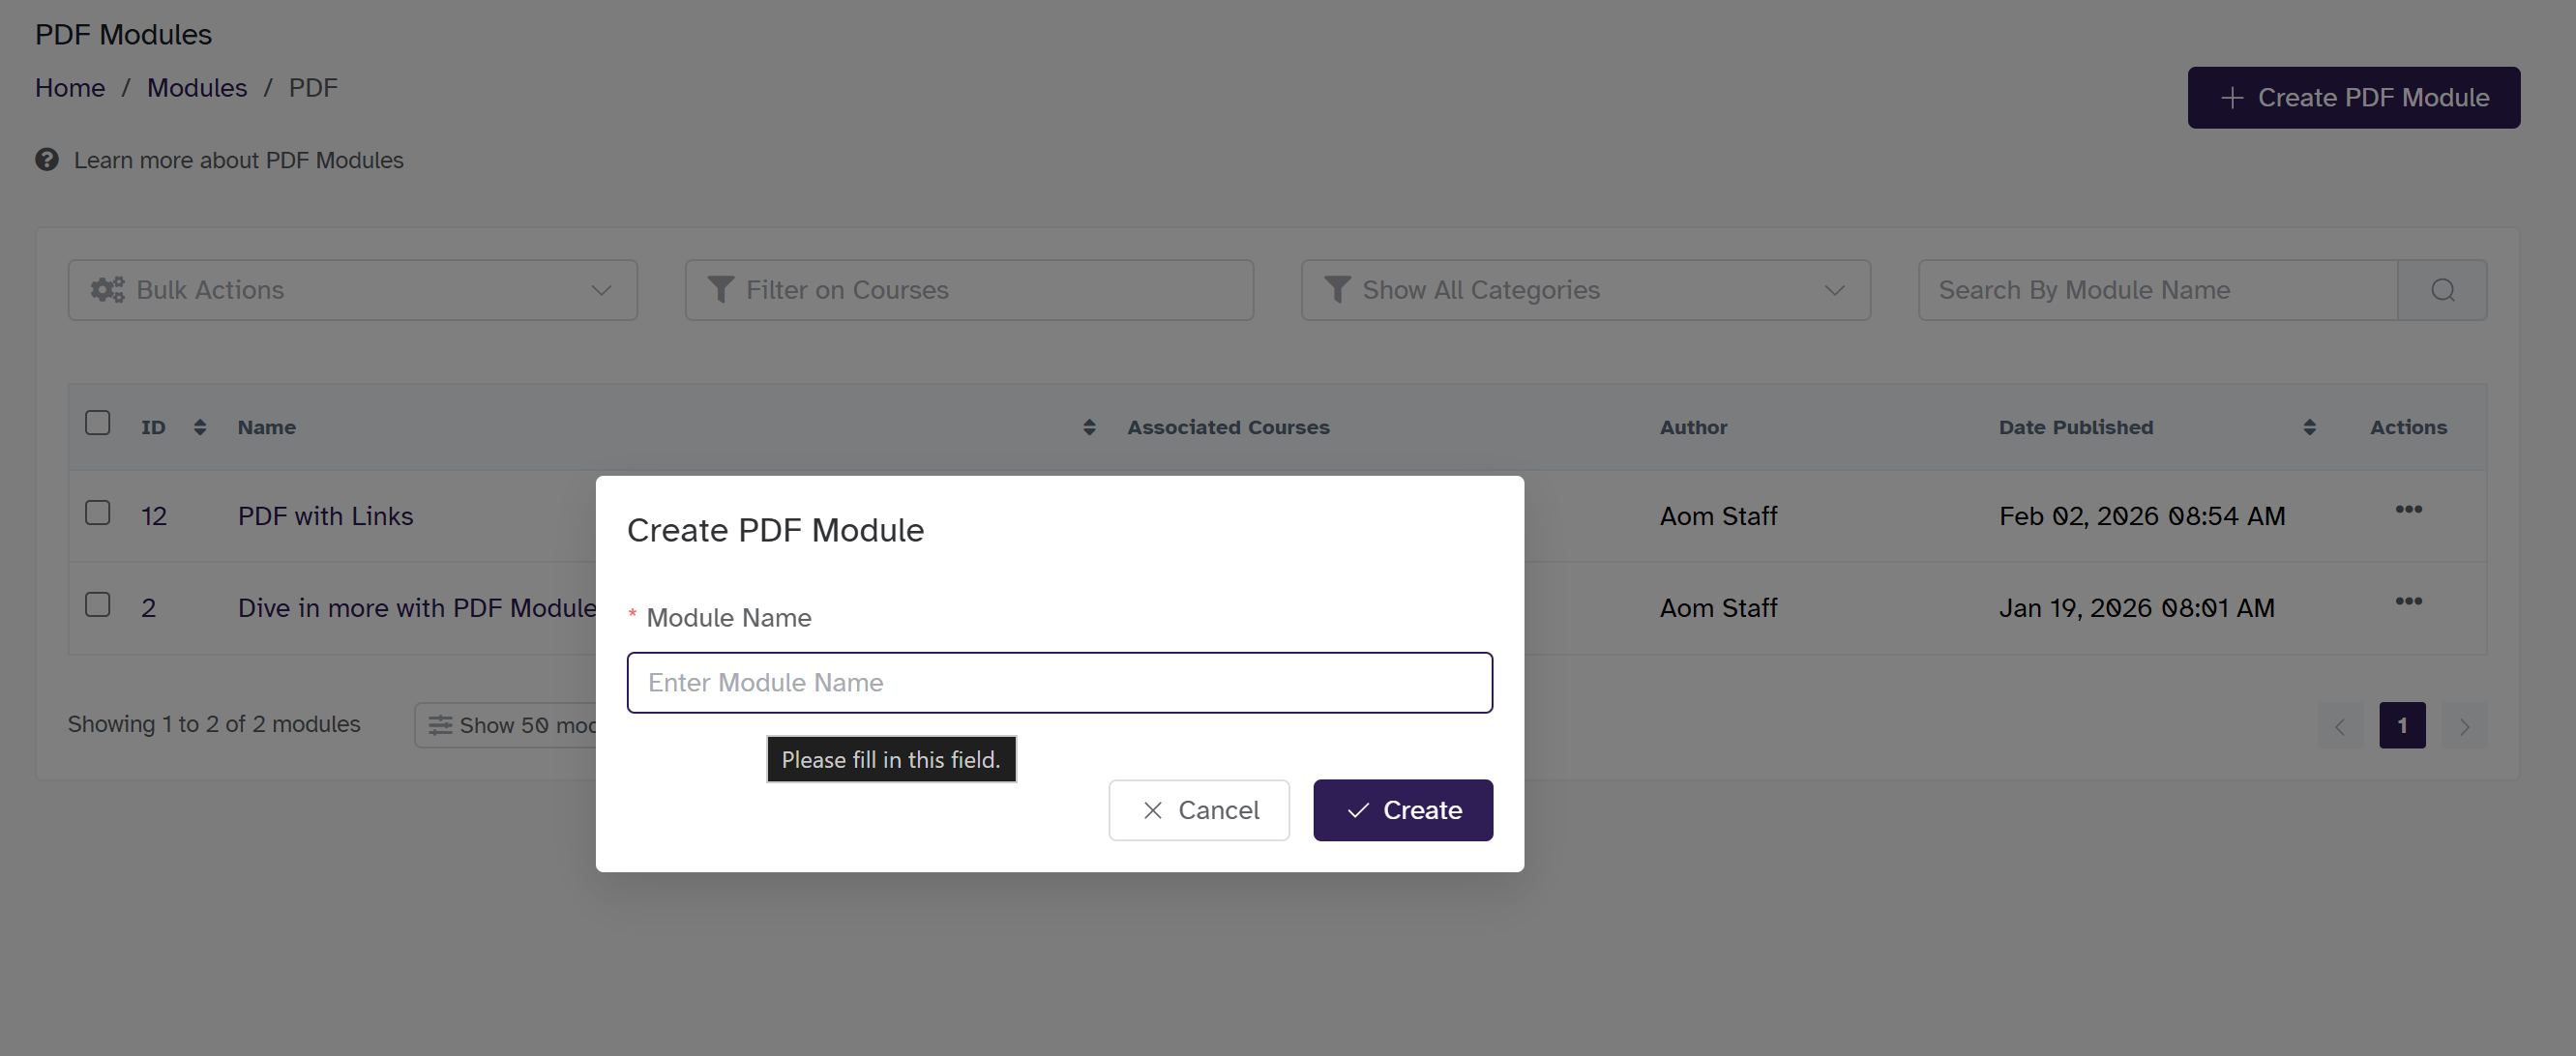
Click Create PDF Module. A pop-up window will appear. Enter the Module Name, then click Create to add the PDF module.
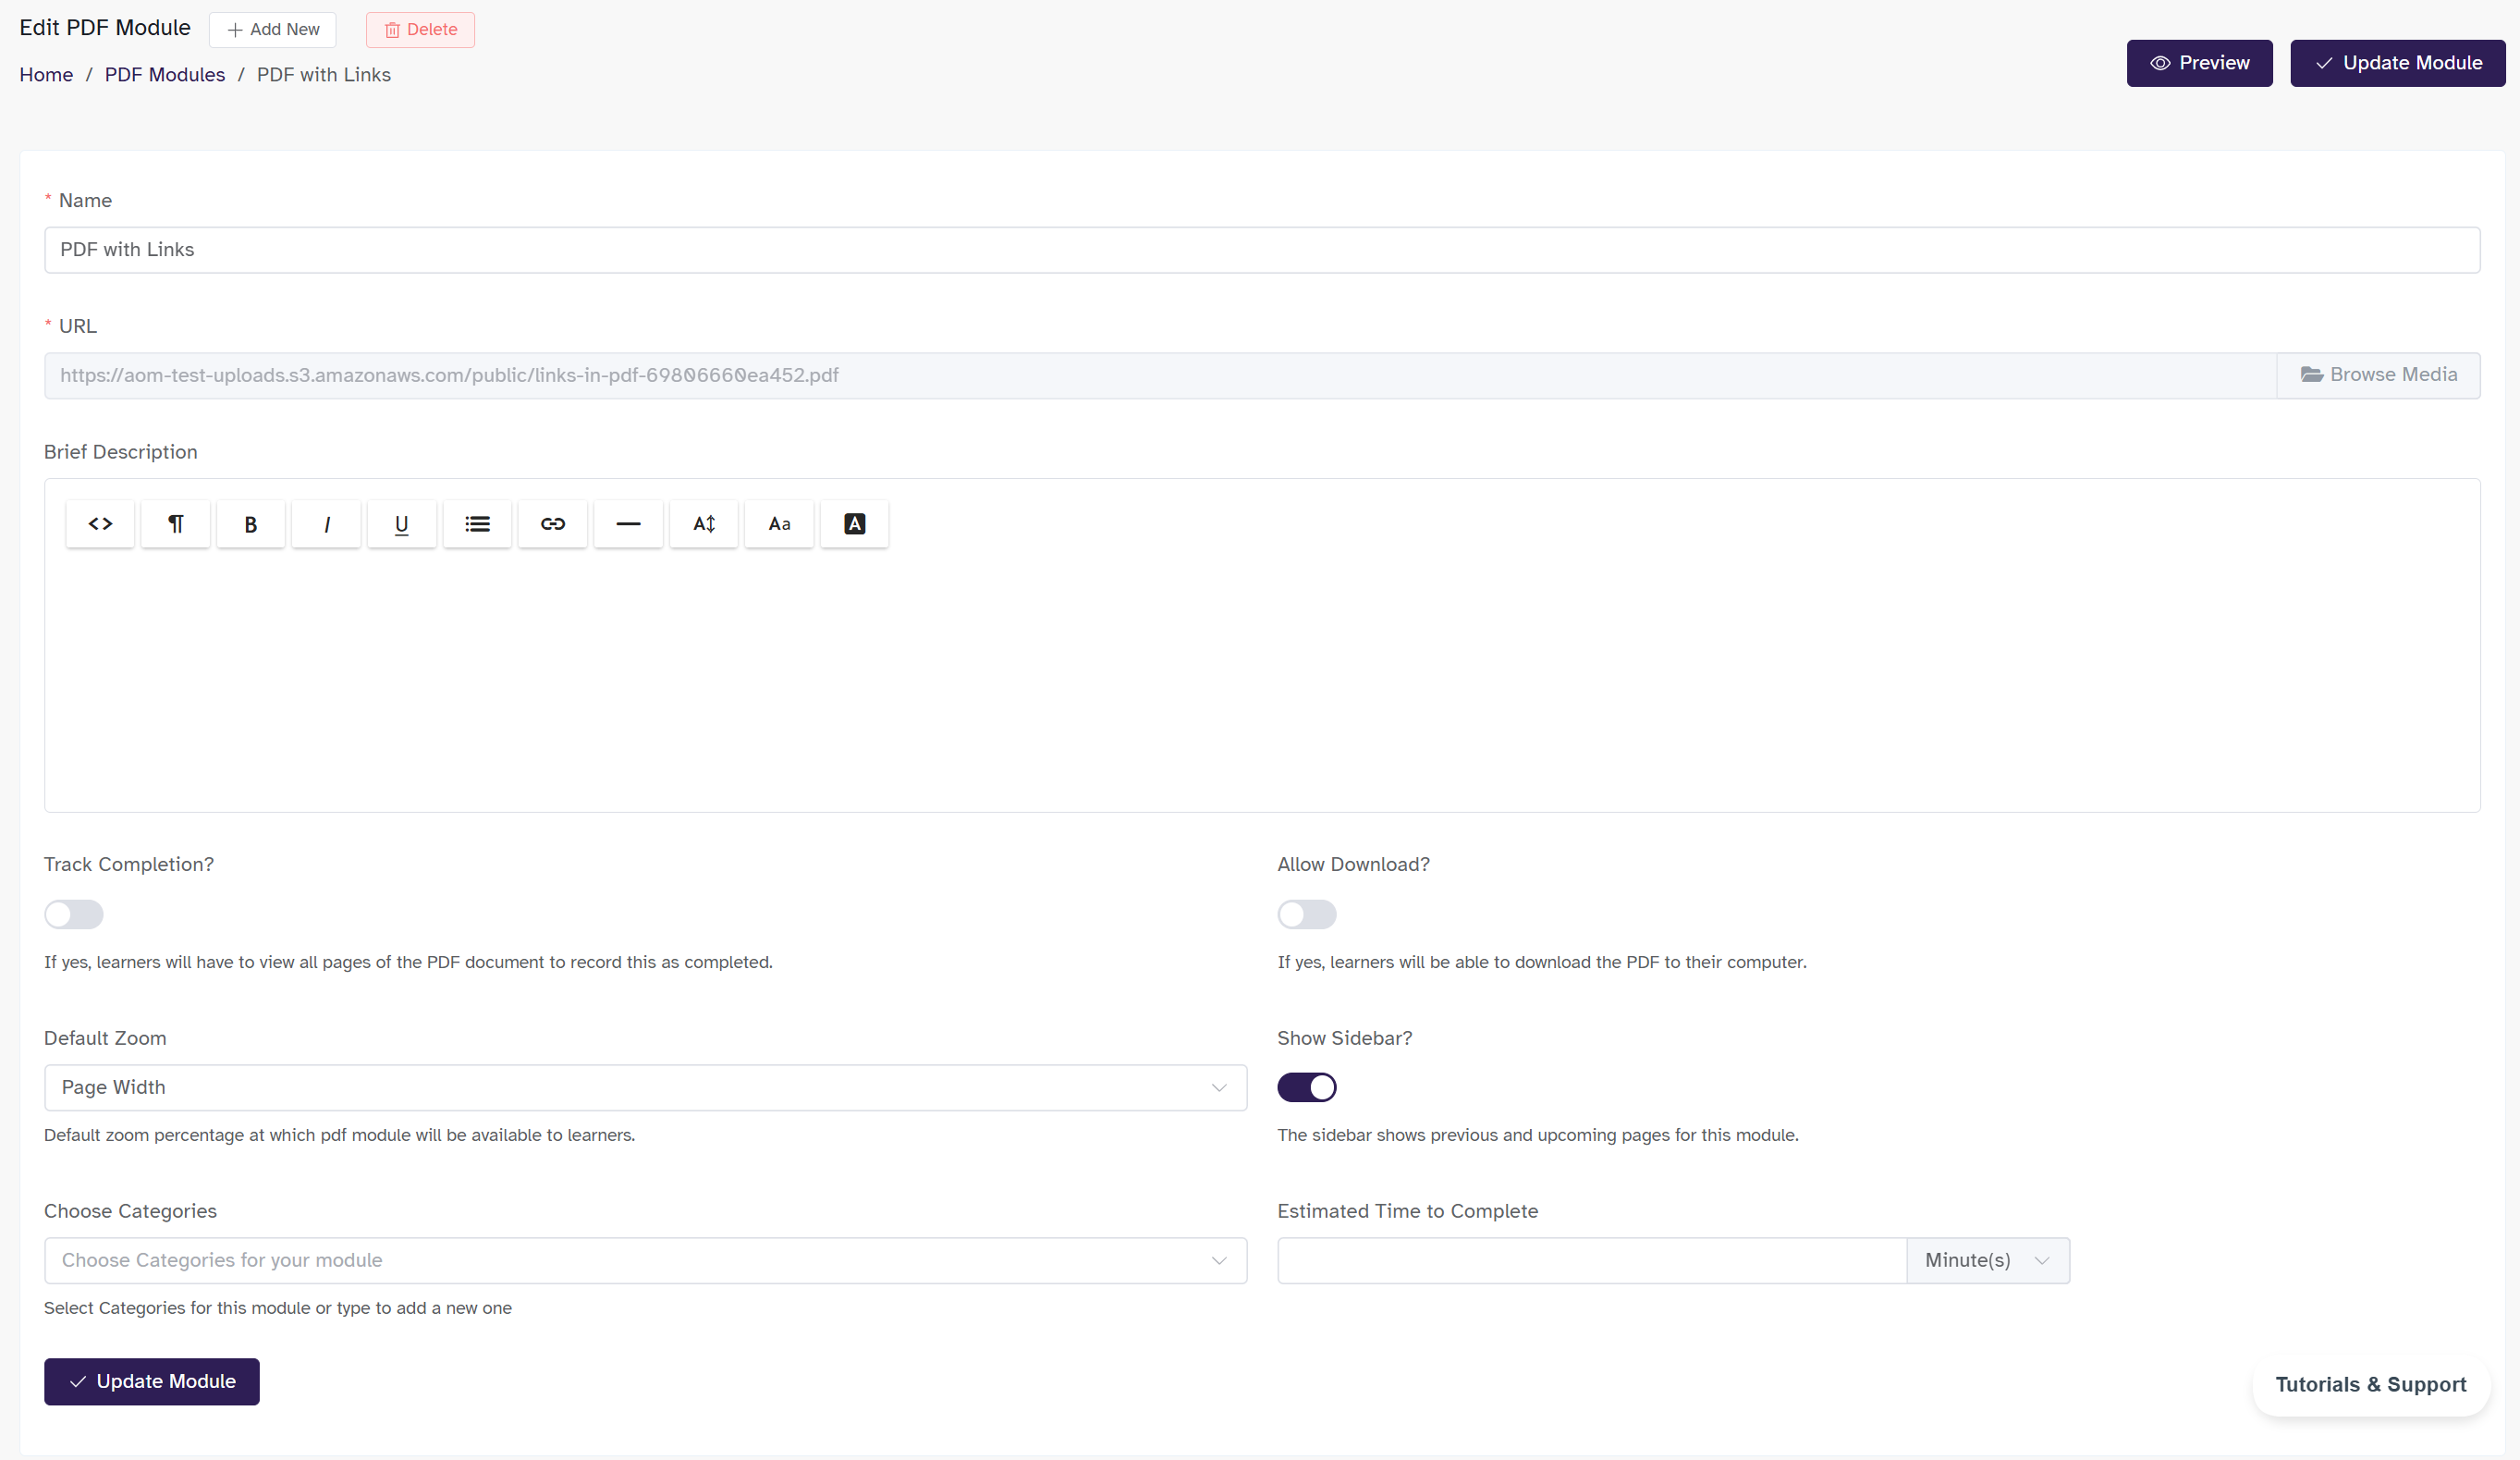
Edit PDF Module
After creation, it will be redirected to the Edit Pdf Module page, where settings are configured and content can be added.
Upload or select the PDF to be added to the module:
-
Open the Media Library directly from the PDF module page by selecting Browse Media. Add your PDF file by dragging your file into the box, or selecting Upload Media.
-
Once the PDF has been uploaded (or if it was already added to the Media Library) choose/select it from the list of files uploaded to your Media Library.
-
Keep in mind that the Media Library houses all the uploaded files you use for every course module in your account. All uploaded files can be found here.
-
Add a Brief Description - use this area to include any additional text, such as context or instructions for the PDF module. The text will appear directly above the PDF within the module. By default, this section supports text only, but you can insert images using custom HTML.
-
Opt to enable Tracking Completion with this a learner is only marked as finished with the module once they reach the end of the PDF file, either by clicking the Next Page button, or scrolling down the page to the end.
-
Choose the Default Zoom that will be displayed to the learners viewing the PDF
-
Opt to Allow Download learners can be allowed the opportunity to download a copy of the PDF file. The Download button will appear inside the learner's Module.
noteIf a learner downloads the file and views it outside of your course, you will not be able to track their time or completion when reading. Those things can only be done with the PDF file inside the PDF Module.
-
Opt to Show Sidebar the sidebar shows previous and upcoming pages for the PDF in the module.
-
Choose Course Categories If you are using Course Categories to bundle courses for selling online or for Memberships, select categories.
-
You can set an estimated time to complete the module, which indicates the ideal amount of time required to finish it.
-
You can also Preview the module to see what it will look like for learners.
-
Once you are done, click Save Module.
Then, we want to make sure the module is made available in a course. see the section below for details there.
If you're a more visual learner, check out this video that walks you through how to create a PDF Module:
For more information on viewing, editing or deleting existing Modules, see this article.
Adding a PDF Module to a Course
Now that your module has been created, you can add it to the Course or Courses so that it is accessible to learners:
-
From the Admin Dashboard, choose Courses, then All Courses
-
Find the Course you want to add the Module to, and click the three-dot action menu. Select Edit
-
Click the Step 2: Curriculum tab
-
Click**"Add Module"** and then opt to "Select an existing module from the list"
- Search the drop-down menu for your Module name, and select it.
- Once the Module is added to the bottom of your course list, you have the option of entering the Edit Module page to make changes to its content or removing the module from the course.
-
Click and drag the modules to rearrange them in the order they should be presented in the course. This involves placing the modules in a suitable order along with the sections if used.
-
You have the option to:
- Lock the module, which forces a learner to complete it before being able to move on to the next module in the course
- Set the availability of the module, which allows you set a date when the module will be available to a learner. This gives an Admin or Instructor the control to make modules available to learners over time or to restrict a learner from completing the course too quickly.
- You can also set a minimum amount time spent in the module that the learner must abide by in the module before being allowed to move on to the next module.
-
Save your course changes by clicking Update Course in the upper right corner. If you get distracted or navigate to another section of the platform, changes may not be saved if you do not update before leaving a page you have made changes to.
Please see this guide for the full details of Creating and Updating a Course.
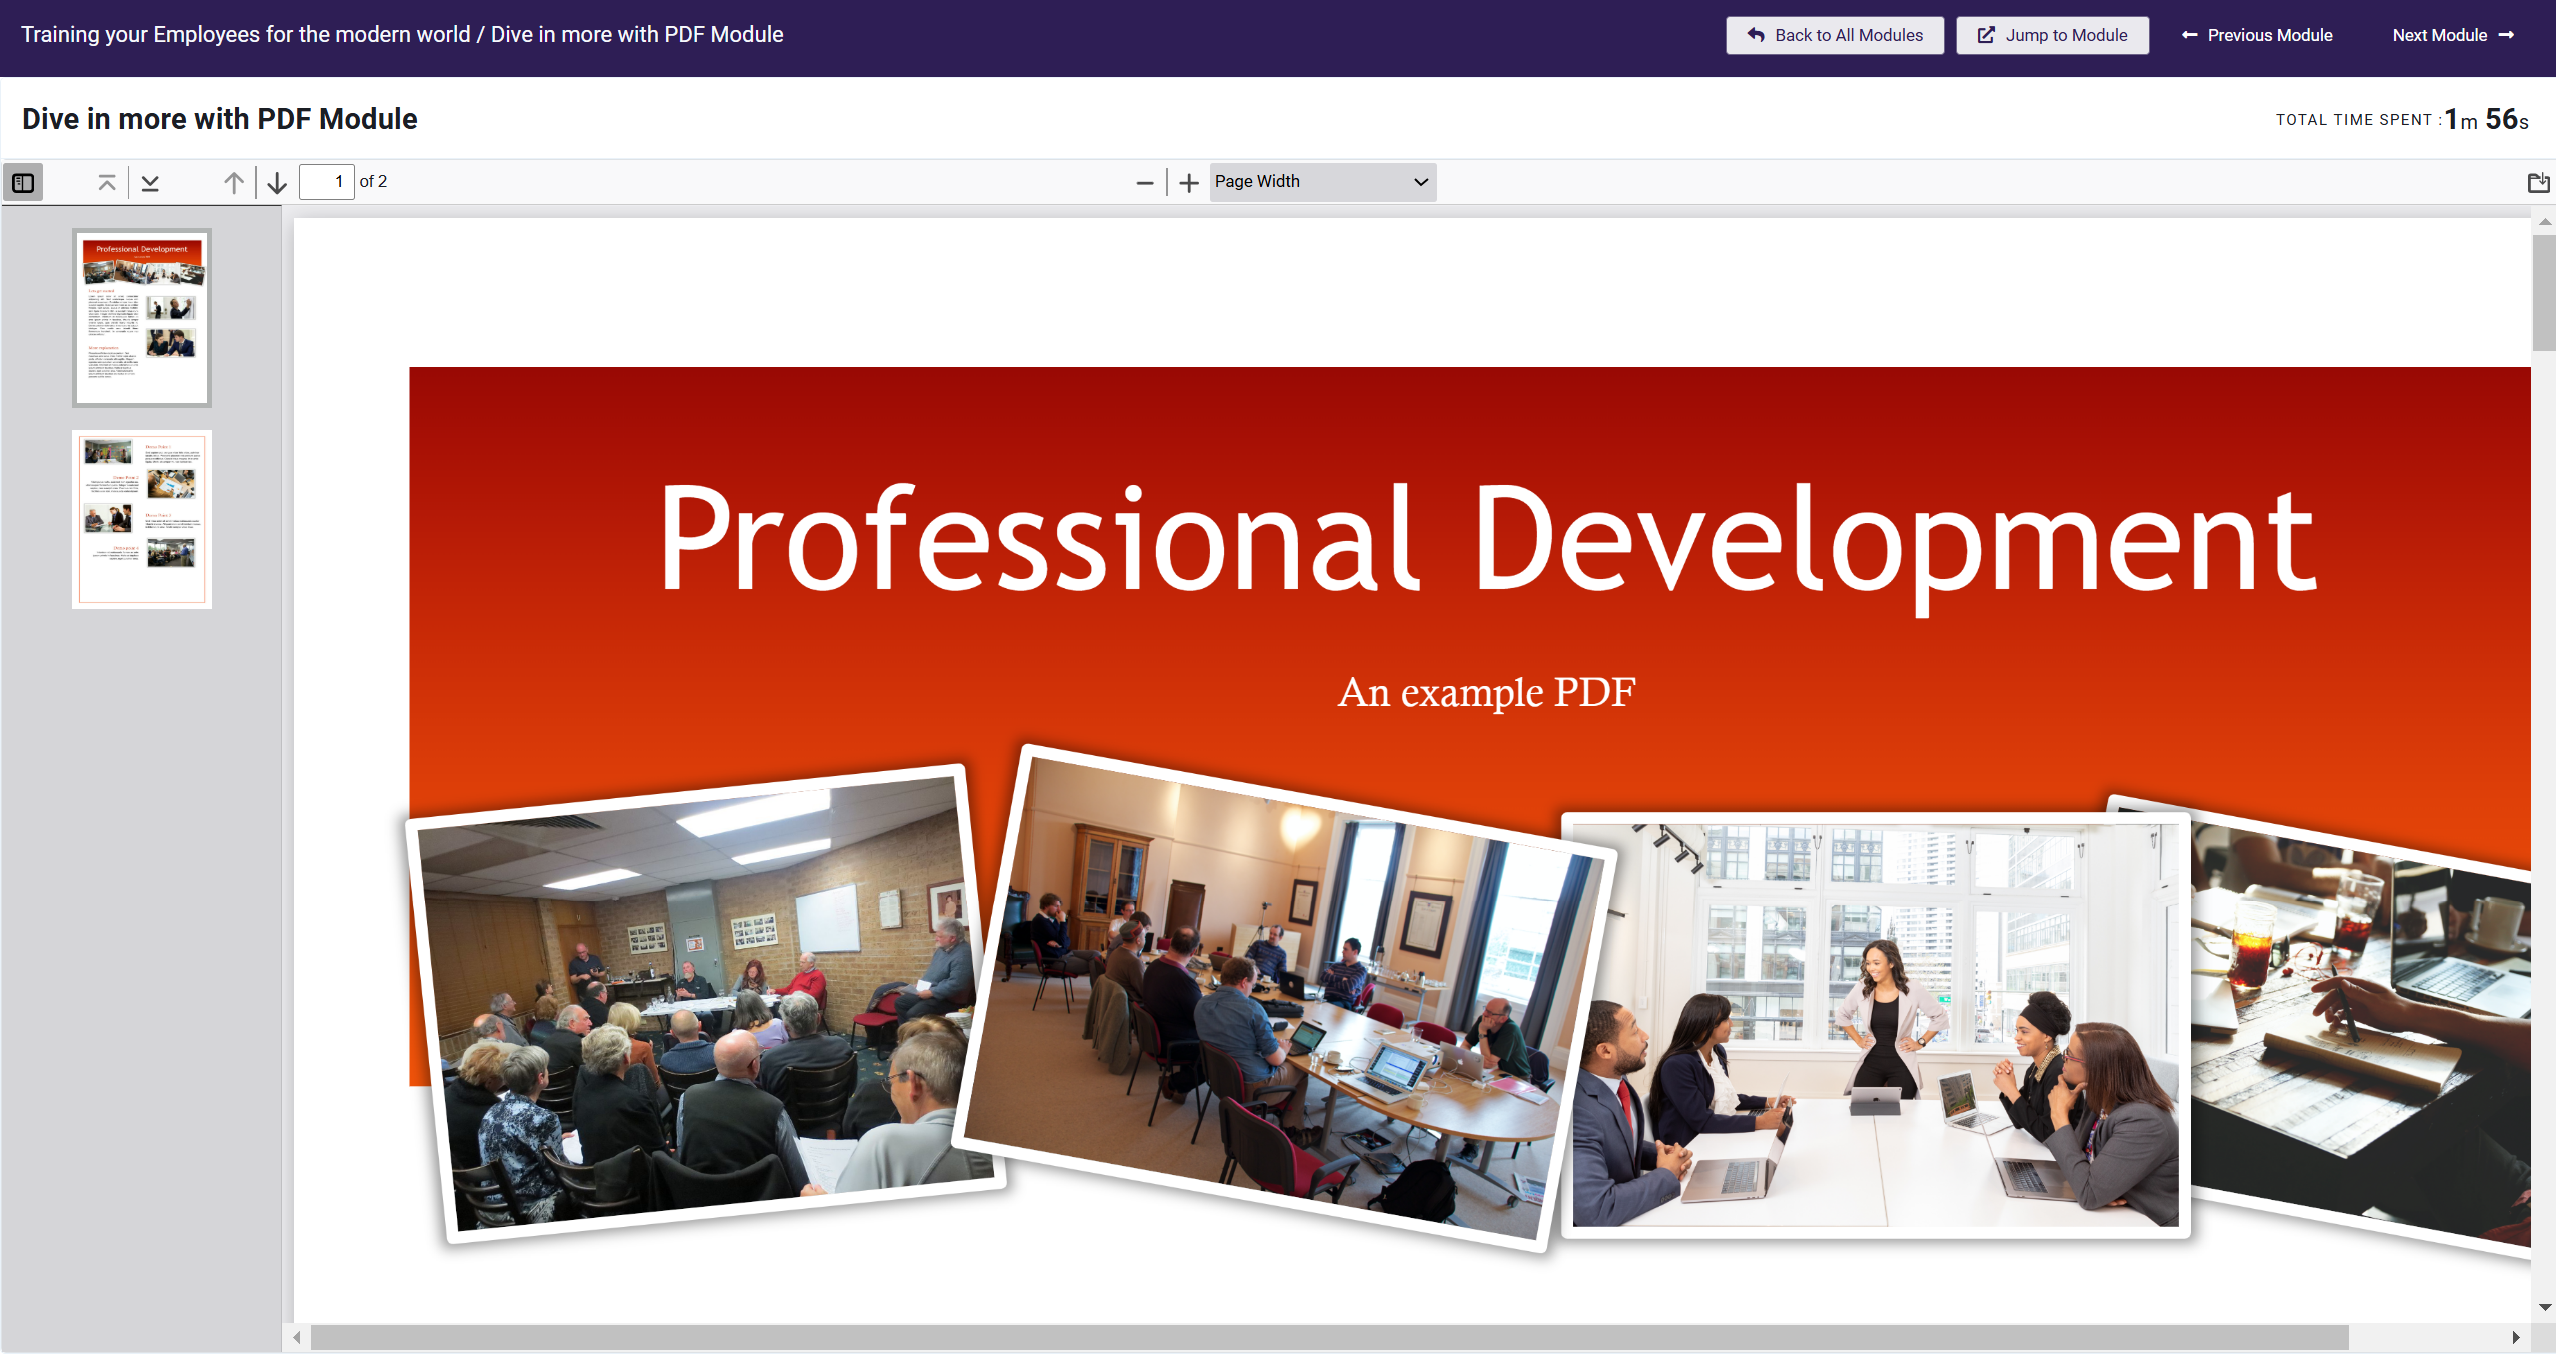
Learner Experience of a PDF Module
When a learner opens a PDF Module, they will have several buttons to control the experience:
- Arrows to advance to previous and next pages (or they may scroll through the PDF as well)
- The sidebar menu, where they can preview pages in the PDF, as well as select them to jump to the selected page
- The download option if you are allowing the PDF to be downloaded so the learner may save their own copy
- The - and + icons to control the page zoom and enhance the viewing experience