Adding Subtitles to Video Modules
Subtitles make your videos more accessible to a wider audience, most notably opening up your content to audiences across the world, but also to those that benefit from text, such as people with hearing impairments.
With Academy of Mine, you can upload your own subtitle files in addition to the videos and we will automatically sync them up. This requires a specific format called WebVTT (.vtt extension) for your subtitles and in this guide, we'll be going over how to create the .vtt extension as well as how to add that file to your video module.
You will only be able to add subtitles to videos that have been directly uploaded. If you are adding videos to the module via Vimeo or YouTube, you will need to configure the subtitle settings on those external platforms.
Creating a WebVTT File Manually
WebVTT, or .vtt extensions, allow you to define subtitles for a video at certain timestamps. You can learn more at: https://developer.mozilla.org/en-US/docs/Web/API/WebVTT_API.
To create your WebVTT file, follow these steps:
- Open a new file in Notepad or a similar plain-text editor.
- On the very first line write:
- WEBVTT - Leave the second line blank.
- On the third line, add a unique identifier which can be text or number. It's best to use numbers and start with the number 1.
- On the fourth line, the time for the first cue has to be specified. This is the timestamp in the video when the text will be displayed. For a cue starting at second 1 and ending second 5, it would be written as:
- 00:01.000 --> 00:05.000 - On the next line, write the caption for the cue.
- To add another line of text for a new cue, leave a blank line and start with the second identifier.
- You can validate the Webvtt content at: https://quuz.org/webvtt/.
- Save your file with the .vtt extension.
Your VTT file should look something like this:
WEBVTT

00:00:01.000 --> 00:00:04.000
This is the first caption.

00:00:05.500 --> 00:00:09.000
This is the second caption,
spanning multiple lines.

NOTE
This is a note block,
used for comments and ignored by the player.

00:00:10.000 --> 00:00:13.000 align:middle line:80%
This caption is positioned and aligned.
Creating a WebVTT File With AI Assistance
Many video editors now support generating VTT files automatically using AI. Tools like Adobe Premiere Pro and DaVinci Resolve support this functionality out-of-the-box. Please check your video editor's documentation for details.
If you just have an exported video and would like to generate subtitles automatically from that, you can try tools like Descript, Kapwing, or VEED.
Note that although these tools can save you a lot of time, none of them are perfect and you may have to manually correct the subtitles at times.
Adding Subtitles (.vtt) to Video Modules
Once you have created your WebVTT file (.vtt), you can add it to your video module.
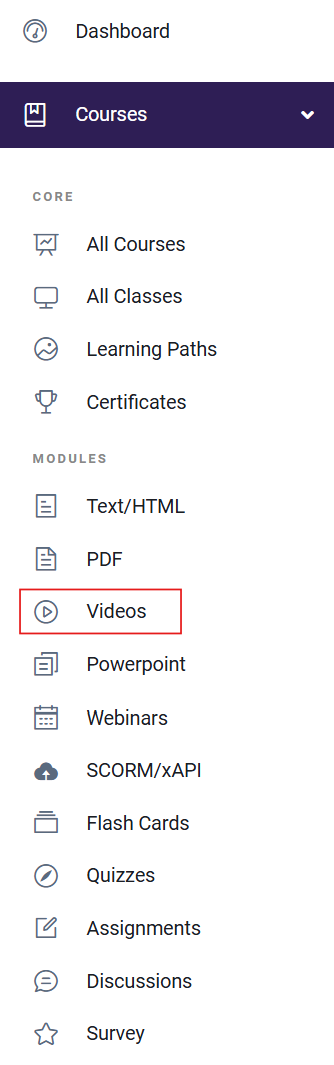
- From your Dashboard sidebar menu, select Courses. Under Modules select Videos.
- Select or Create the Video Module you would like to add subtitles to.
- On the Edit Video page, select Direct Upload as the Upload Method.
- Upload or choose the video you want to use for this module from your Media Library by selecting Browse Media.
- Select the Upload Subtitle Manually option. Click Upload Subtitles File and select your .vtt file.
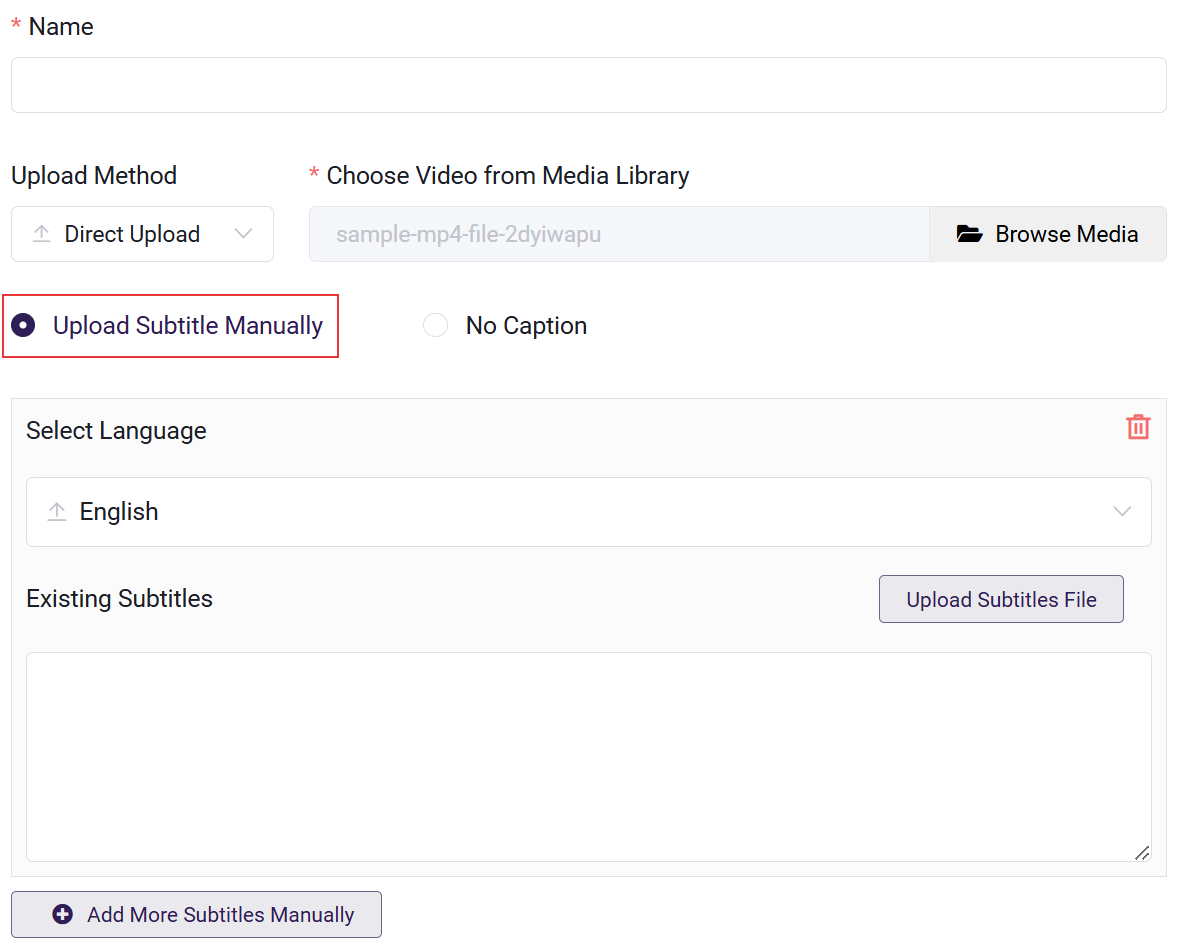
-
You can write your cues in the Existing Subtitles area, but we recommend creating an external file.
-
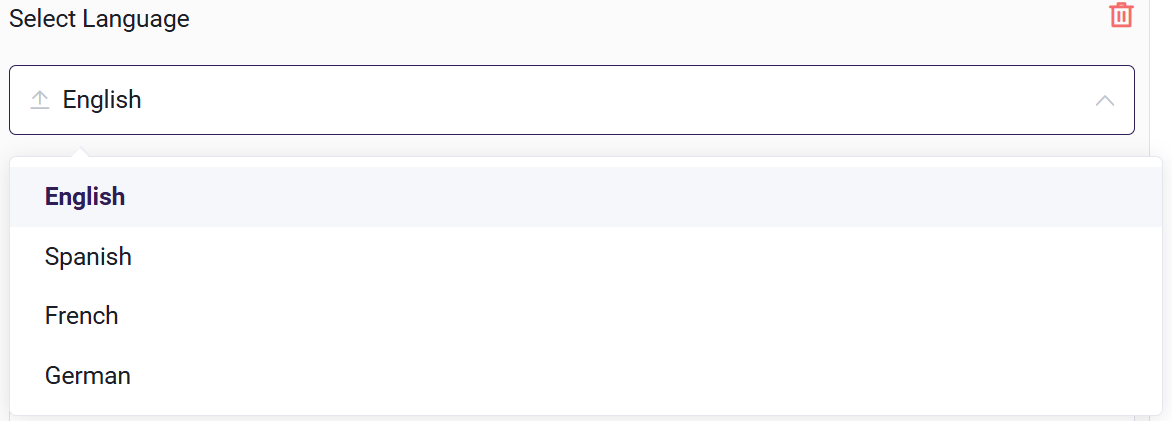
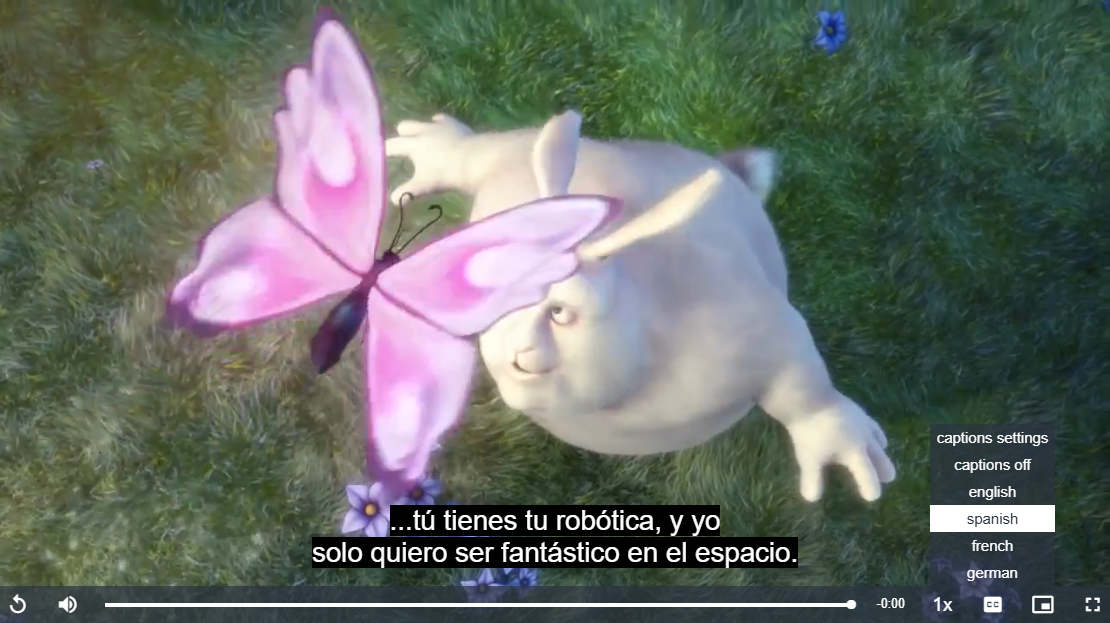
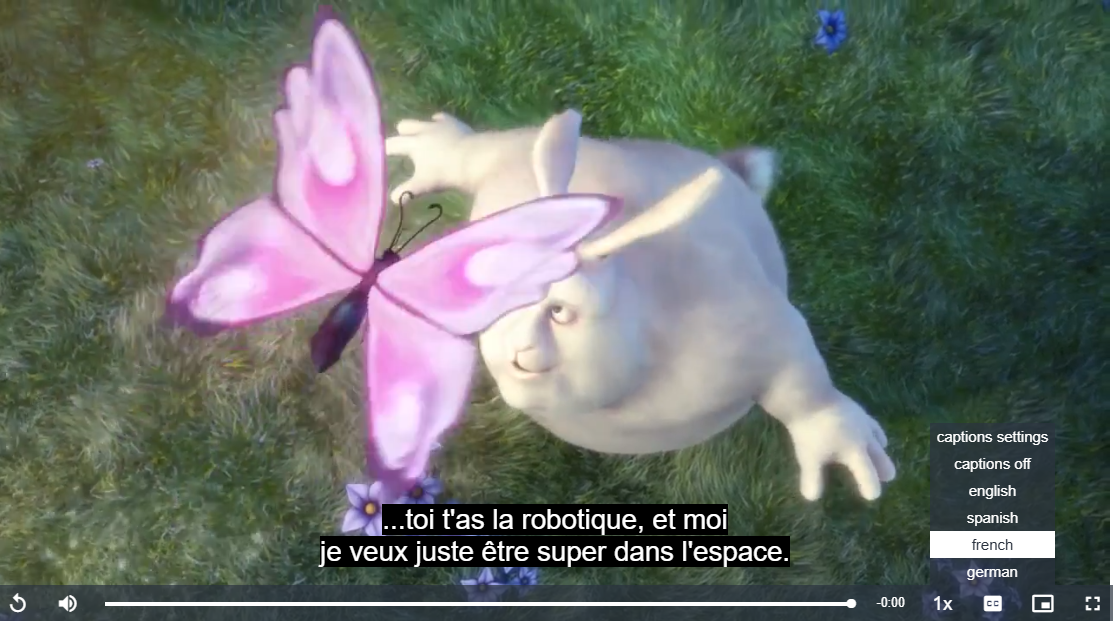
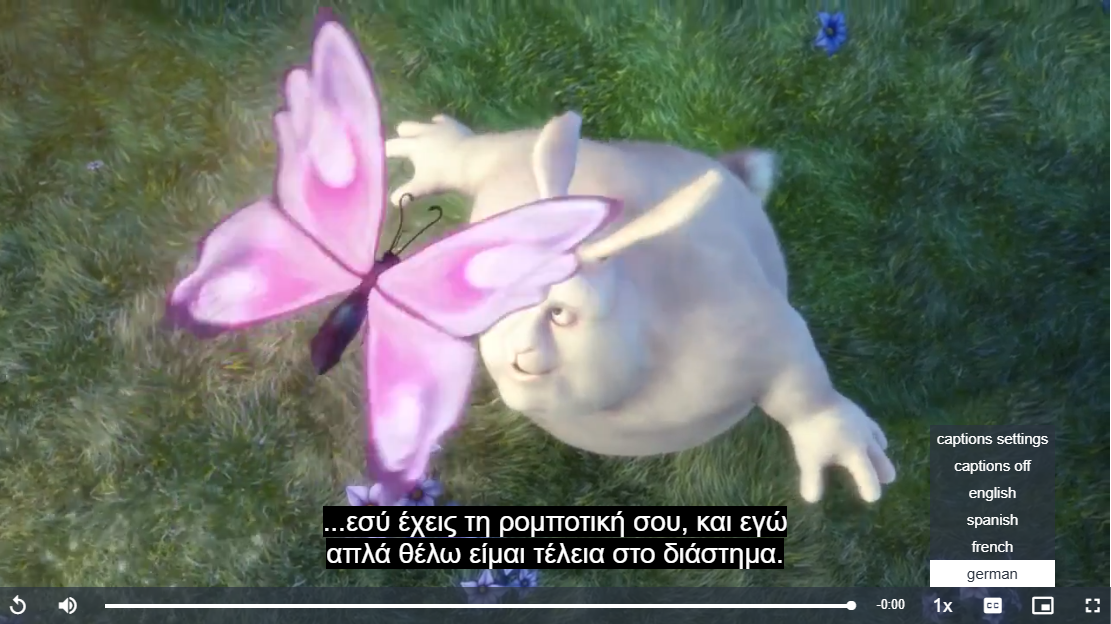
You can add subtitles in multiple languages for a single video by clicking the "Add More Subtitles Manually" button and selecting the desired languages.
-
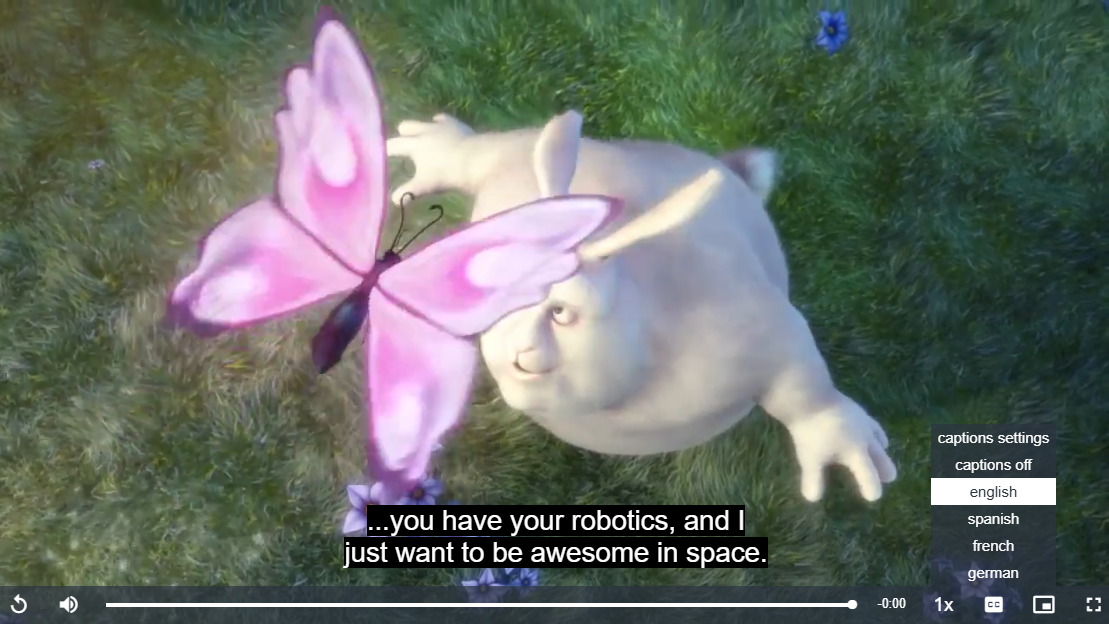
Learners can choose any language they prefer to view.
-
Click Update Module when you're done to save your changes.
Video Walkthrough of Adding Subtitles
If you're more of a visual learner, check out this video on how to add subtitles.