Using Video in a Course
Videos are an excellent way of providing course content, and many learners find videos an engaging way to view information. If you'd like to use videos in a course, it first must be added to a module so that it may be viewed by learners. It's not possible to allow learners to view videos in your account unless they have been added to a module and then a course.
In this guide, we'll be going through how to create a video module and add it to a course, as well as the file specifications and the learner experience of a video module.
Please note that for tracking purposes, a video module can only have one video per module. If you'd like to insert multiple videos in a single module, please use the Text/HTML module.
Video File Specifications
The individual file size limit is 512 MB. If your file is larger than 512 MB, we suggest uploading to a third party service like Vimeo, and then selecting Vimeo as the upload method when creating your module.
The video file formats accepted are:
- MP4
- MOV
- MKV
- AVI
- WMV
- WEBM
- x-matroska
- x-ms-wmv
- x-flv
- Mpeg
- OGG
- M4V
- avchd
- quicktime
- x-quicktime
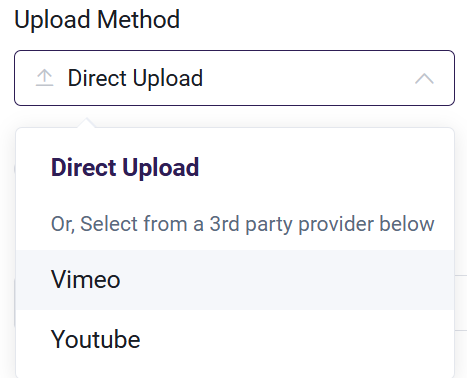
There are three methods to attach a video to your Video Module. You can choose to Direct Upload a video file into your Academy of Mine account, or you can select a video that is currently hosted on Vimeo or YouTube.
- Direct Upload: You can upload your video file into the AOM Media Library and then select the file to be added to the module
- Vimeo: If your video is hosted on Vimeo, you can copy the Vimeo video player URL and add it into the module
- YouTube: If your video is hosted on YouTube, you can copy the YouTube video player "Share" URL and add it to the module
Creating a Video Module
When you are ready to create your module and add the video, follow these steps:1. From the Admin Dashboard, select Courses, then Video under the Modules header

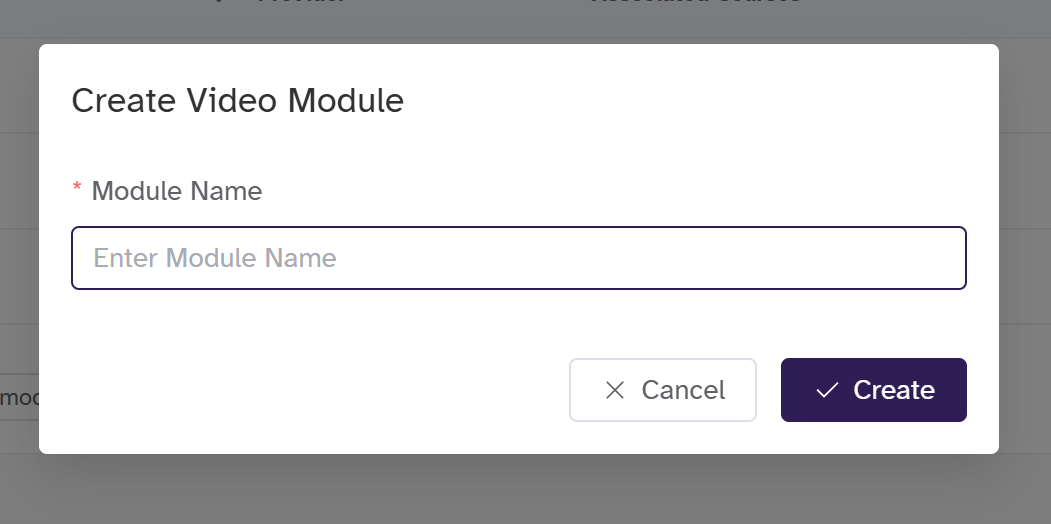
Click Create Video Module. A pop-up window will appear. Enter the Module Name, then click Create to add the Video module.
Edit Video Modules
After creation, it will be redirected to the Edit Video Module page, where settings are configured and video file can be uploaded.
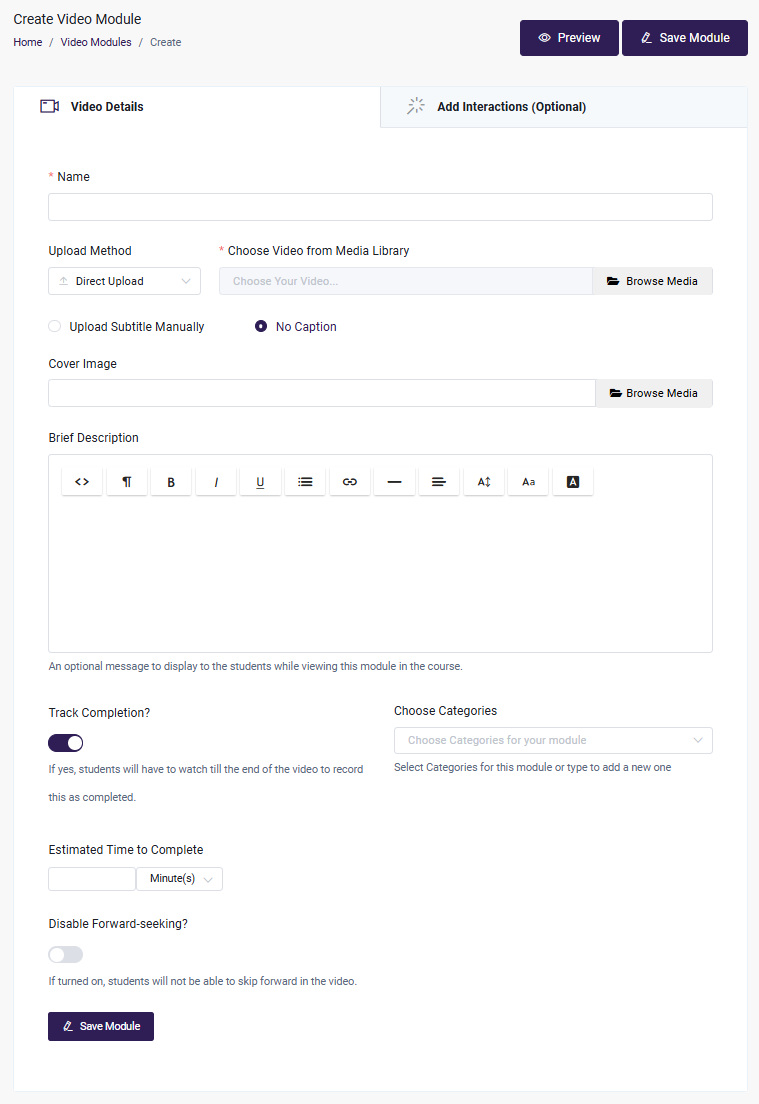
Choose your Upload Method from the dropdown menu, and see the steps below for more instructions for whatever method you choose:
-
- Direct Upload
- Vimeo
- YouTube
-
To Direct Upload a video, it will first need to be added to the Media Library. You can open the Media Library directly from the Video Module edit page by selecting Browse Media. There you can upload or drag the video file to add it to the Media Library if it hasn't already been added.
When a video is added to the Media Library, it is first uploaded to the Academy of Mine servers. This process is reflected in the progress bar visible during your upload. Note that when uploading a large file, the progress bar may reach 98% or 99% and then stick there for a while as the rest of the upload process completes. Don't worry, that's normal behavior.

Once the file has been successfully uploaded to Academy of Mine, we will begin encoding your file and transforming it into a streaming HLS video. This will add an additional waiting period before your video file is finalized and ready for use.
When your video file is ready, it will be stored in the Media Library as a link, which you can select to include in your module. But feel free to start building your Video Module while your video uploads in the background.

- If you choose Vimeo as the Upload Method, copy the Vimeo player URL and then paste it into the URL form. You may use any publicly shared Vimeo video in your module.
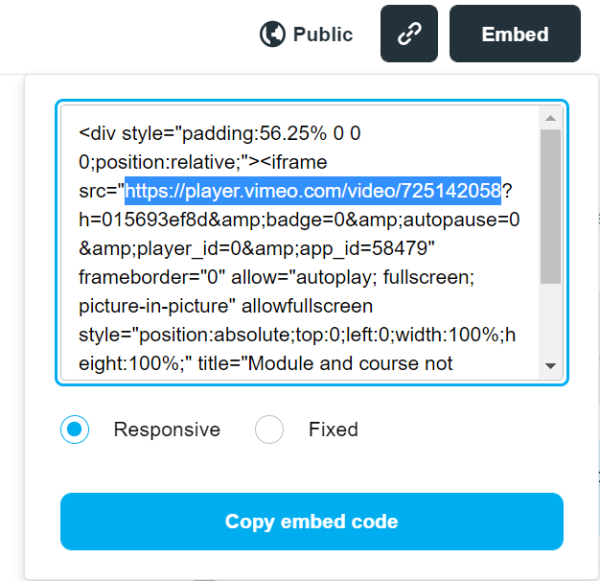
Please note that you'll need to use the URL for the Vimeo video player itself, not the entire page on vimeo.com. i.e. https://player.vimeo.com/video/18554749 and not https://vimeo.com/18554749
To find the Vimeo Video URL, go to vimeo.com and navigate to your video. Click the Embed button. In this menu, you can find the video player URL provided. Copy just this part, and this is the URL you will add to the module.
- If you are using YouTube, you can select any public YouTube video for use in your video module. Copy the video player URL and paste it into the URL form.
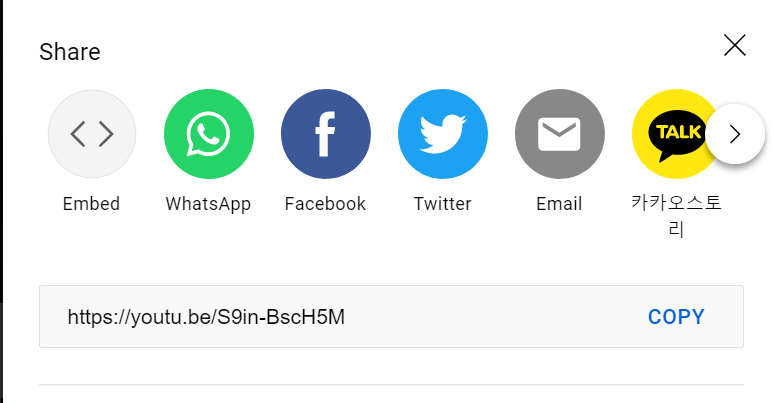
Please note that you will need to use the URL for the YouTube video player itself, and not the entire page on youtube.com. i.e. https://youtu.be/S9in-BscH5M and not https://www.youtube.com/watch?v=S9in-BscH5M
To locate the YouTube Video URL, head to youtube.com and select the Share button below your video. Inside the Share menu, you'll be able to copy the YouTube Video URL.
- Add a Cover Image: For Direct Upload videos, the thumbnail displayed when the Video Module loads will be the middle frame of the video. For Vimeo and YouTube videos, the thumbnail will match the one selected on their respective platforms.
If you wish to use an alternate thumbnail image, you can upload a Cover Image file to make sure everything looks just right before the video starts.
Just make sure that the aspect ratio of your Cover Image matches the aspect ratio of your video to avoid any stretching or distortion of the Cover Image.
- Add a Brief Description: this is a place to add any accompanying text you'd like to add context to your video for your learners as they watch. The text will display directly below the video inside the module. By default this area is for text only, but custom HTML will allow you to insert images as well.
- Choose if you'd like to Disable Forward-Seeking: To ensure that the learner watches the entire video and doesn't just skip directly to the end, you can choose to Disable Forward-Seeking. With this function enabled, any attempts to skip ahead will be blocked, and an alert message will be displayed.
Learners will still be able to rewind to view a portion of the video again, but they will not be able to advance beyond what they have already watched.
-
Opt to enable Tracking Completion: with this a learner is only marked as finished with the module once they watch the end of the video.
-
Choose Course Categories: If you are using Course Categories to bundle courses for selling online or for Memberships, select categories.
-
You can set an estimated time to complete the module, which indicates the ideal amount of time required to finish it.
-
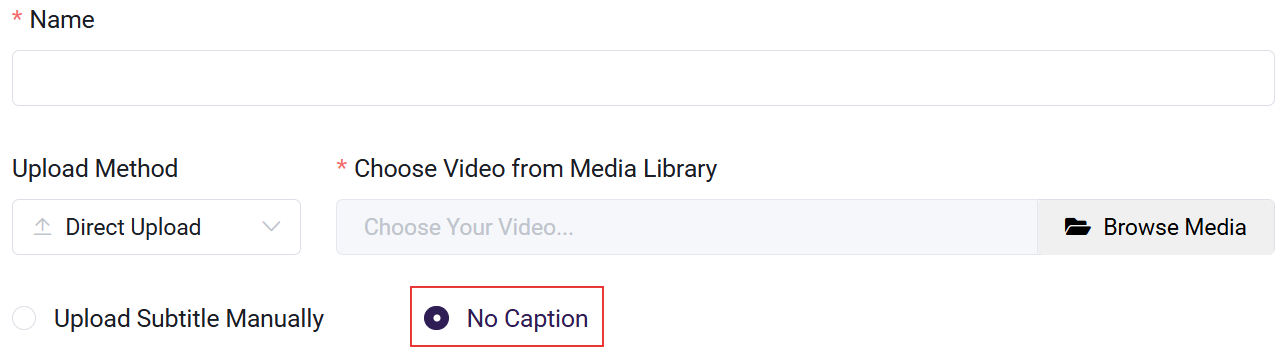
If you would like to add subtitles to your video, this article goes over all the details.
-
If you choose not to add subtitles, select the No Caption option.
-
-
You can also add interactions to the video. To learn more about this feature, refer to the documentation.
-
Click Update Module when you're done.
Once the module has been saved, you can add it to a Course using the steps below.
Looking to make videos more engaging? Check out our guide on Creating Interactive Videos.
Adding a Video Module to a Course
Now that your module has been created, you can add it to the Course or Courses so that it is accessible to learners:
-
From the Admin Dashboard, choose Courses, then All Courses.
-
Find the Course you want to add the Module to, and click the three-dot action menu. Select Edit.
-
Click the Step 2: Curriculum tab.
-
Click "Add Module" and then opt to "Select an existing module from the list".
- Search the drop-down menu for your Module name, and select it.
- Once the Module is added to the bottom of your course list, you have the option of entering the Edit Module page to make changes to its content or removing the module from the course.
-
Click and drag the modules to rearrange them in the order they should be presented in the course. This involves placing the modules in a suitable order along with the sections if used.
-
You have the option to:
- Lock the Module, which forces a learner to complete it before being able to move on to the next module in the course.
- Set the availability of the Module, which allows you set a date when the module will be available to a learner. This gives an Admin or Instructor the control to make modules available to learners over time or to restrict a learner from completing the course too quickly.
- You can also set a minimum amount time spent in the module that the learner must abide by in the Module before being allowed to move on to the next module.
-
Save your course changes by clicking Update Course in the upper right corner. If you get distracted or navigate to another section of the platform, changes may not be saved if you do not update before leaving a page you have made changes to.
Please see this guide for the full details of Creating and Updating a Course.
Learner Experience of Video Module
- Learners inside the video module will view the video in a large embedded player, with the description displayed beneath.
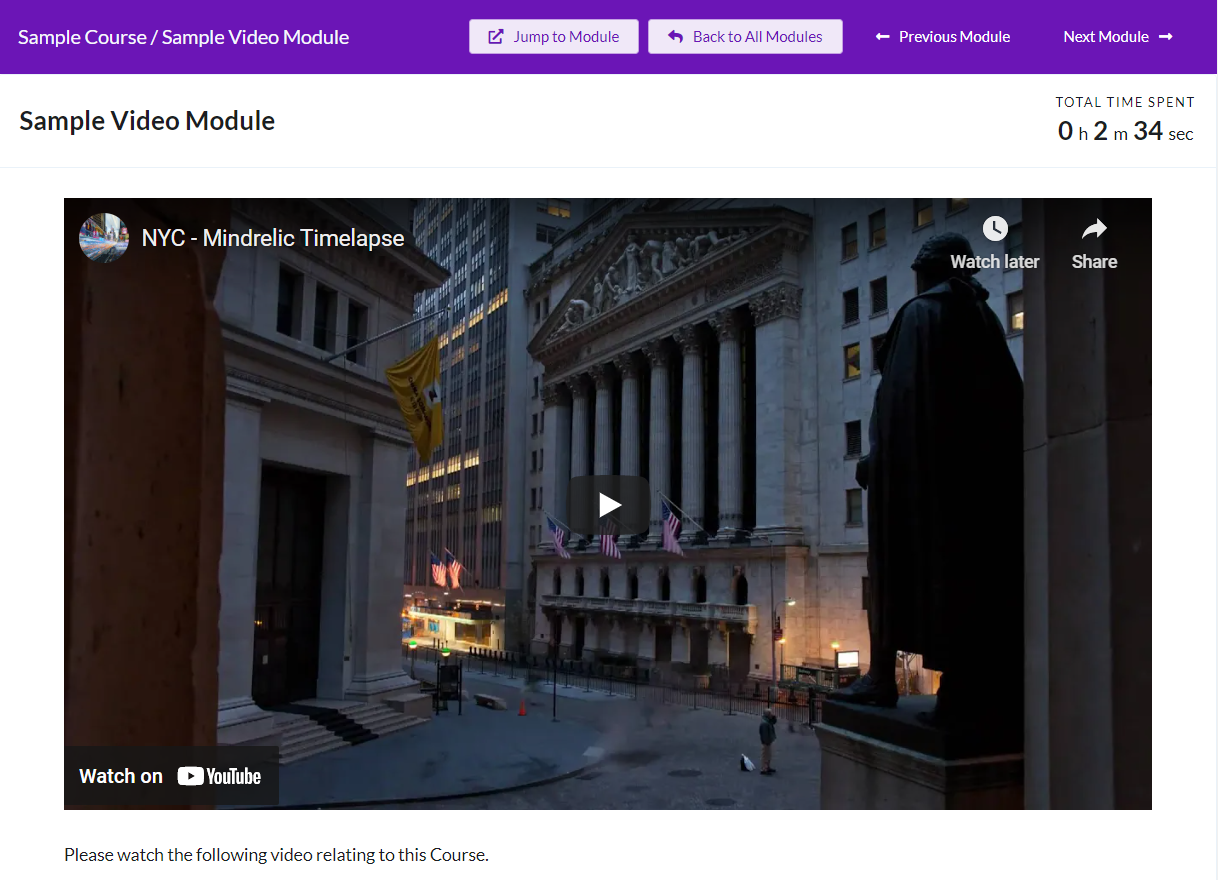
- When playing the video, if Forward-Seeking is disabled, an alert will display if the learner attempts to skip ahead in the video.
- Once the video has completed, the learner is free to move on the next module in the Course.