Using Course Categories
Course categories help organize and group your courses effectively. By bundling courses into categories, you can streamline access and management, especially when using eCommerce or Membership Plans. Here's why categories are useful:
- Simplified Course Management: Assign a category to a Product to sell multiple courses together rather than selecting them individually.
- Membership Access: Use categories to grant membership-based access to specific sets of courses.
- Course Filtering for Owners/Staff: Grouping by category allows you to filter the courses by category on the Course Listing page, giving you more control in managing courses.
This guide will walk you through creating a category, adding it to courses, and editing or deleting categories. Once your categories are set up, you can integrate them with Products or Membership Plans. For more details on setting up courses, refer to our Introduction to Courses
Creating a Category
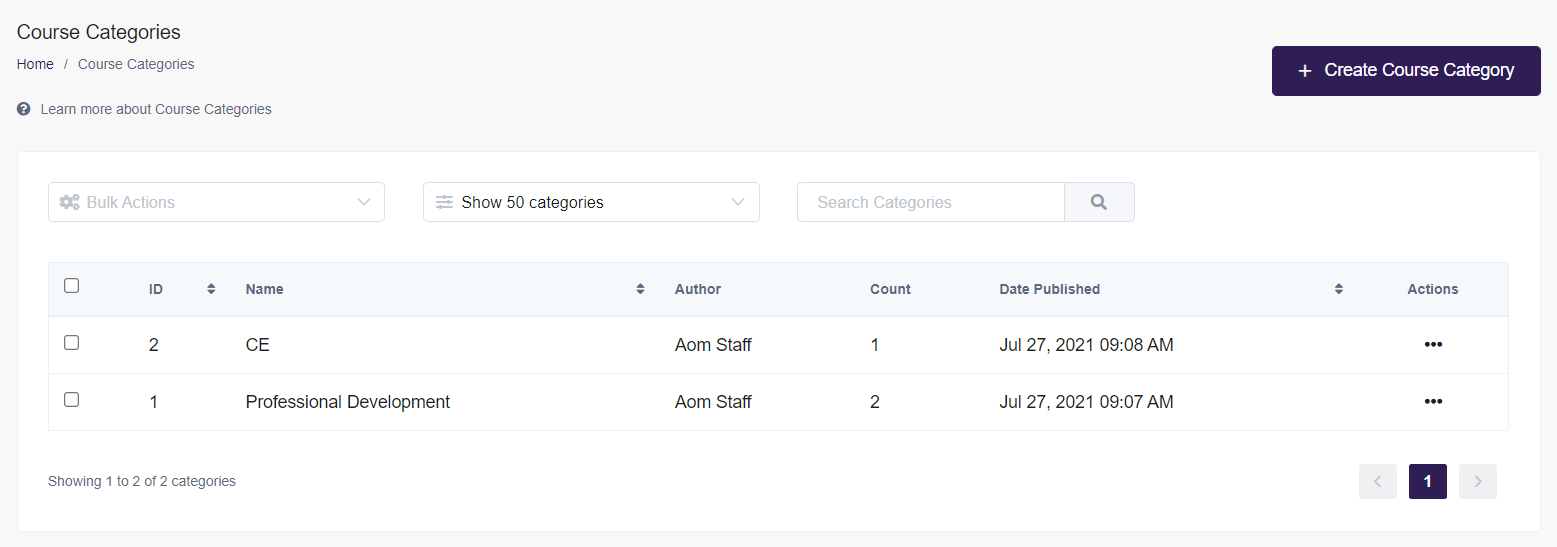
Course categories can be managed from the Owner Dashboard at Courses > Extras > Course Categories.
On the Course Categories page, you can view all existing categories, including their names and the number of associated Courses.
 To create a new category:
- Click Create Course Category in the upper-right corner.
- Enter the category name and click Submit.
You can also create a category directly from the Basic Info section of a Course. (See the "Adding a Category to a Single Course" section below.)
Adding a Category to a Course(s)
Categories can be added to a single Course or multiple Courses using bulk actions.
Adding a Category to a Single Course:
-
From the Owner Dashboard, go to Courses > All Courses.
-
Locate the Course you want to modify. Click the three-dot action menu next to it and select Edit.
-
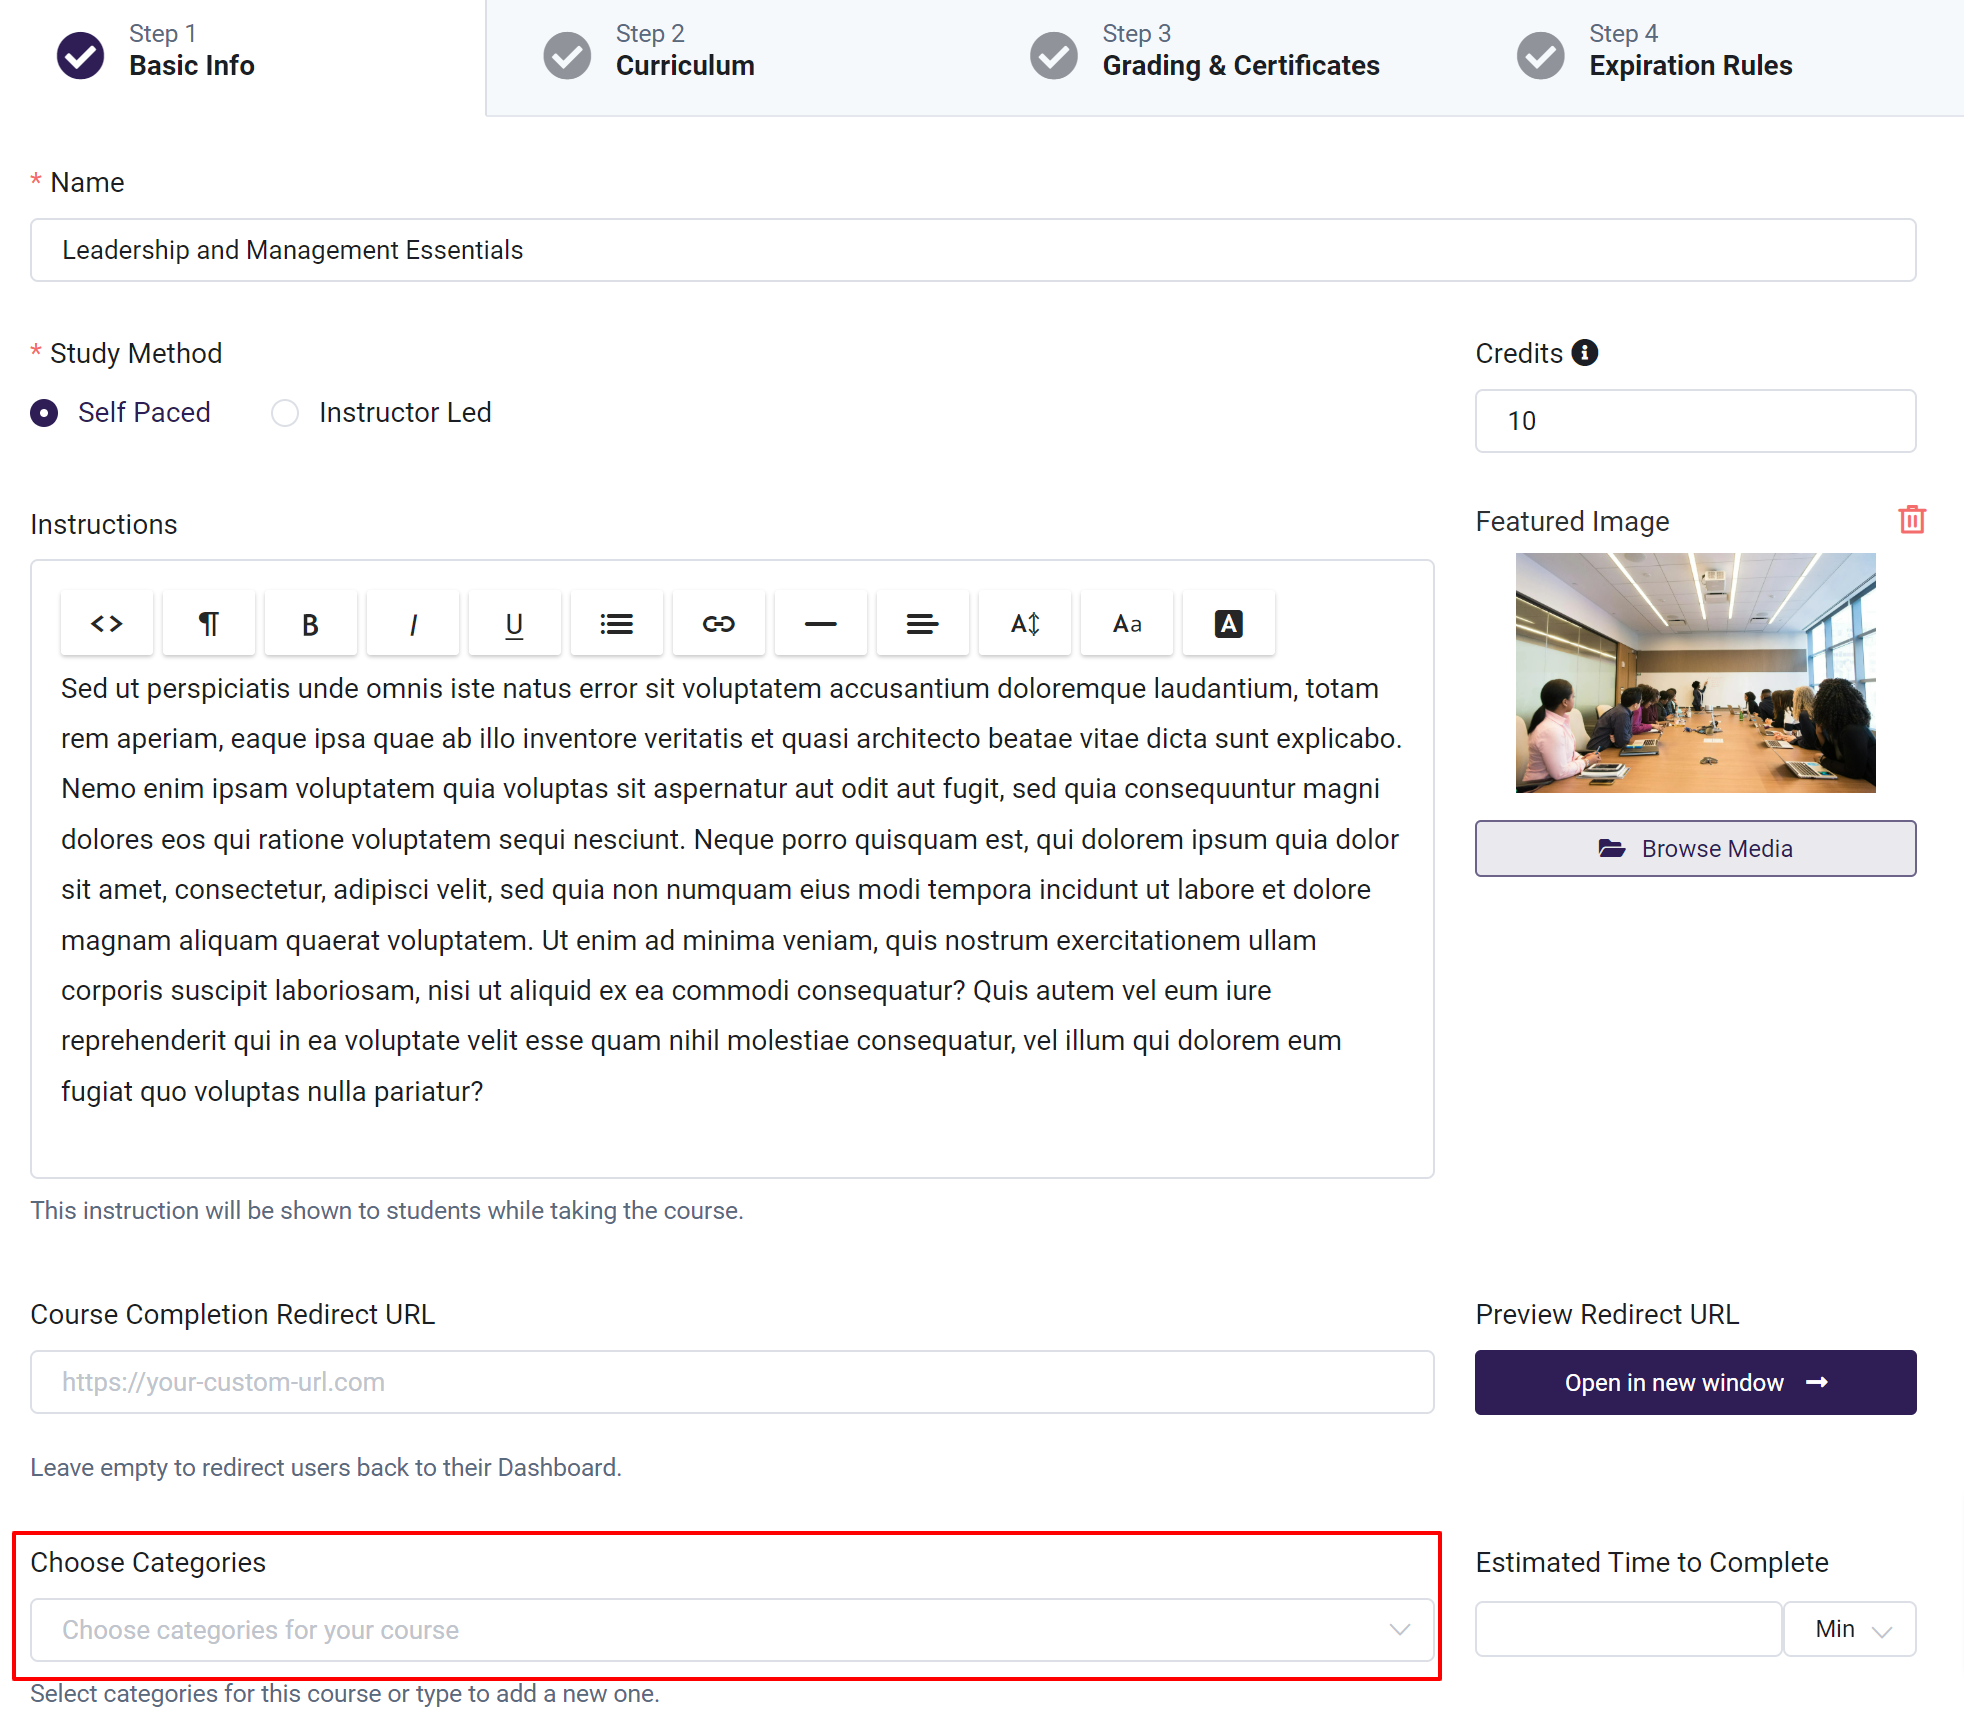
In the Basic Info tab, find the Course Categories section. Select the desired category or categories from the dropdown menu.
-
To create a new category from this screen:
-
Type the name of the new category into the dropdown field and press Enter.
-
The new category will be saved to your list once you save your changes.
-
-
Click Update Course to save your changes.
Adding a Category to Multiple Courses:
You can also use the Bulk Actions option to add a category or categories to multiple Courses at once.
-
From the Owner Dashboard, go to Courses > All Courses.
-
Select the checkboxes next to the Courses you want to update.
-
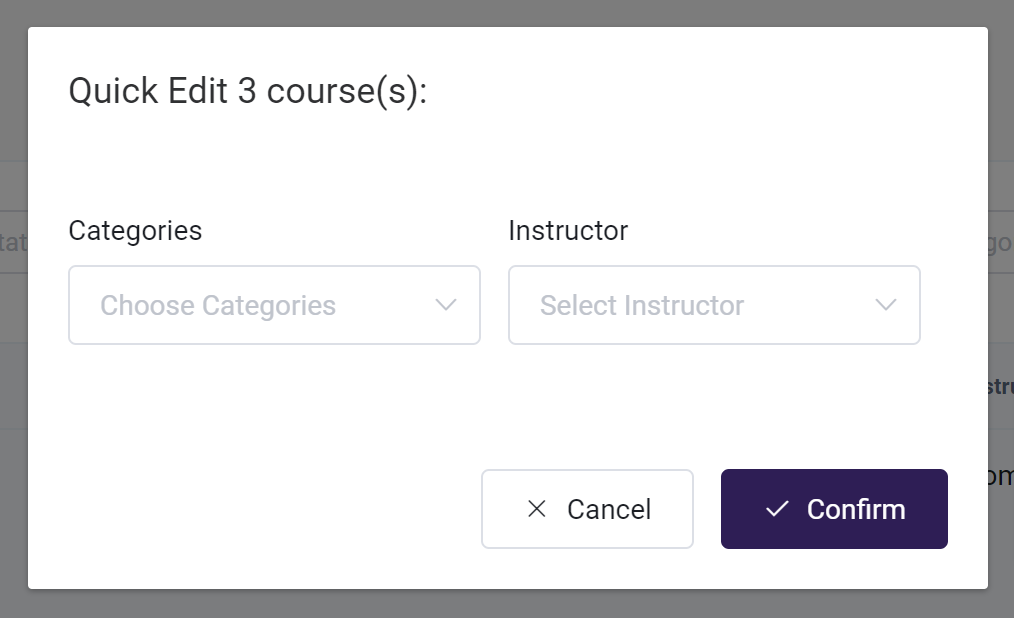
Click the Bulk Actions menu, and select Quick Edit

-
Under the Categories header, select the category or categories you want to add the selected Courses to.
-
Click Confirm to apply the changes.
Editing and Deleting Categories
To update or delete a course category, follow the steps below:
-
From the Owner Dashboard, navigate to Courses > Extras > Course Categories.
-
Find the category you want to edit or delete and click the three-dot action menu next to it.
- To Edit: Enter the new category name and click Submit.
- To Delete: Confirm the deletion when prompted.
For bulk actions, check the boxes next to multiple categories, click Bulk Actions, and choose Delete. Confirm the deletion.
Next Steps
Once your categories are set up, explore these resources to take full advantage of your Course Categories:
- Using Products to Offer Self-Enrollment in Courses: Learn how to use categories to sell Courses online.
- Creating and Managing Membership Plans: Discover how categories integrate with Membership Plans to control access.
Organizing your Courses into categories is the first step to managing access and sales efficiently.