Collecting Feedback From Your Students
Survey Modules enable you to design personalized feedback forms and surveys to gather insights directly from your students. You can specify a prompt to guide the type of feedback you’re seeking and choose from various response formats, such as star ratings, short or long text answers, and multiple-choice or select options. Customize your survey module to suit your needs and maximize the feedback you receive from your students!
This guide will walk you through creating a Survey Module, adding it to your Course, understanding the student experience of the module, and reviewing the feedback collected.
In this article
- Creating a Survey Module
- Adding a Survey Module to a Course
- Student Experience of a Survey Module
- Reviewing Survey Feedback
Creating a Survey Module
Let's now go through how to create a Survey Module!
-
From the Admin Dashboard, select Courses, then choose Survey under the Modules header


-
Click on Create Survey Module.
-
Enter a Title for the module.
-
Add a Description if you'd like. This is a good place to add a brief description of the feedback that you're hoping to gather from students. The text editor does allow for content formatting, as well as custom HTML to make it look and feel however you'd like. You can even embed images, videos, or social media posts to enhance your survey.
-
Now, you can build your Survey Form. There are six types of feedback forms you can create. All of them can be set to be required in order to complete the Module. Let's take a look at each type of form:
- Text (Short Answer) - Allows students to respond to a question in a short written answer.
- Text Area (Long Answer) - Provides more space to the student to allow for longer written answers.
- Rating Form (1-to-5 stars) - will allow you to pose a question using a star rating system. Response options are Oops, Disappointed, Normal, Good, and Great.

- Single Select Form (one-to-many) - gives the student a chance to select one answer from a multiple choice question.
- Multiple Select Form (multiple-of-many) - is similar to the Single Select Form, but allows a student to select more than one response from a multiple choice question.

- Drop Down Form (one-of-many) - displays a multiple choice question as a drop down list. It's essentially a style variation of the Single Select Form.

-
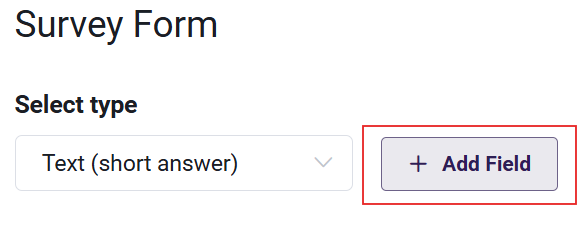
You are able to add multiple questions and types of questions to your Survey. Select the type of form you want for a question, and then click Add Field.
-
Then, enter in the question/prompt for each field, and the options as well if you have selected Multiple Select, Dropdown, or Single Select
-
Once the field has been added, you can choose if it will be required for the student to fill out by toggling "Is Required" to on:

-
You can set an estimated time to complete the module, which indicates the ideal amount of time required to finish it.

-
Click Save Module when you are done building your Survey.
-
Add Your Survey Module to Your Course.
When you have finished creating your Survey Module, you will need to add your Module to your Course. This can be done on the Curriculum page of your Course, and is explained in the section below.
Adding a Survey Module to a Course
Now that your module has been created, you can add it to the Course or Courses so that it is accessible to students:
-
From the Admin Dashboard, choose Courses, then All Courses
-
Find the Course you want to add the Module to, and click the three-dot action menu. Select Edit
-
Click the Step 2: Curriculum tab
-
Click "Add Module" and then opt to "Select an existing module from the list"
- search the drop-down menu for your Module name, and select it.
- Once the Module is added to the bottom of your course list, you have the option of entering the Edit Module page to make changes to its content or removing the module from the course.
-
Click and drag the modules to rearrange them in the order they should be presented in the course. This involves placing the modules in a suitable order along with the sections if used.
-
You have the option to:
- Lock the Module, which forces a student to complete it before being able to move on to the next module in the course
- Set the availability of the Module, which allows you set a date when the module will be available to a student. This gives an Admin or Instructor the control to make modules available to students over time or to restrict a student from completing the course too quickly.
- You can also set a minimum amount time spent in the module that the student must abide by in the Module before being allowed to move on to the next module.
- You can also assign badges or points for each module . This option to assign Badge or Points will only be available if Gamification is enabled from the gamification section under Settings.
-
Save your course changes by clicking Update Course in the upper right corner. If you get distracted or navigate to another section of the platform, changes may not be saved if you do not update before leaving a page you have made changes to.
Please see this guide for the full details of Creating and Updating a Course.
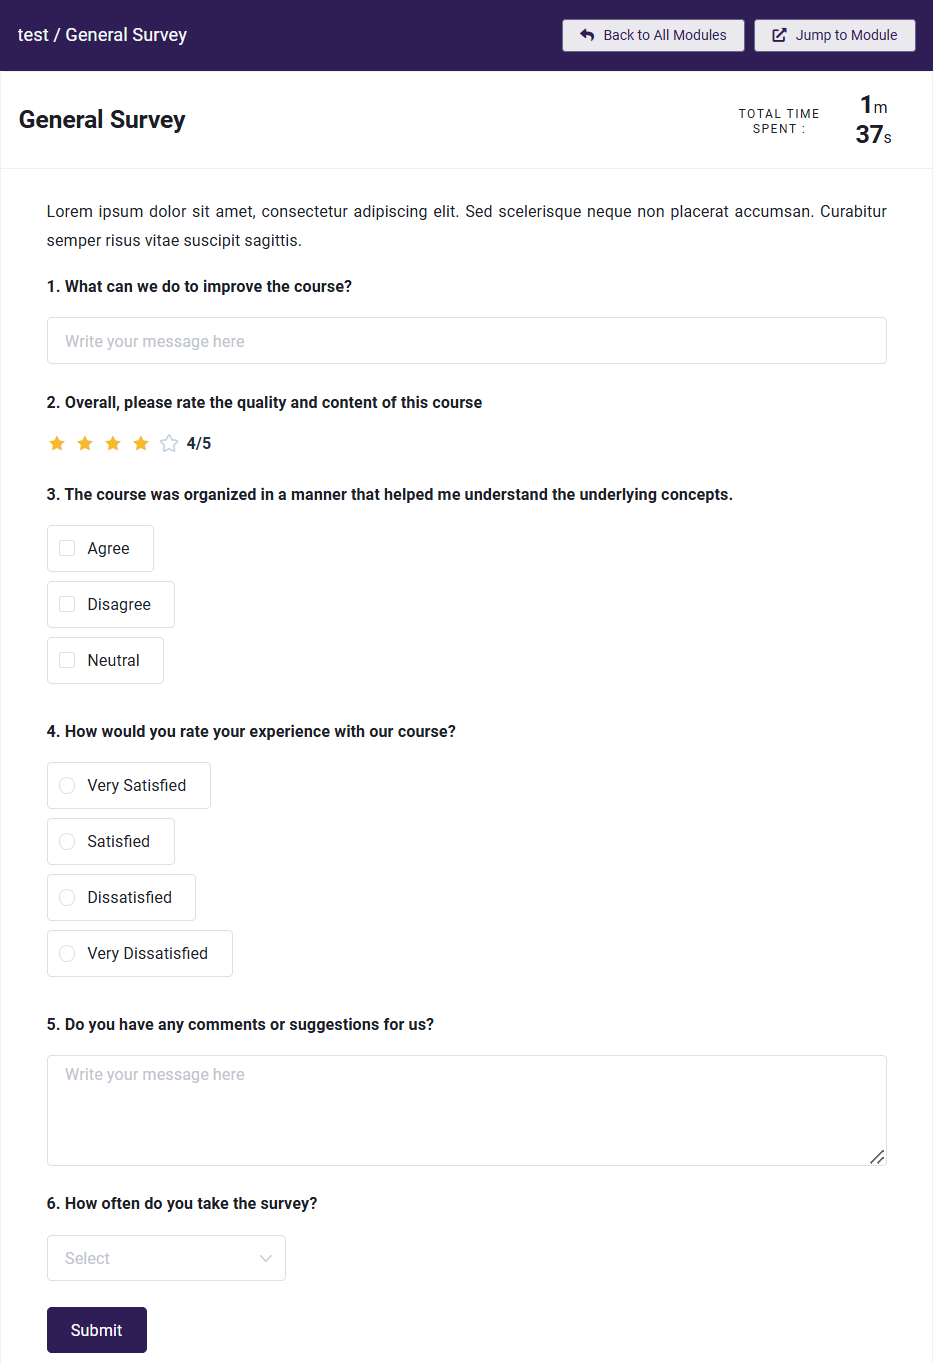
Student Experience of a Survey Module
Students will see the Survey Module description at the top of the page before completing each feedback form. Once they’ve finished, they can submit their responses using the Submit button at the bottom of the page. After submission, their answers are finalized and cannot be edited.
The Module will be marked as complete when the student submits their response.
Reviewing Survey Feedback
Student feedback can be reviewed either individually or as a spreadsheet containing responses from every student in the Course via the Survey Report.
Individual Feedback
To find an individual student's feedback, follow these steps:
- From the Admin Dashboard, select Courses, then All Courses
- Find the Course you want to view the student's feedback for, and click the three-dot menu and opt to Manage
- Next to the student you want to view, click the three-dot action menu and select View Progress
- On the View Progress page, find the Survey Module and select View Response.

You may also view the student's feedback by first heading to their profile via Users>All Users. Then click the three-dot menu, and choose to Manage Courses. Then, you can click the three-dot action menu once more next to the Course of your choosing and opt to View Progress.
All Student Feedback via Survey Report
You may also export a bulk report of Student's Survey responses. This Excel report will include:
- Course Name
- Survey Name
- Student First Name
- Student Last Name
- Submitted On
- Question
- Response
You can access this report from the Course Listing, or via Reports.
Via Course Listing:
- From the Admin Dashboard, select Courses, then All Courses
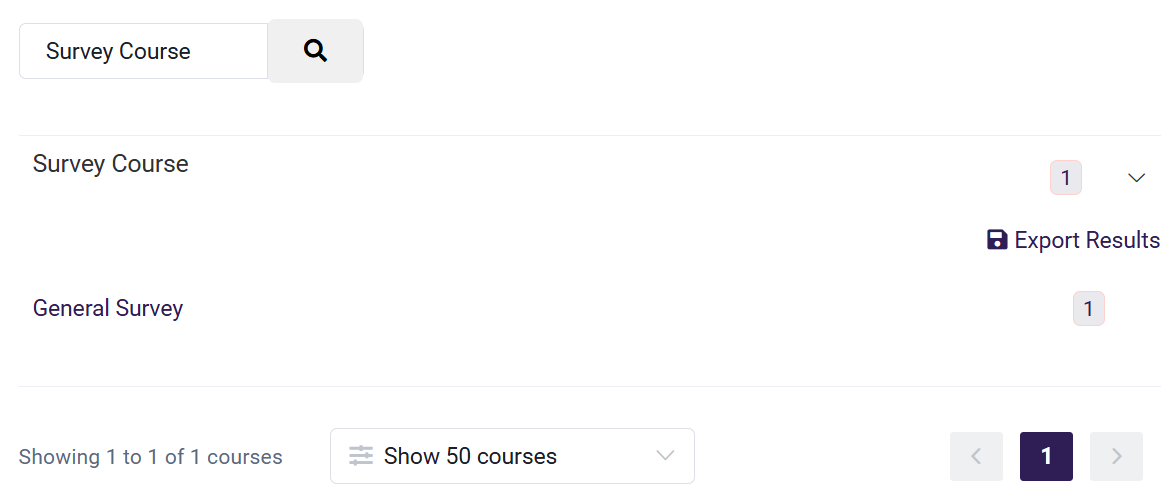
- Find the Course you want to view Survey responses for, and click the three-dot action menu. Select View Survey Report.
- This will bring you to the Survey Report for that Course. To export the responses, click the carat icon to expand the response and click Export Results:
Via Reports:
- From the Admin Dashboard, select Reports
- Choose Survey Report
- Click the Course you want Survey Results for, and click Export Results.