Create Interactive Videos
We're happy to introduce a feature that will elevate the learning experience—interactive videos. This tool goes beyond traditional video content, offering practical benefits for both educators and learners.
In this article
Prerequisites to Add Interactions
To begin adding interactive elements to your content, follow these simple steps:
- Upload Your Video: select the upload option and choose your video file. Our platform supports various formats for seamless integration.
- Save Your Module: after uploading, save your module to secure your progress. This sets the stage for adding interactive features to your video.
Please follow our guide on creating videos for more information.
Types of Interactions

The following interactions can be added to a video:
- Link: create a link that will open in a new window.
- Text/HTML: pop-up text box that supports HTML as well.
- Multiple Choice: pop-up quiz with multiple choices and one correct answer.
- Multiple Correct: pop-up quiz with multiple choices and multiple correct answers.
- Fill In The Blanks: pop-up quiz where the user needs to fill in the blanks.
- True / False: pop-up quiz with a true/false question.
- Hotspots : specify a link that will open in a new tab or add a timeline to skip the video*.*
- Crossroads: pop-up with multiple timelines for skipping timelines.
Add an Interaction
Once you've uploaded your video, you are ready to start adding interactions!
To add interactions, follow these steps:
-
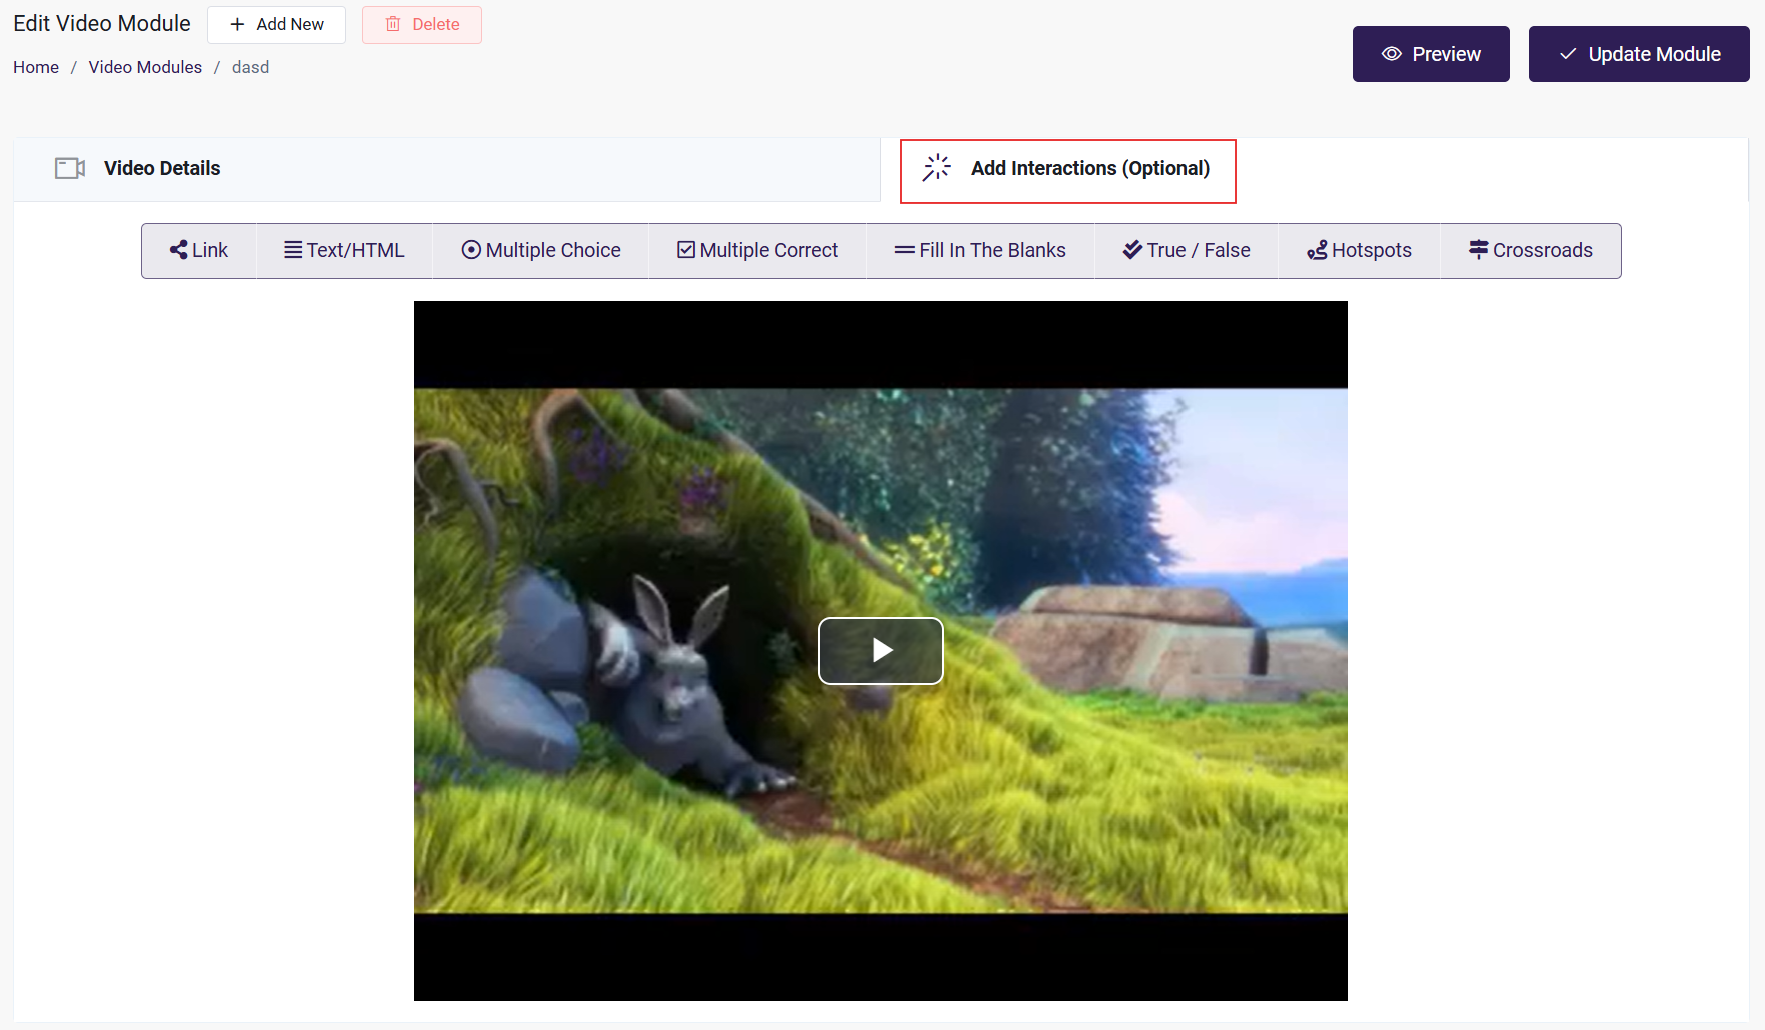
At the top of the video module, click on the Add Interactions (Optional) tab.
-
Skip your video to the section where you want to add an interaction.
-
Using the horizontal menu, click on the interaction you want to add (e.g. Link). The interaction will be placed on the video.
-
Click + Hold the interaction to move it around the video to where you would like it to be.
-
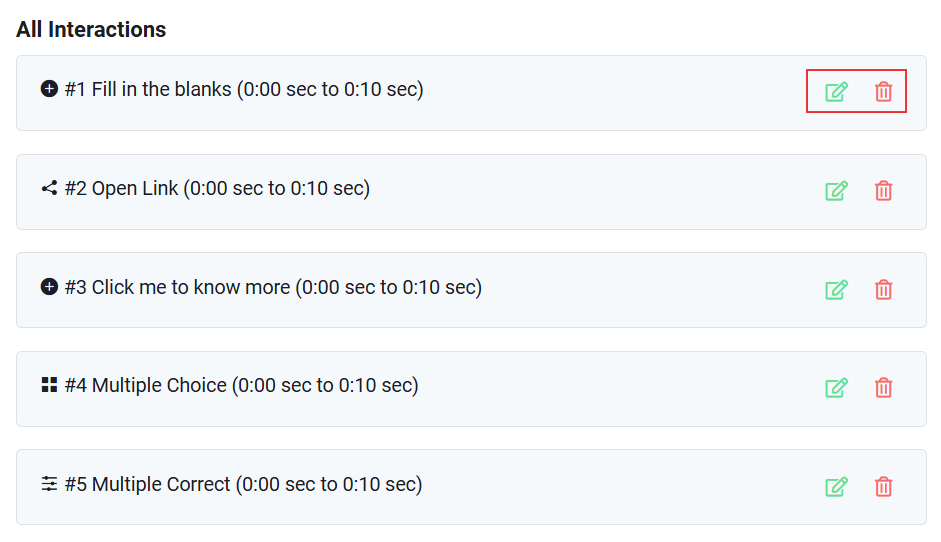
Click on the orange pencil icon to edit the interaction (see options for each interaction below).
- Alternatively, in the All Interactions section below the video, there is also a pencil icon you can use to edit.
- By default, an interaction will be visible for a time-span of 10 seconds and will not pause the video if a user interacts with it.
-
Click on the red garbage icon to delete the interaction.
- Alternatively, in the All Interactions section below the video, there is also a garbage icon you can use to edit.
Edit an Interaction
When you click on the edit icon for an interaction, the Edit Interaction modal will pop-up with settings specific to that interaction.
Remember to click on the Confirm button to save your settings!
Settings
The following are settings that are common across all interactions.
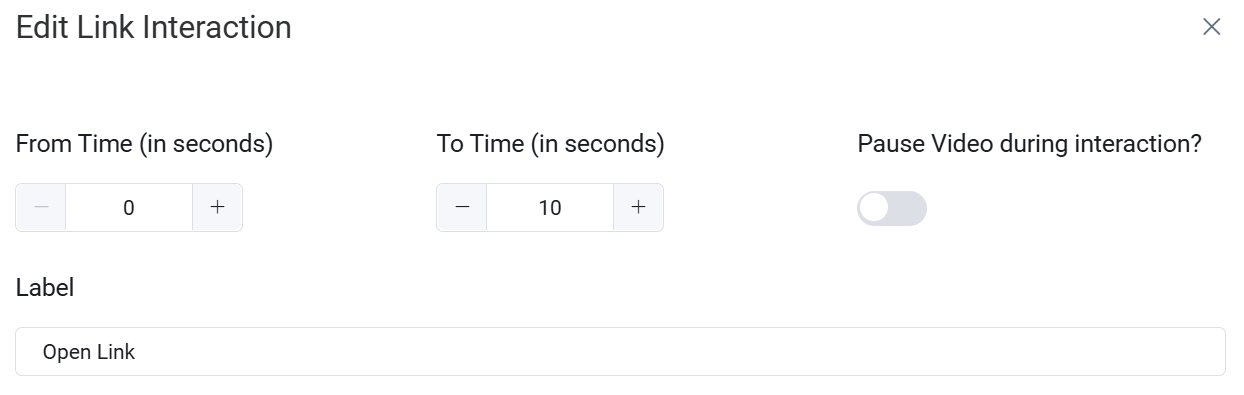
- From Time (in seconds): the video time at which the interaction will be displayed to the user.
- To Time (in seconds): the video time at which the interaction will disappear.
- Pause Video during interaction?: whether the video should pause when a user clicks on the interaction.
- Label: the text that will be shown for the interaction when it is displayed on the video.
Additional Settings
These are additional settings that are available for specific interactions.
- Link URL: the website that will be opened in a new window (Link).
- Description: the content that should be displayed (Text/HTML).
- Question: the question that the user will need to answer (Multiple Choice, Multiple Correct, Fill In The Blanks, True / False).
- For Fill In The Blank interactions, use the [aom-fillblank] [/aom-fillblank] short-codes to add possible answers.
- To add multiple answers, separate each answer with a forward-slash ("/", e.g. "answer1/answer2/answer3").
- Example**:**Academy of mine is a [aom-fillblank] lms/learning management system/edtech [/aom-fillblank] company.
- Choices: the possible answer choices for the question (Multiple Choice, Multiple Correct).
- For Multiple Choice, click the radio button to the left of the choice to mark it as the correct option.
- For Multiple Correct, click the check-boxes to the left of the choices to mark them as the correct options.
- Set correct answer: mark the answer that is correct (True / False).
- Feedback For Correct Response: add any feedback you'd like to provide to the user if they answer correctly.
- Feedback For Incorrect Response: add any feedback you'd like to provide to the user if they answer incorrectly.