Integrating Shopify with AOM
Shopify allows its users to set up an eCommerce store with custom website and theme, manage customer orders and payments, and sell products worldwide. We are excited to share that Academy of Mine offers an integration with Shopify, meaning you'll be be able to sell courses on your LMS directly through your Shopify store by mapping your Shopify products to AOM courses and provide automatic, direct course enrollment for purchasers.
In this guide, we will be going through the steps to activate and configure the Shopify integration. We'll also review what the learner experience will be from checking out on Shopify, to getting the automated LMS emails, to logging into the LMS to access the courses they have been automatically enrolled into.
In this article:
- Step 1: Set Up Shopify App Credentials
- Step 2: Change Store Checkout Settings
- Step 3: Add Shopify App Credentials to AOM
- Step 4: Map AOM Course with a Shopify Product
- Learner Experience of Checking Out via Shopify
Step 1: Set Up Shopify App Credentials
Integrating Shopify with Academy of Mine will require a Shopify App and the app credentials of the Admin API access token and Shopify store address. Detailed instructions for creating Shopify Apps can be found in the Shopify Developer Documentation but we will go over the high-level steps here.
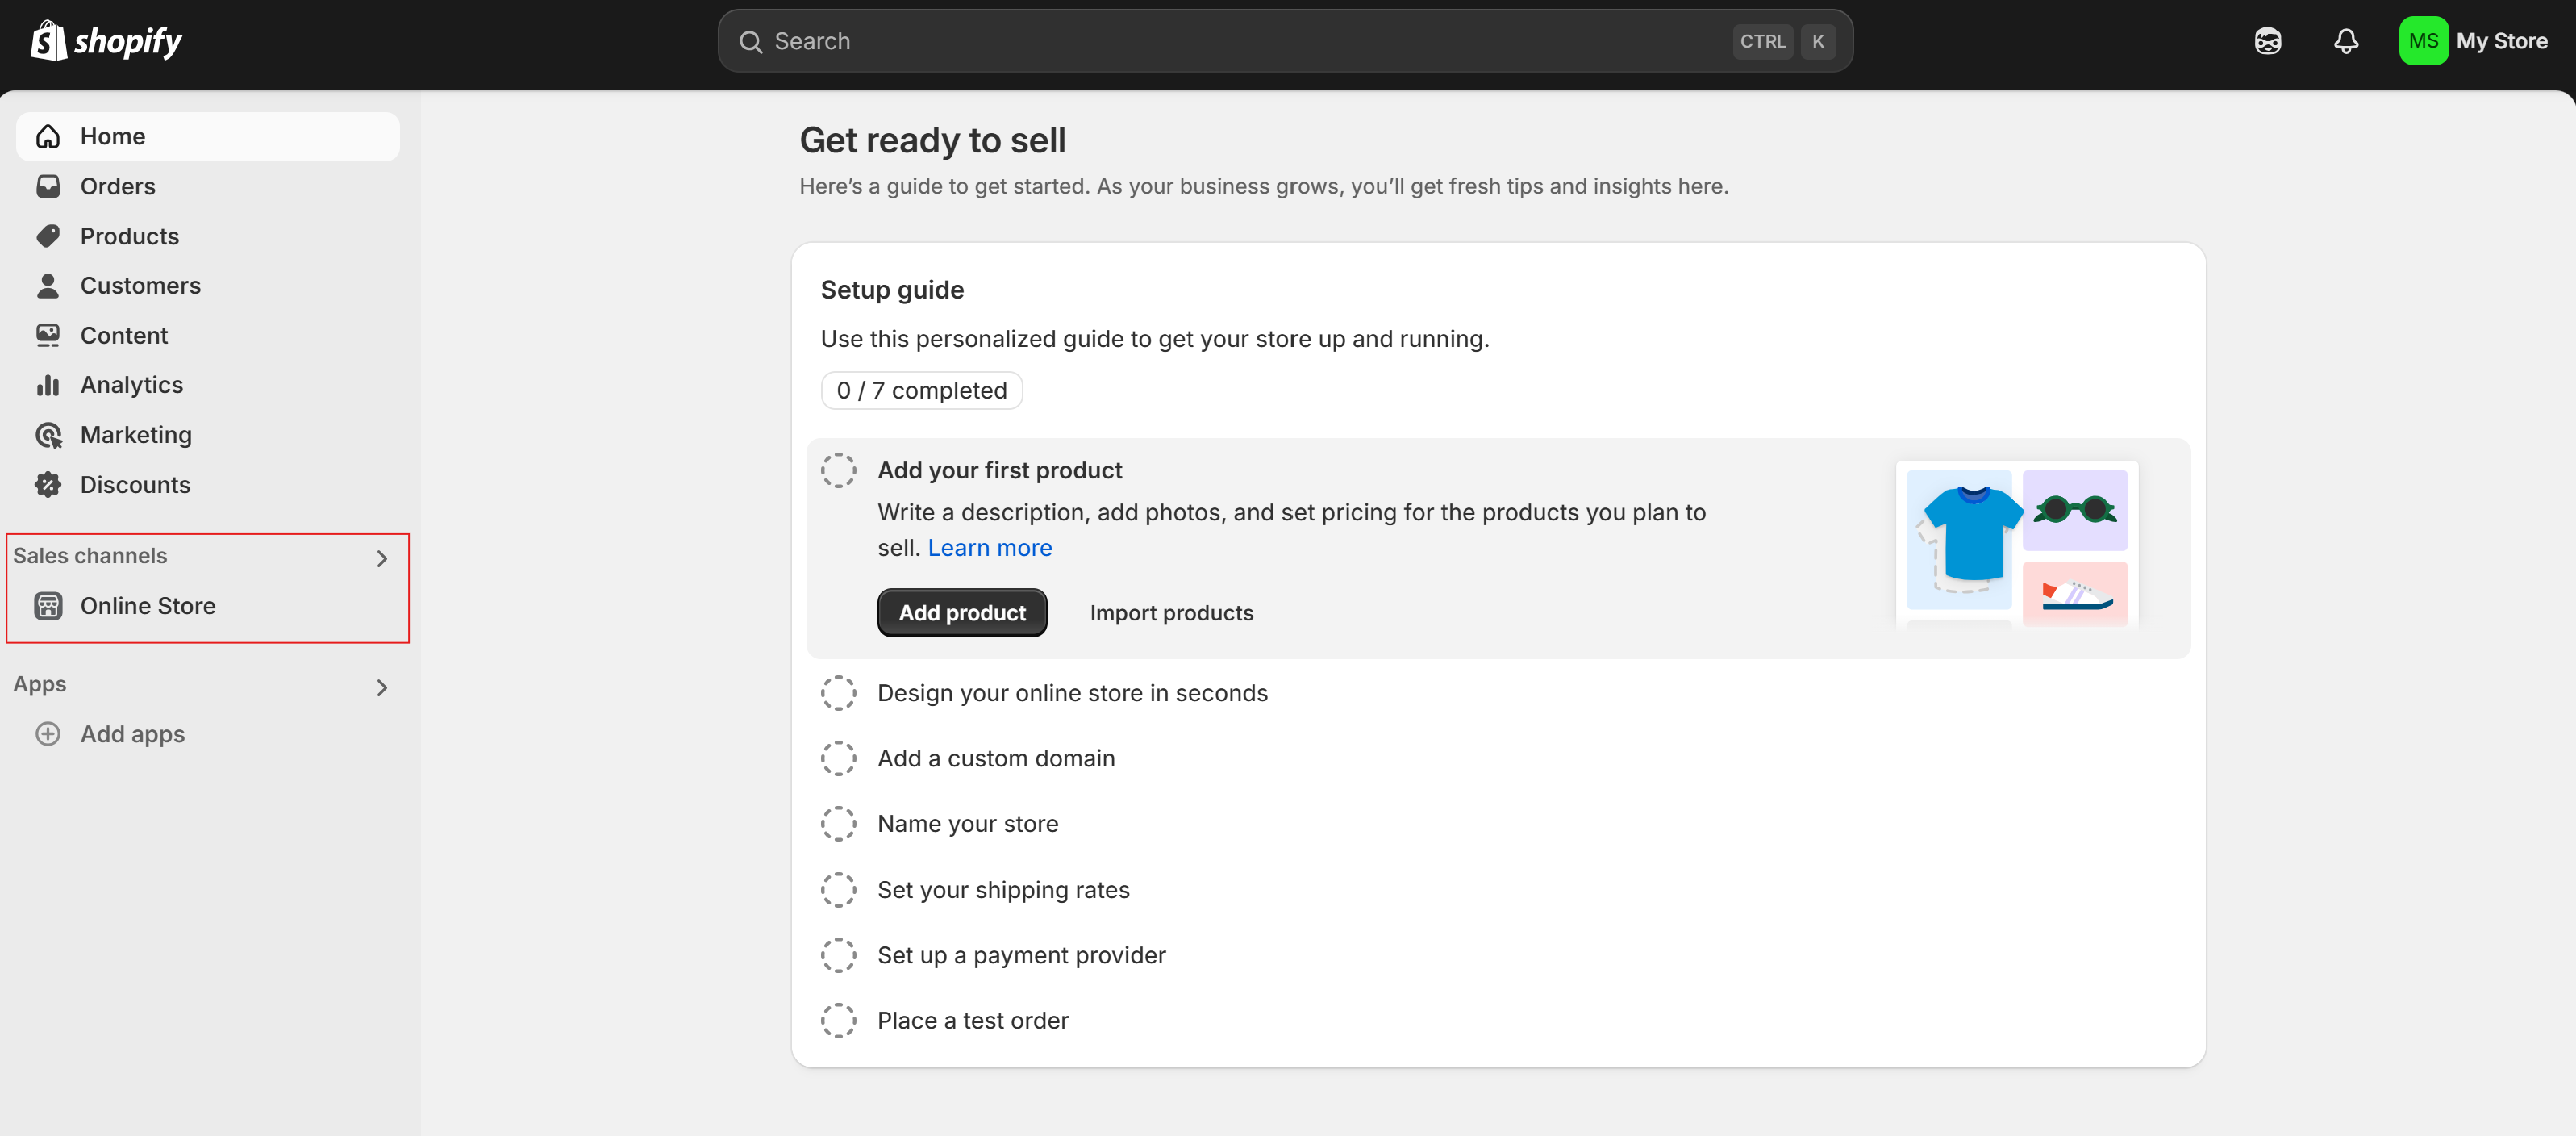
- To start you need to log into https://accounts.shopify.com and proceed to your store (If you have not created a Shopify store yet, you need to create one). You will be redirected to the Shopify Admin page after login. Click on Sales channels in the sidebar on the left.
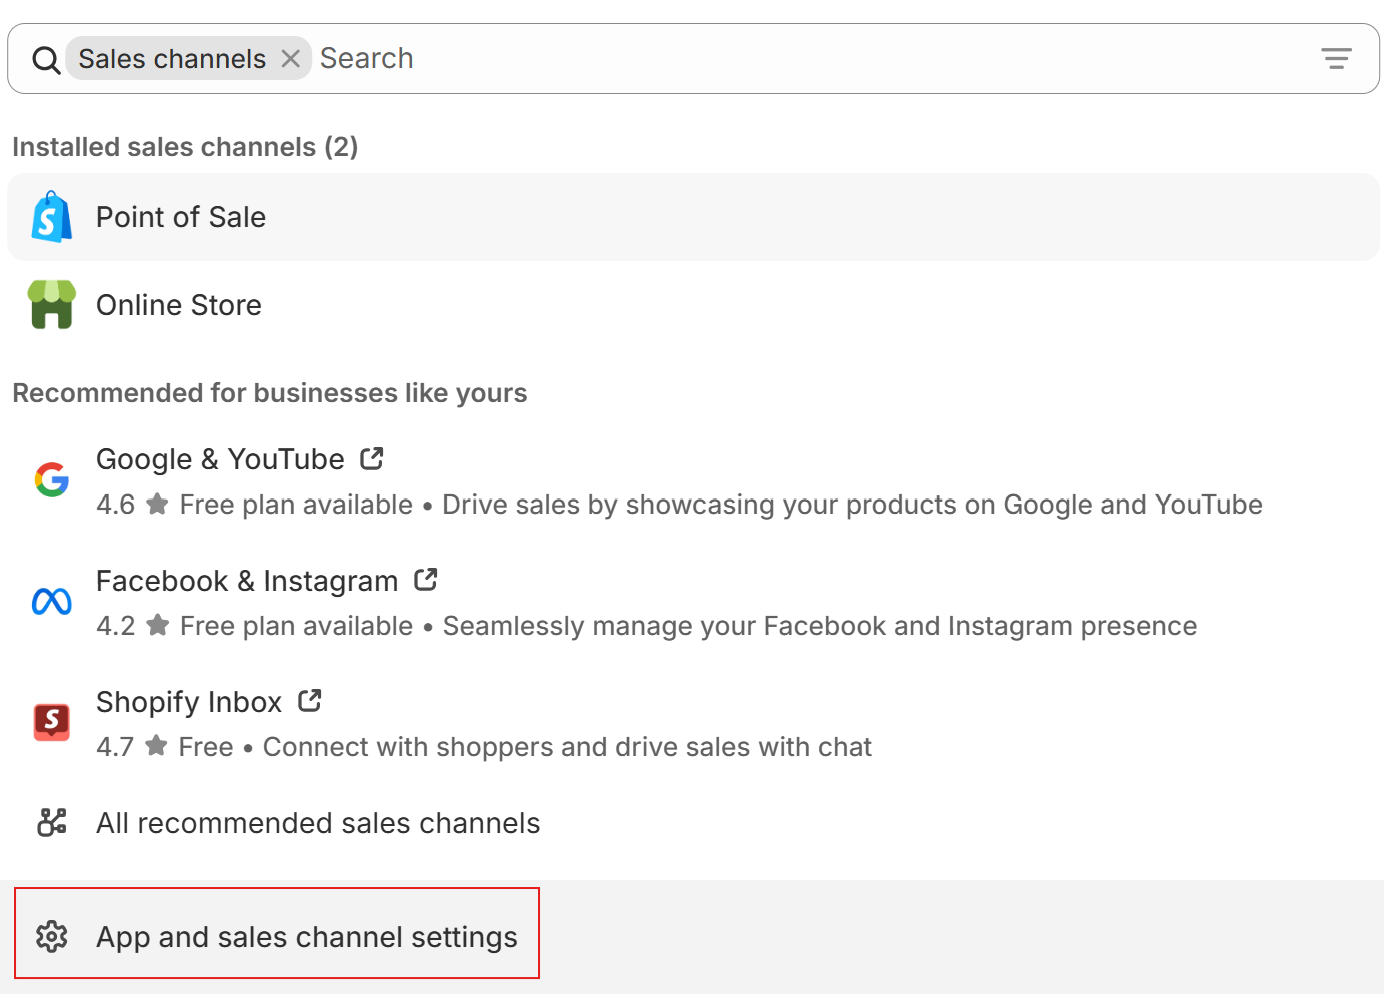
- Click App and sales channel settings
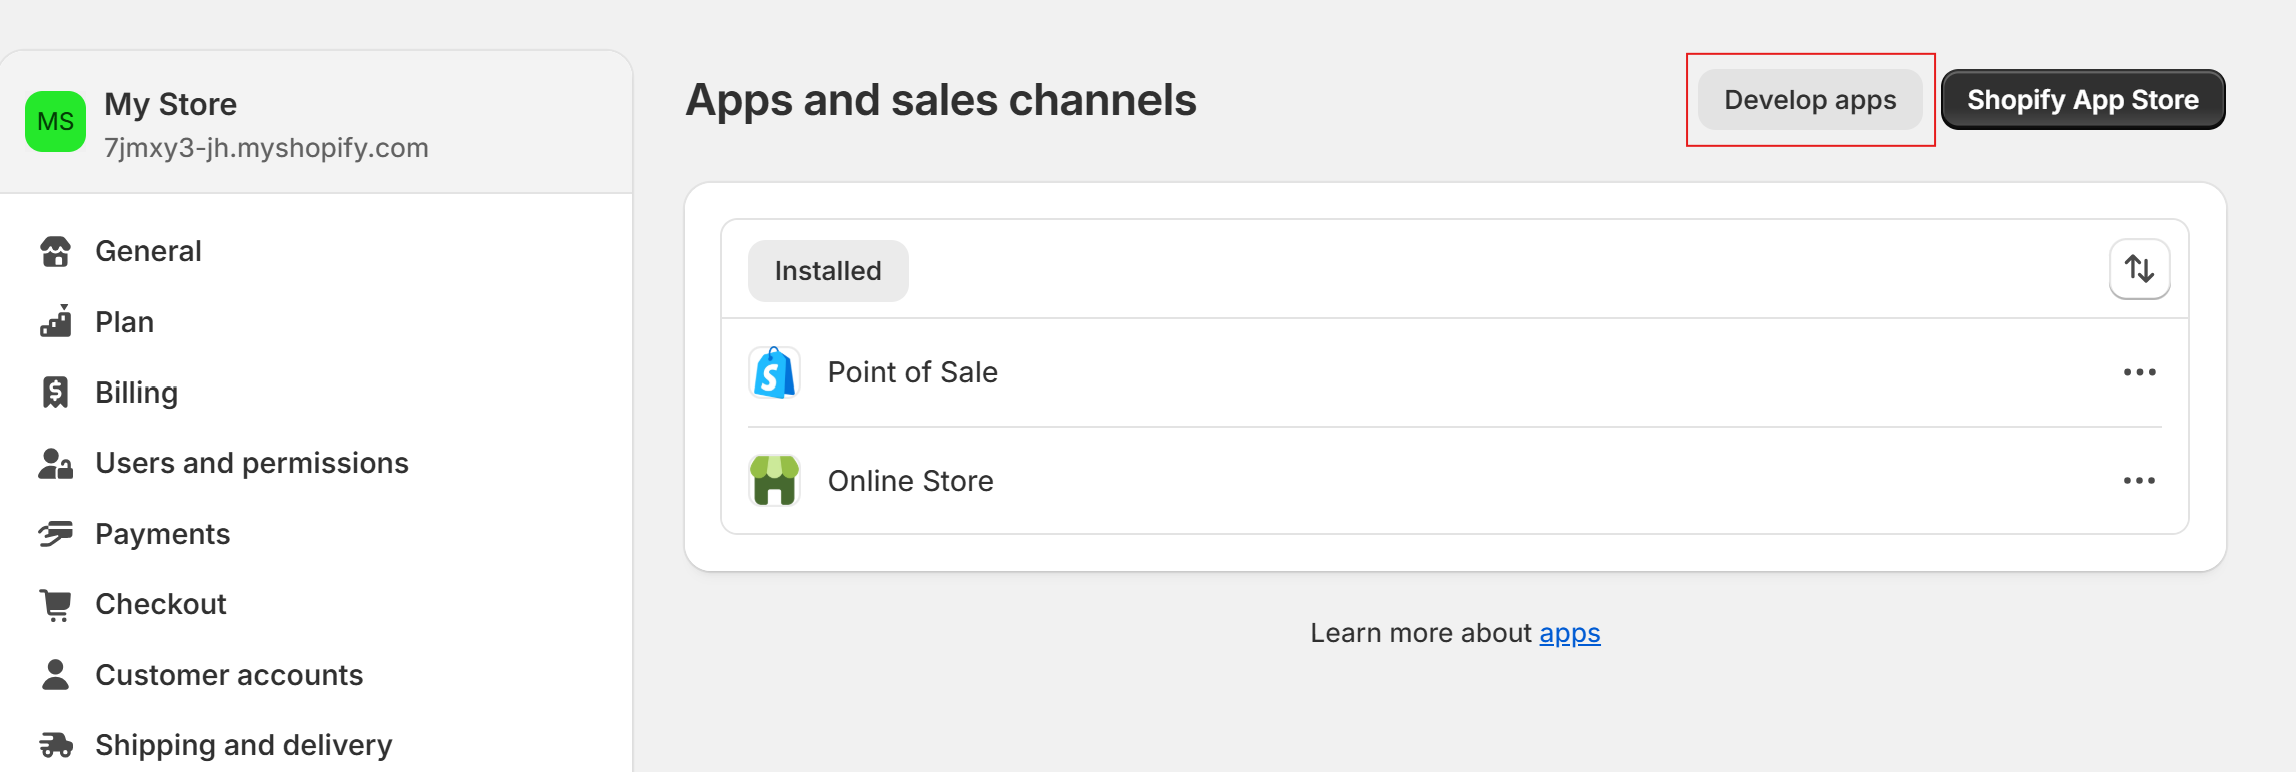
- Click Develop apps for your store
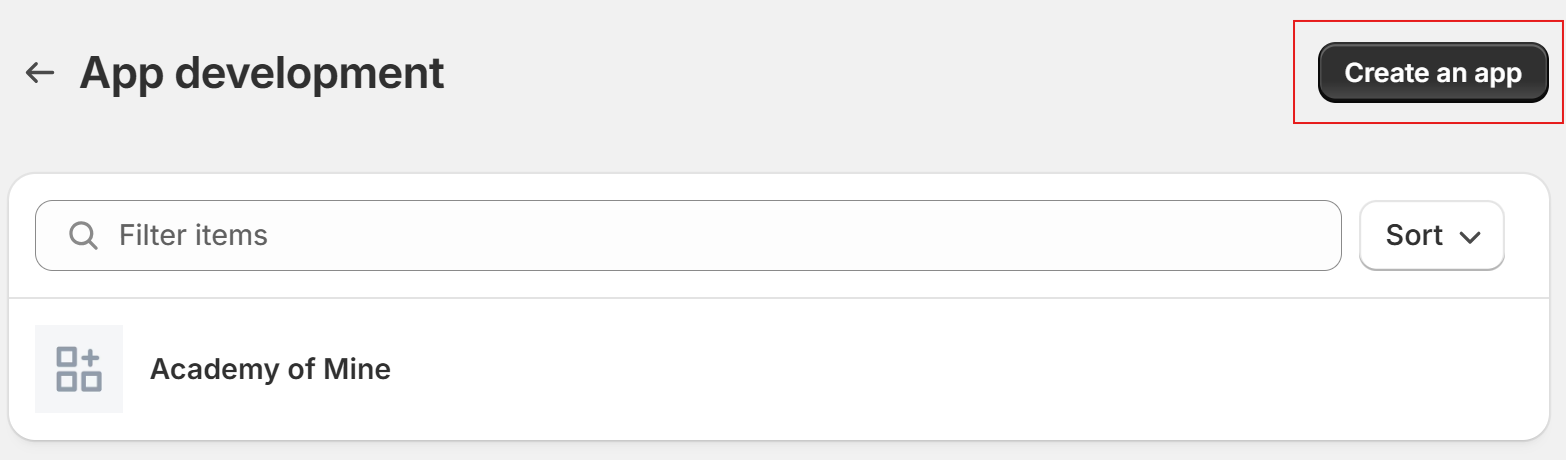
- Click Create an app
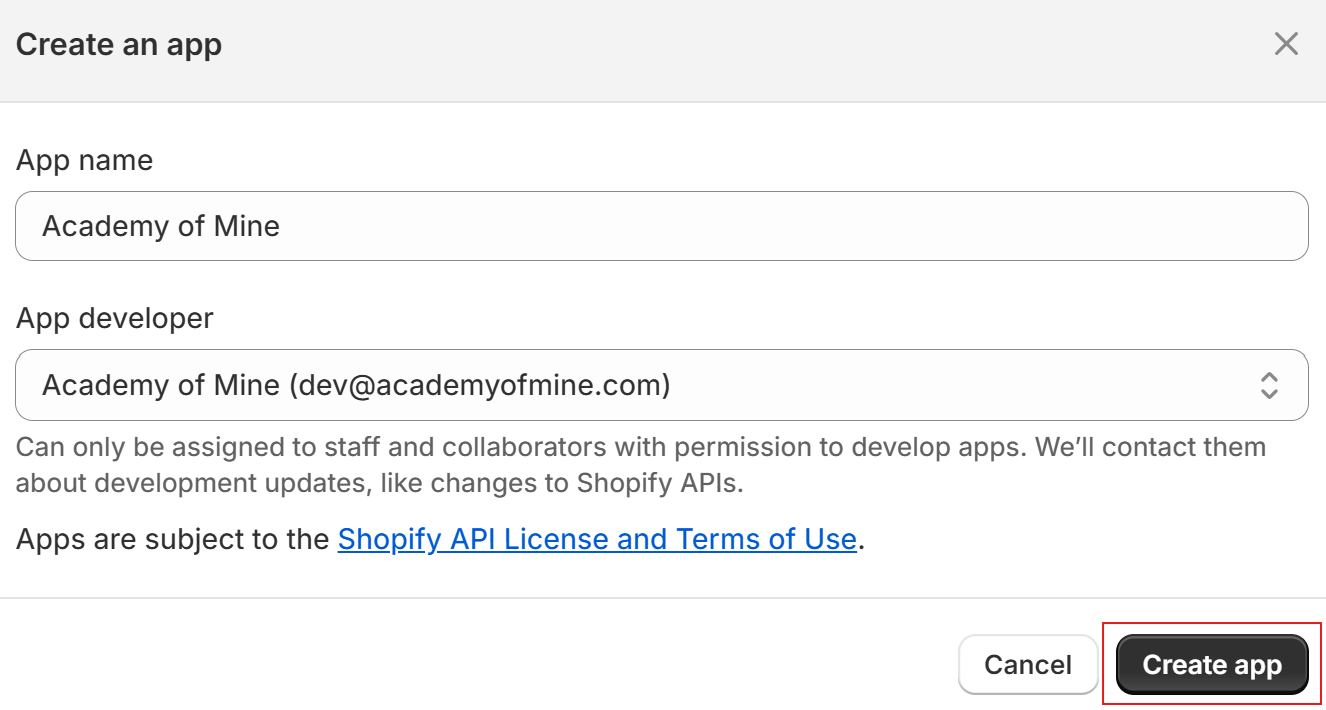
- Enter the app name and who the developer is (this can only assigned to staff and collaborators with permission to develop apps on Shopify). Then click Create app
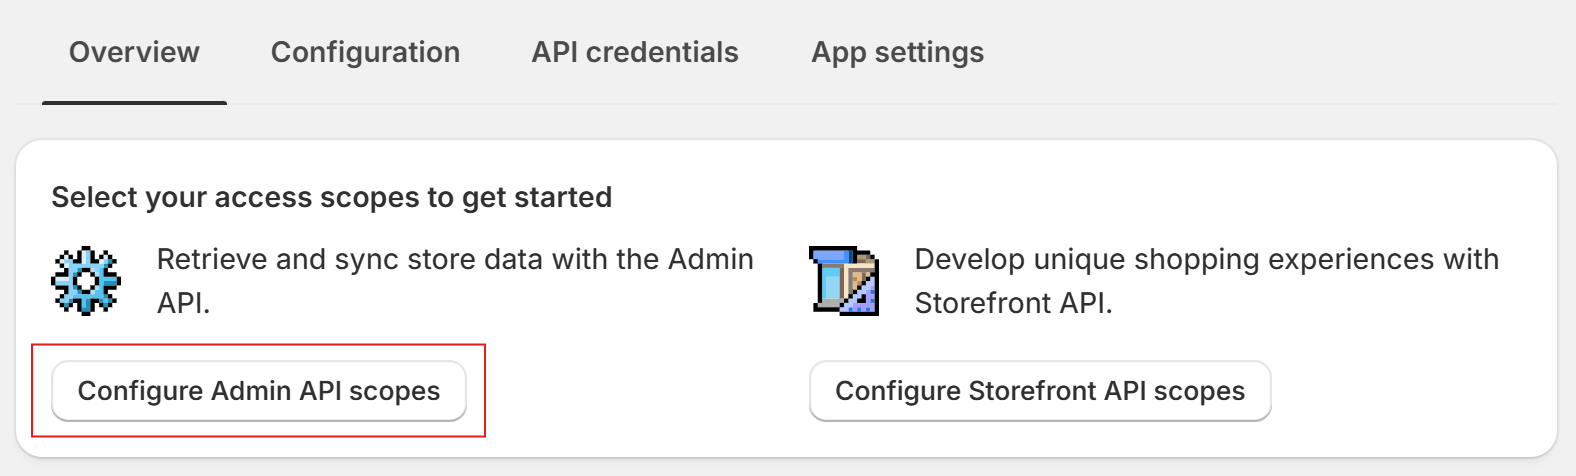
- Now you will configure the Admin API scopes (you don't need to configure the Storefront API scopes for this integration)
- Check the boxes next to the following API access scopes (the bolded text is the heading in Shopify):
- Assigned fulfillment orders: read_assigned_fulfillment_orders
- Customers: read_customers
- Draft orders: read_draft_orders
- Order editing: read_order_edits
- Orders: write_orders, read_orders
- Price rules: write_price_rules, read_price_rules,
- Product listings: write_product_listings, read_product_listings,
- Products: write_products, read_products
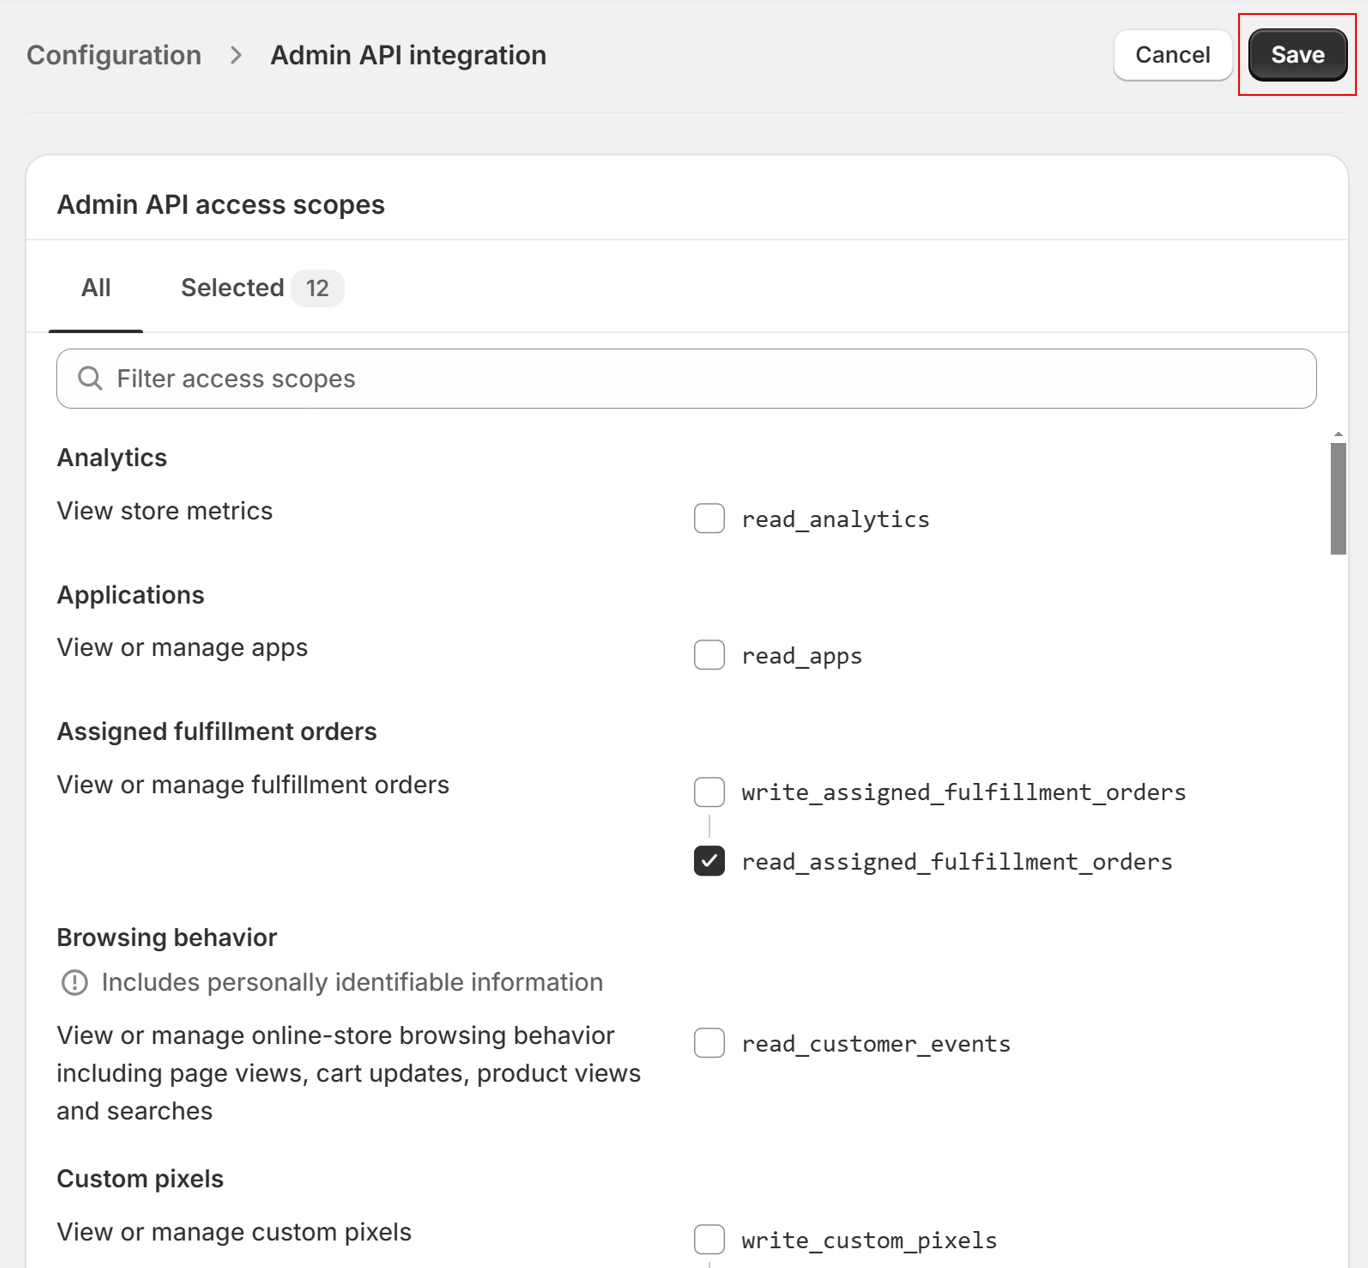
- Once the correct scopes have been selected, click Save in the upper right
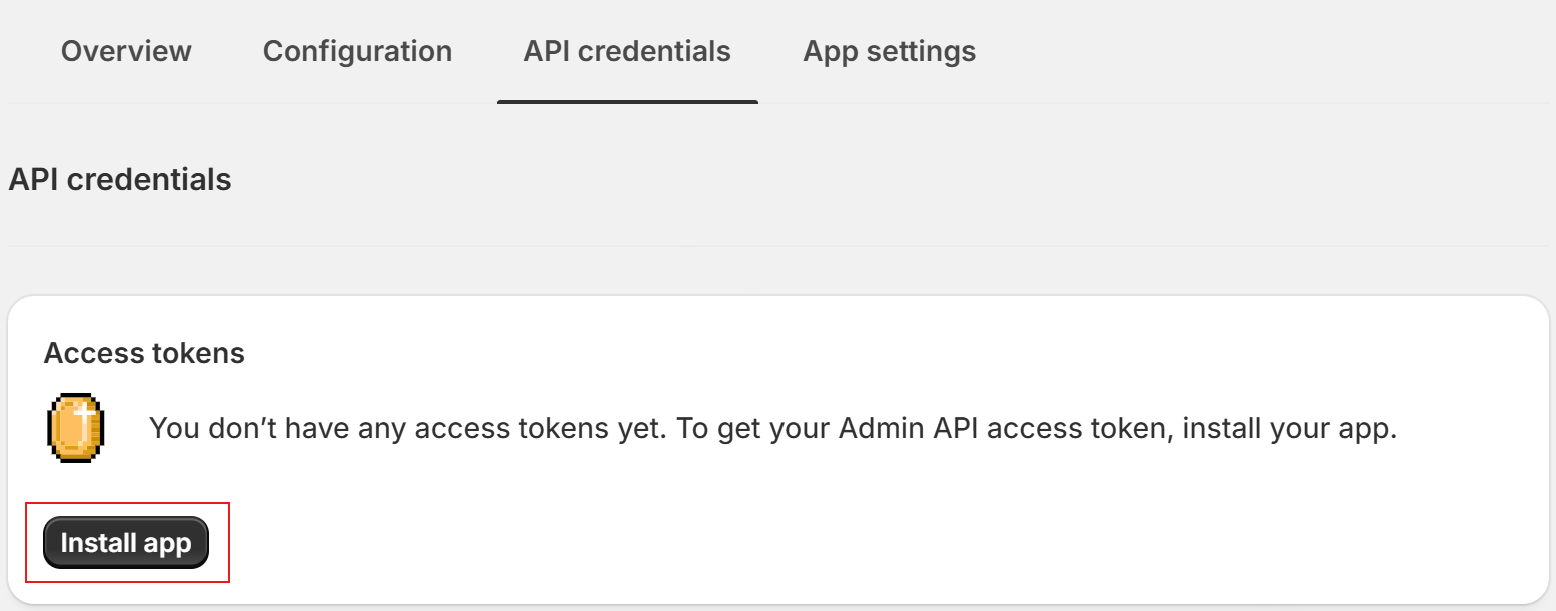
- Click the API credentials tab, and click Install App.
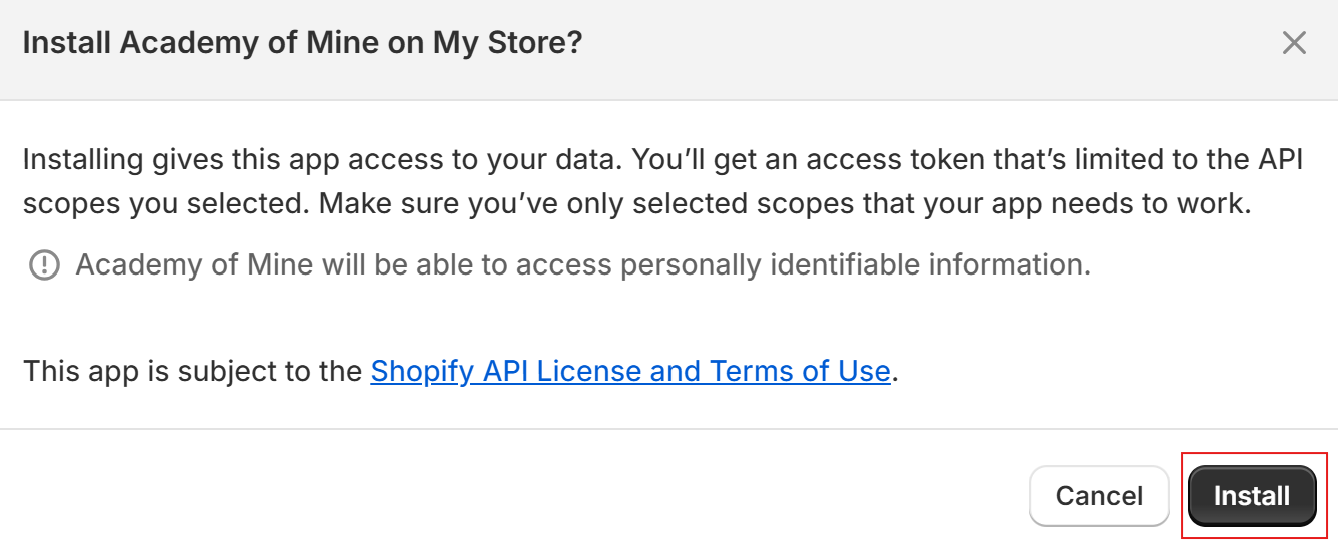
- Confirm that you want to Install the app
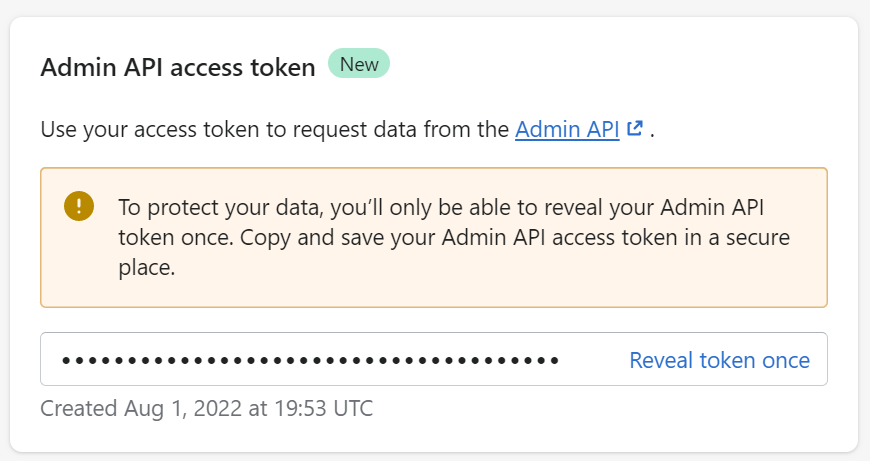
- Once the app has been installed, an Admin API access token will be created. You will need to copy this and enter it into AOM. Click "reveal token once" and copy/save the token to be entered into AOM.
This token is only shown once, so take care to copy it and add it correctly. If you need to redo this, you'll need to uninstall and reinstall the Shopify app you have created.
Step 2: Change your Shopify Store checkout settings
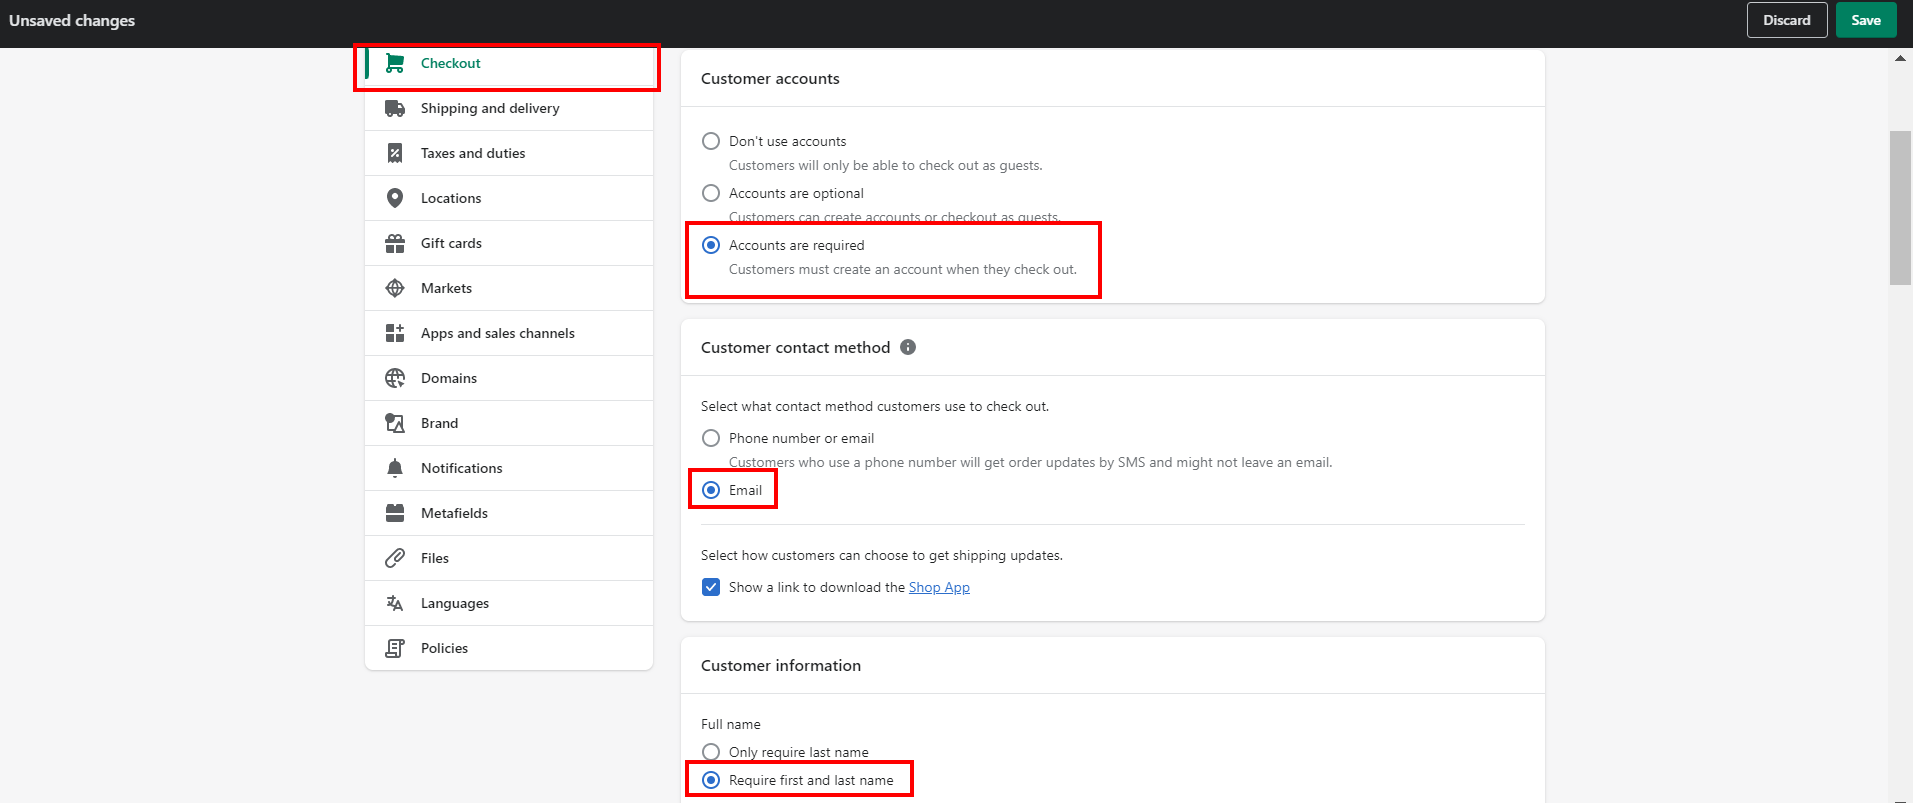
- Click on Settings which can be found all the way at the bottom of the sidebar on the left, and then click on Checkout.
- You should see a Checkout settings page. Make the changes as shown below and click on Save in the upper right. a. Inside the "Customer accounts" section, select the *"*Accounts are required" option. Also be sure that under the Customer Information b. Inside the "Customer contact method" section, select the "Email" option.c. Under the "Customer information" section, be sure that "Require first and last name" is checked
Step 3: Add Shopify App Credentials to AOM
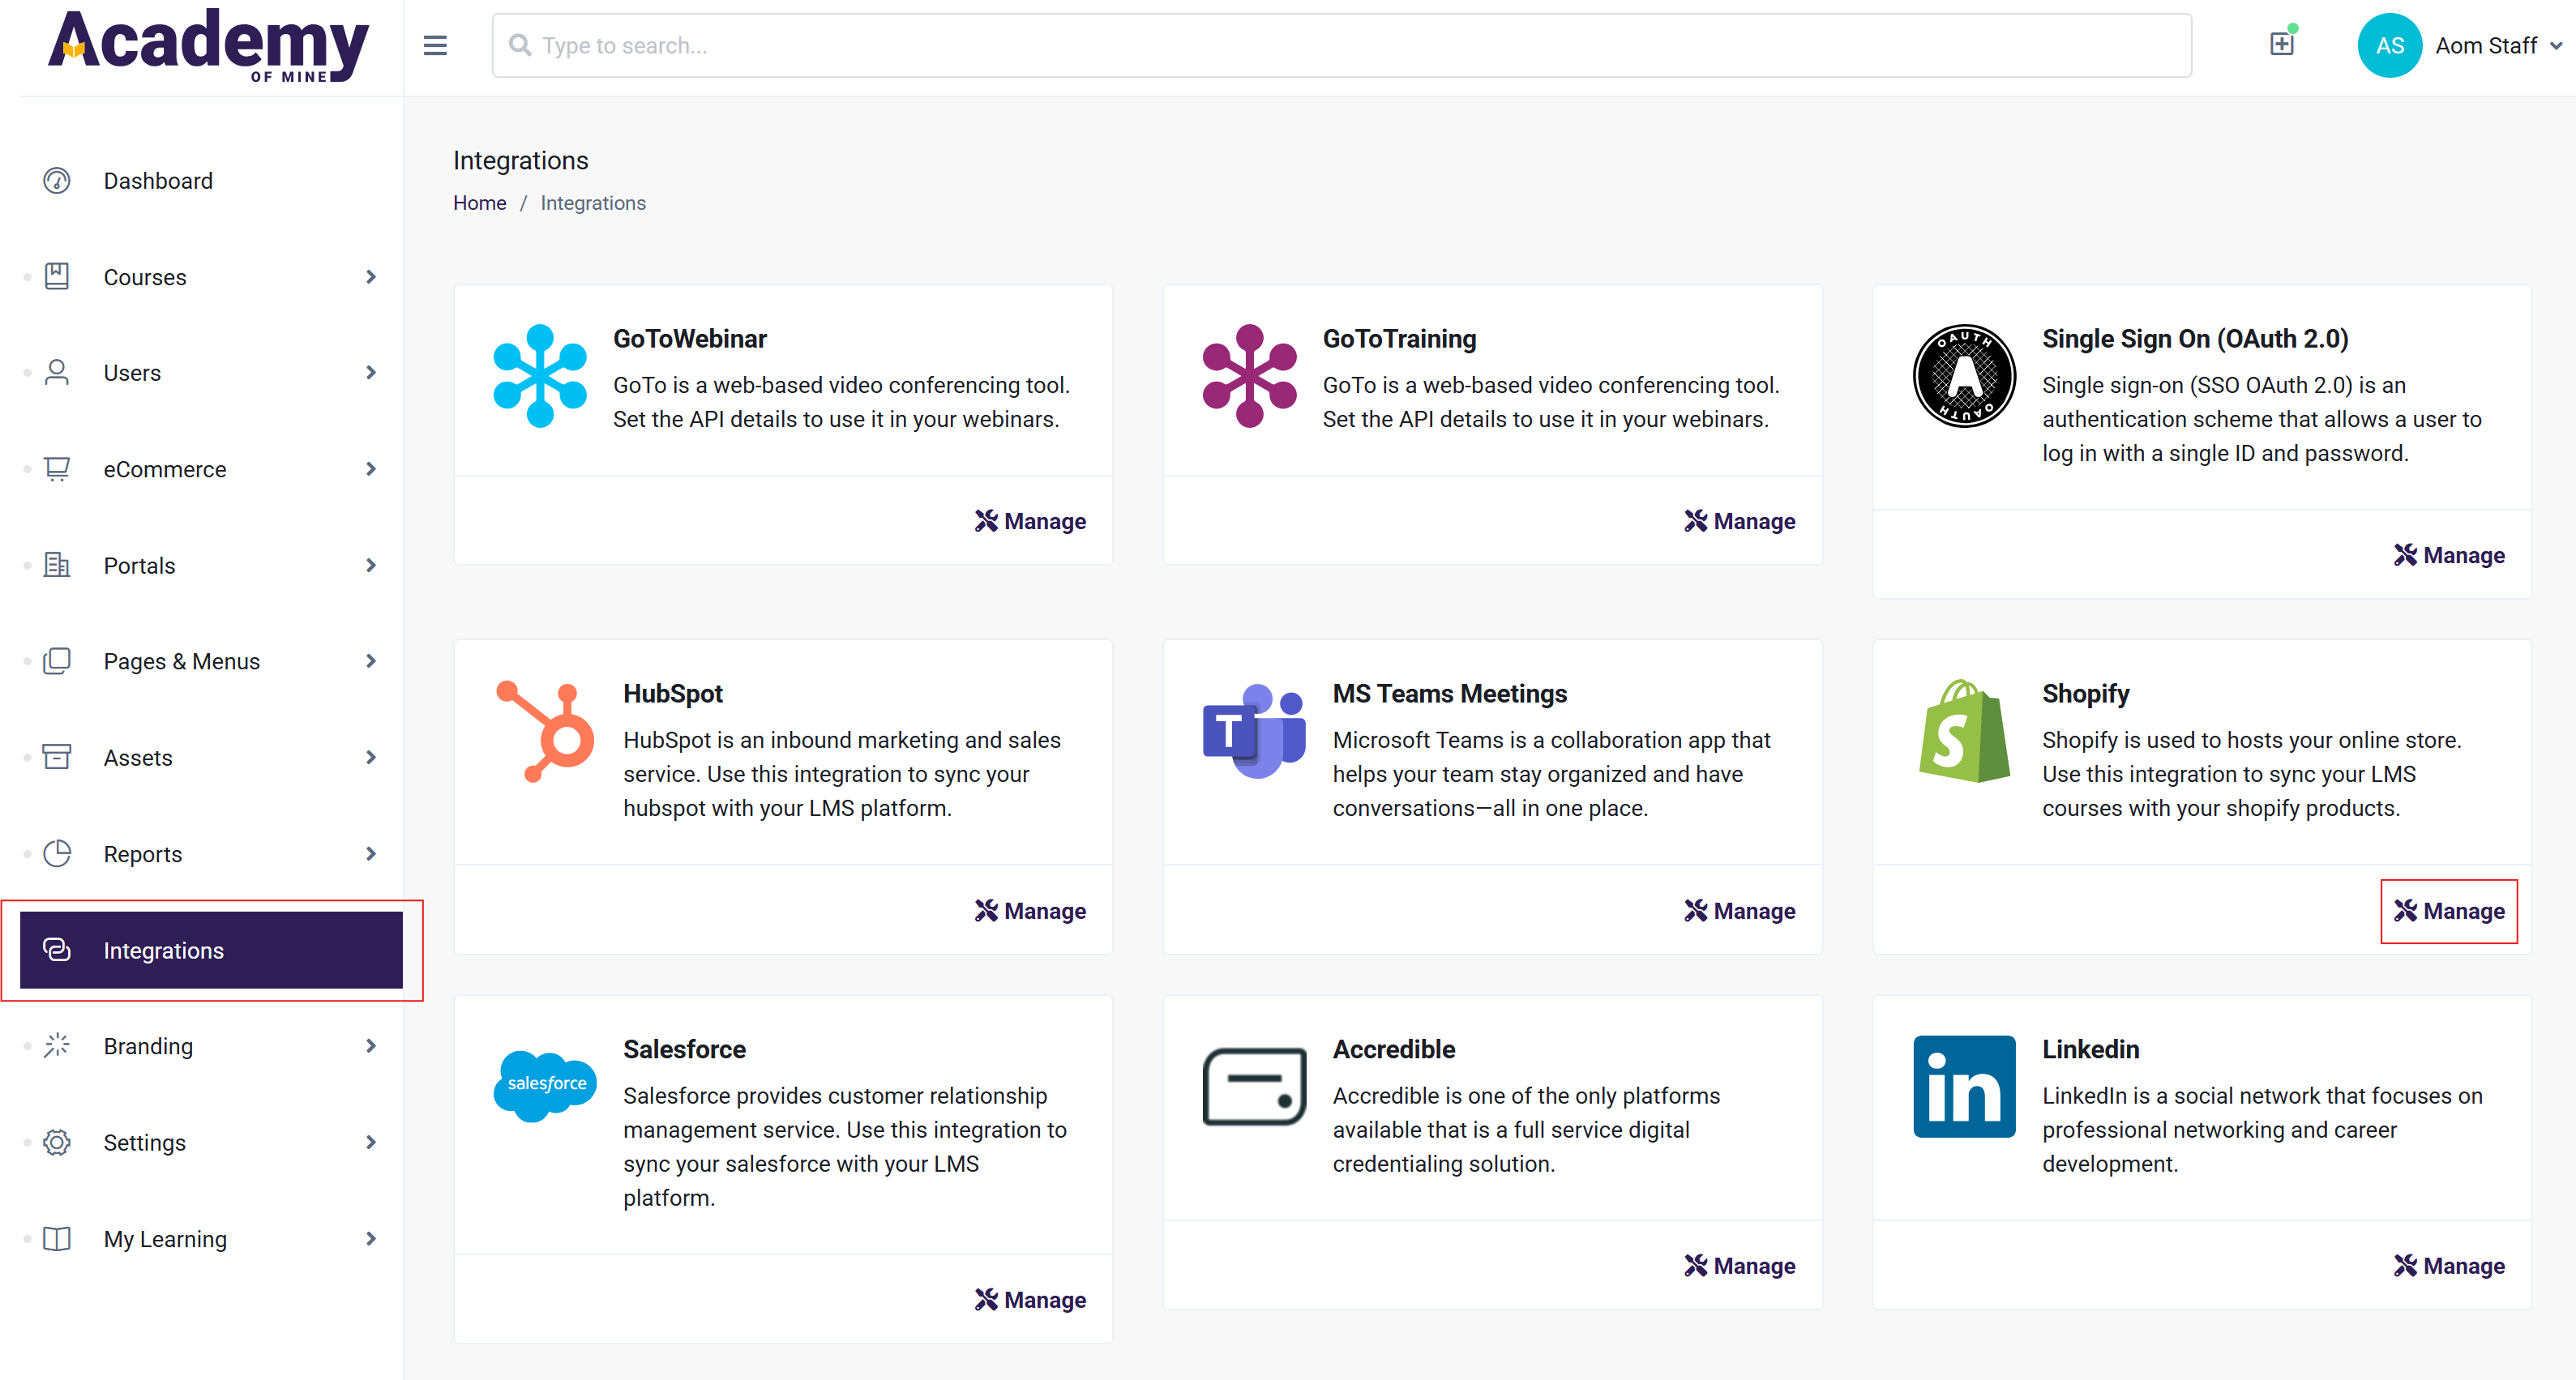
- From the Admin Dashboard, click on Integrations from the sidebar to see all the list of integrations. Click on Manage button to configure Shopify.
- Now you will need to provide your Shopify store name and Admin API access token, which you have already created while registering our the app in first section of this article. Copy and paste those values in the appropriate fields and click the Save button to connect Shopify with your AOM LMS.
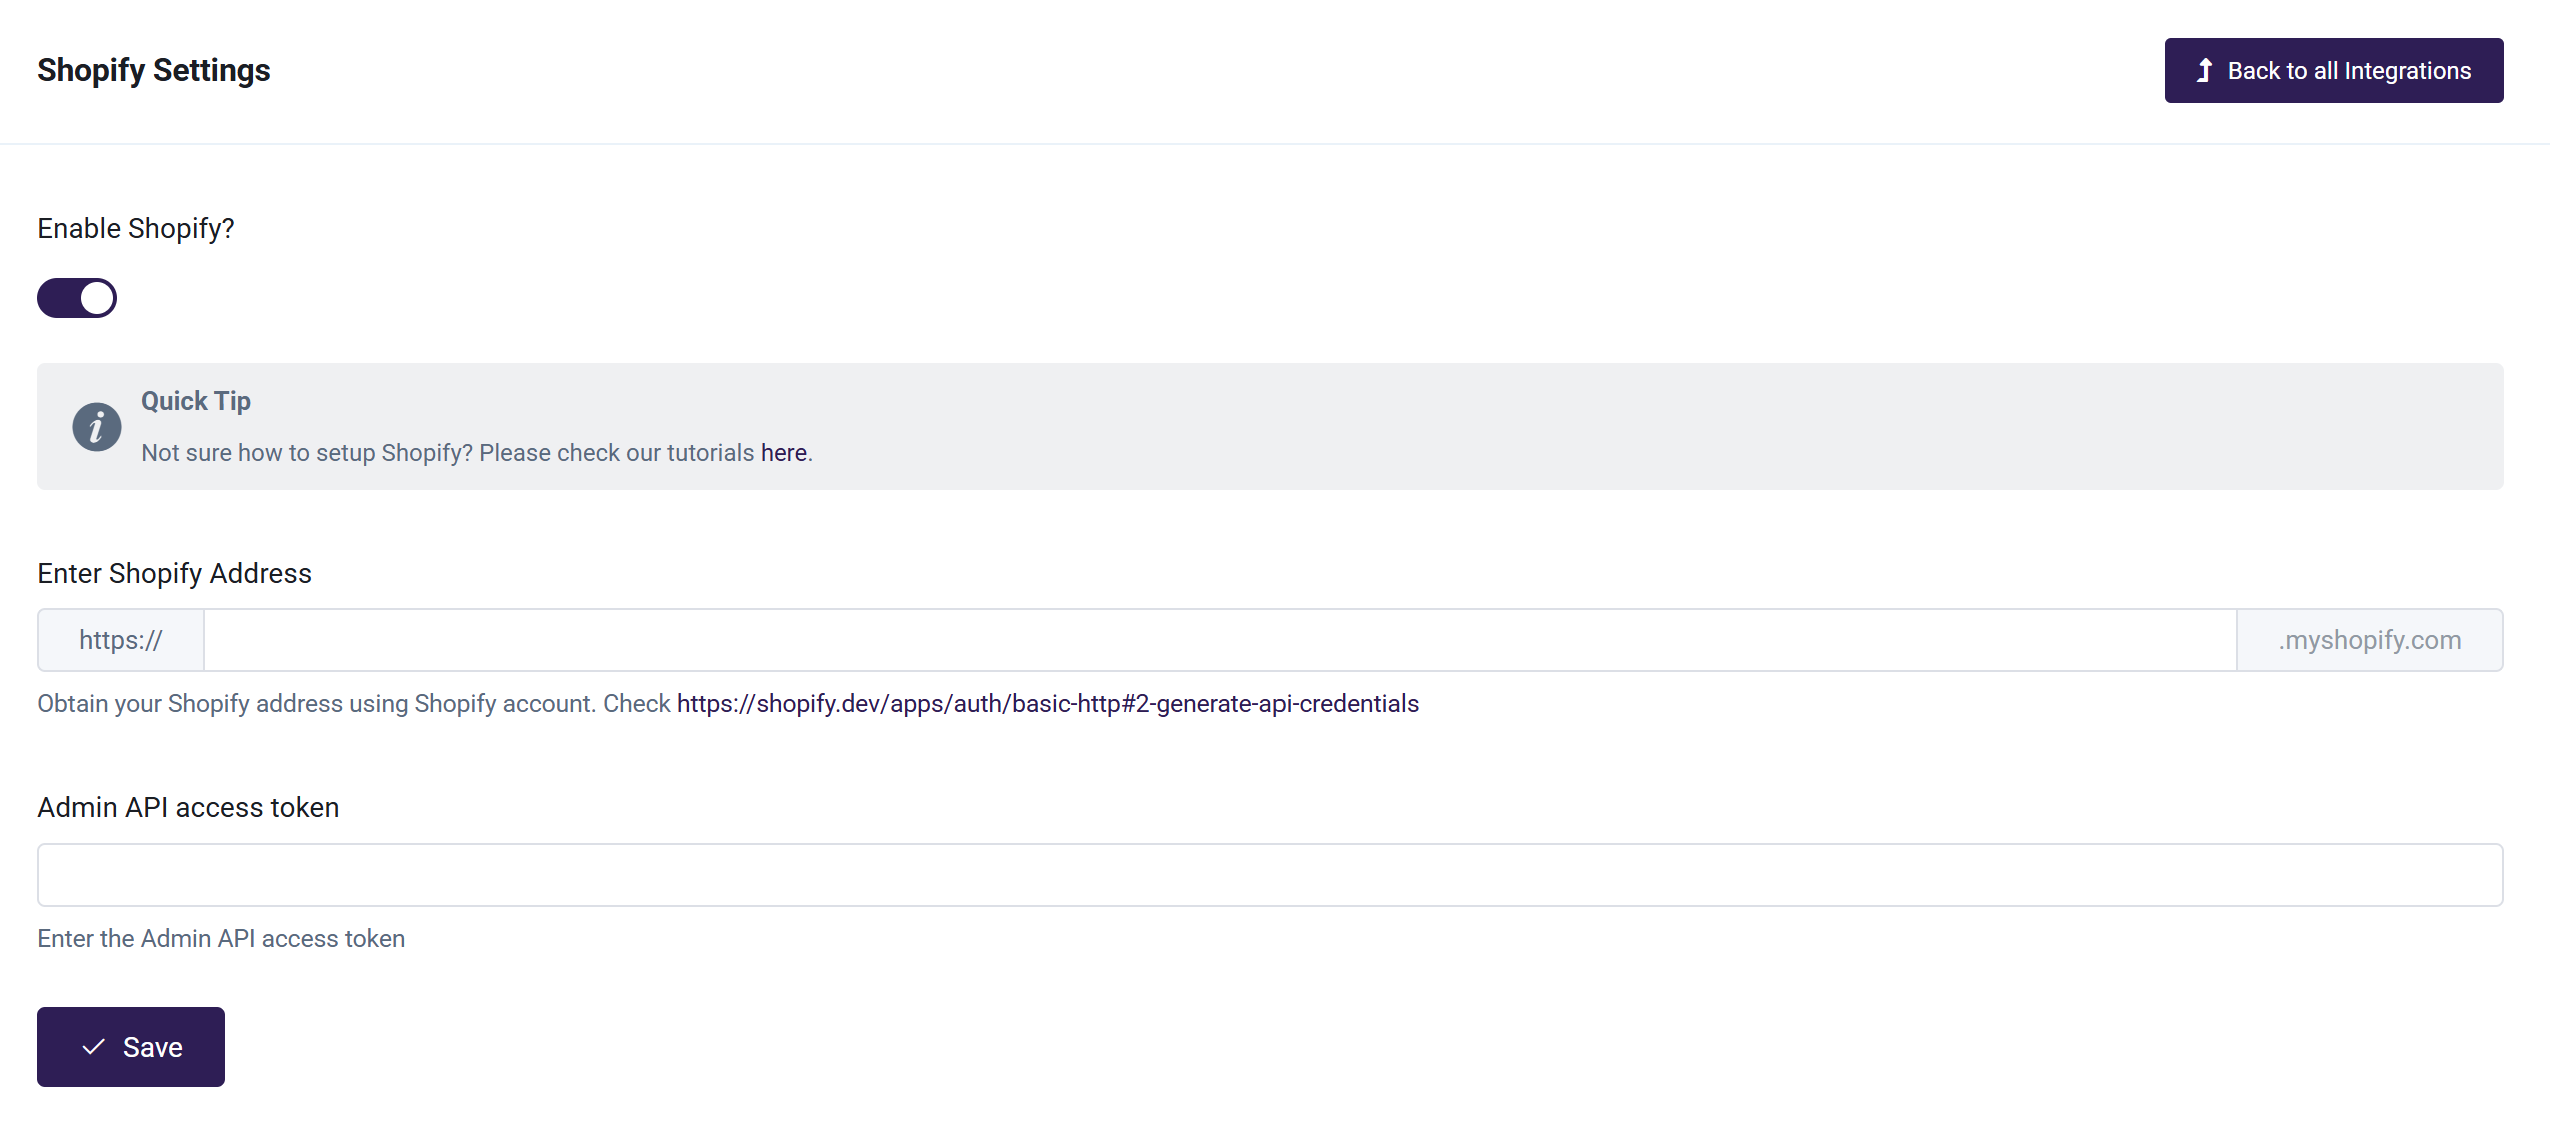
The Shopify store name can be found in Shopify by going to Settings, where it will show in the upper left corner. You only need to enter the portion prior to .myshopify.com into AOM

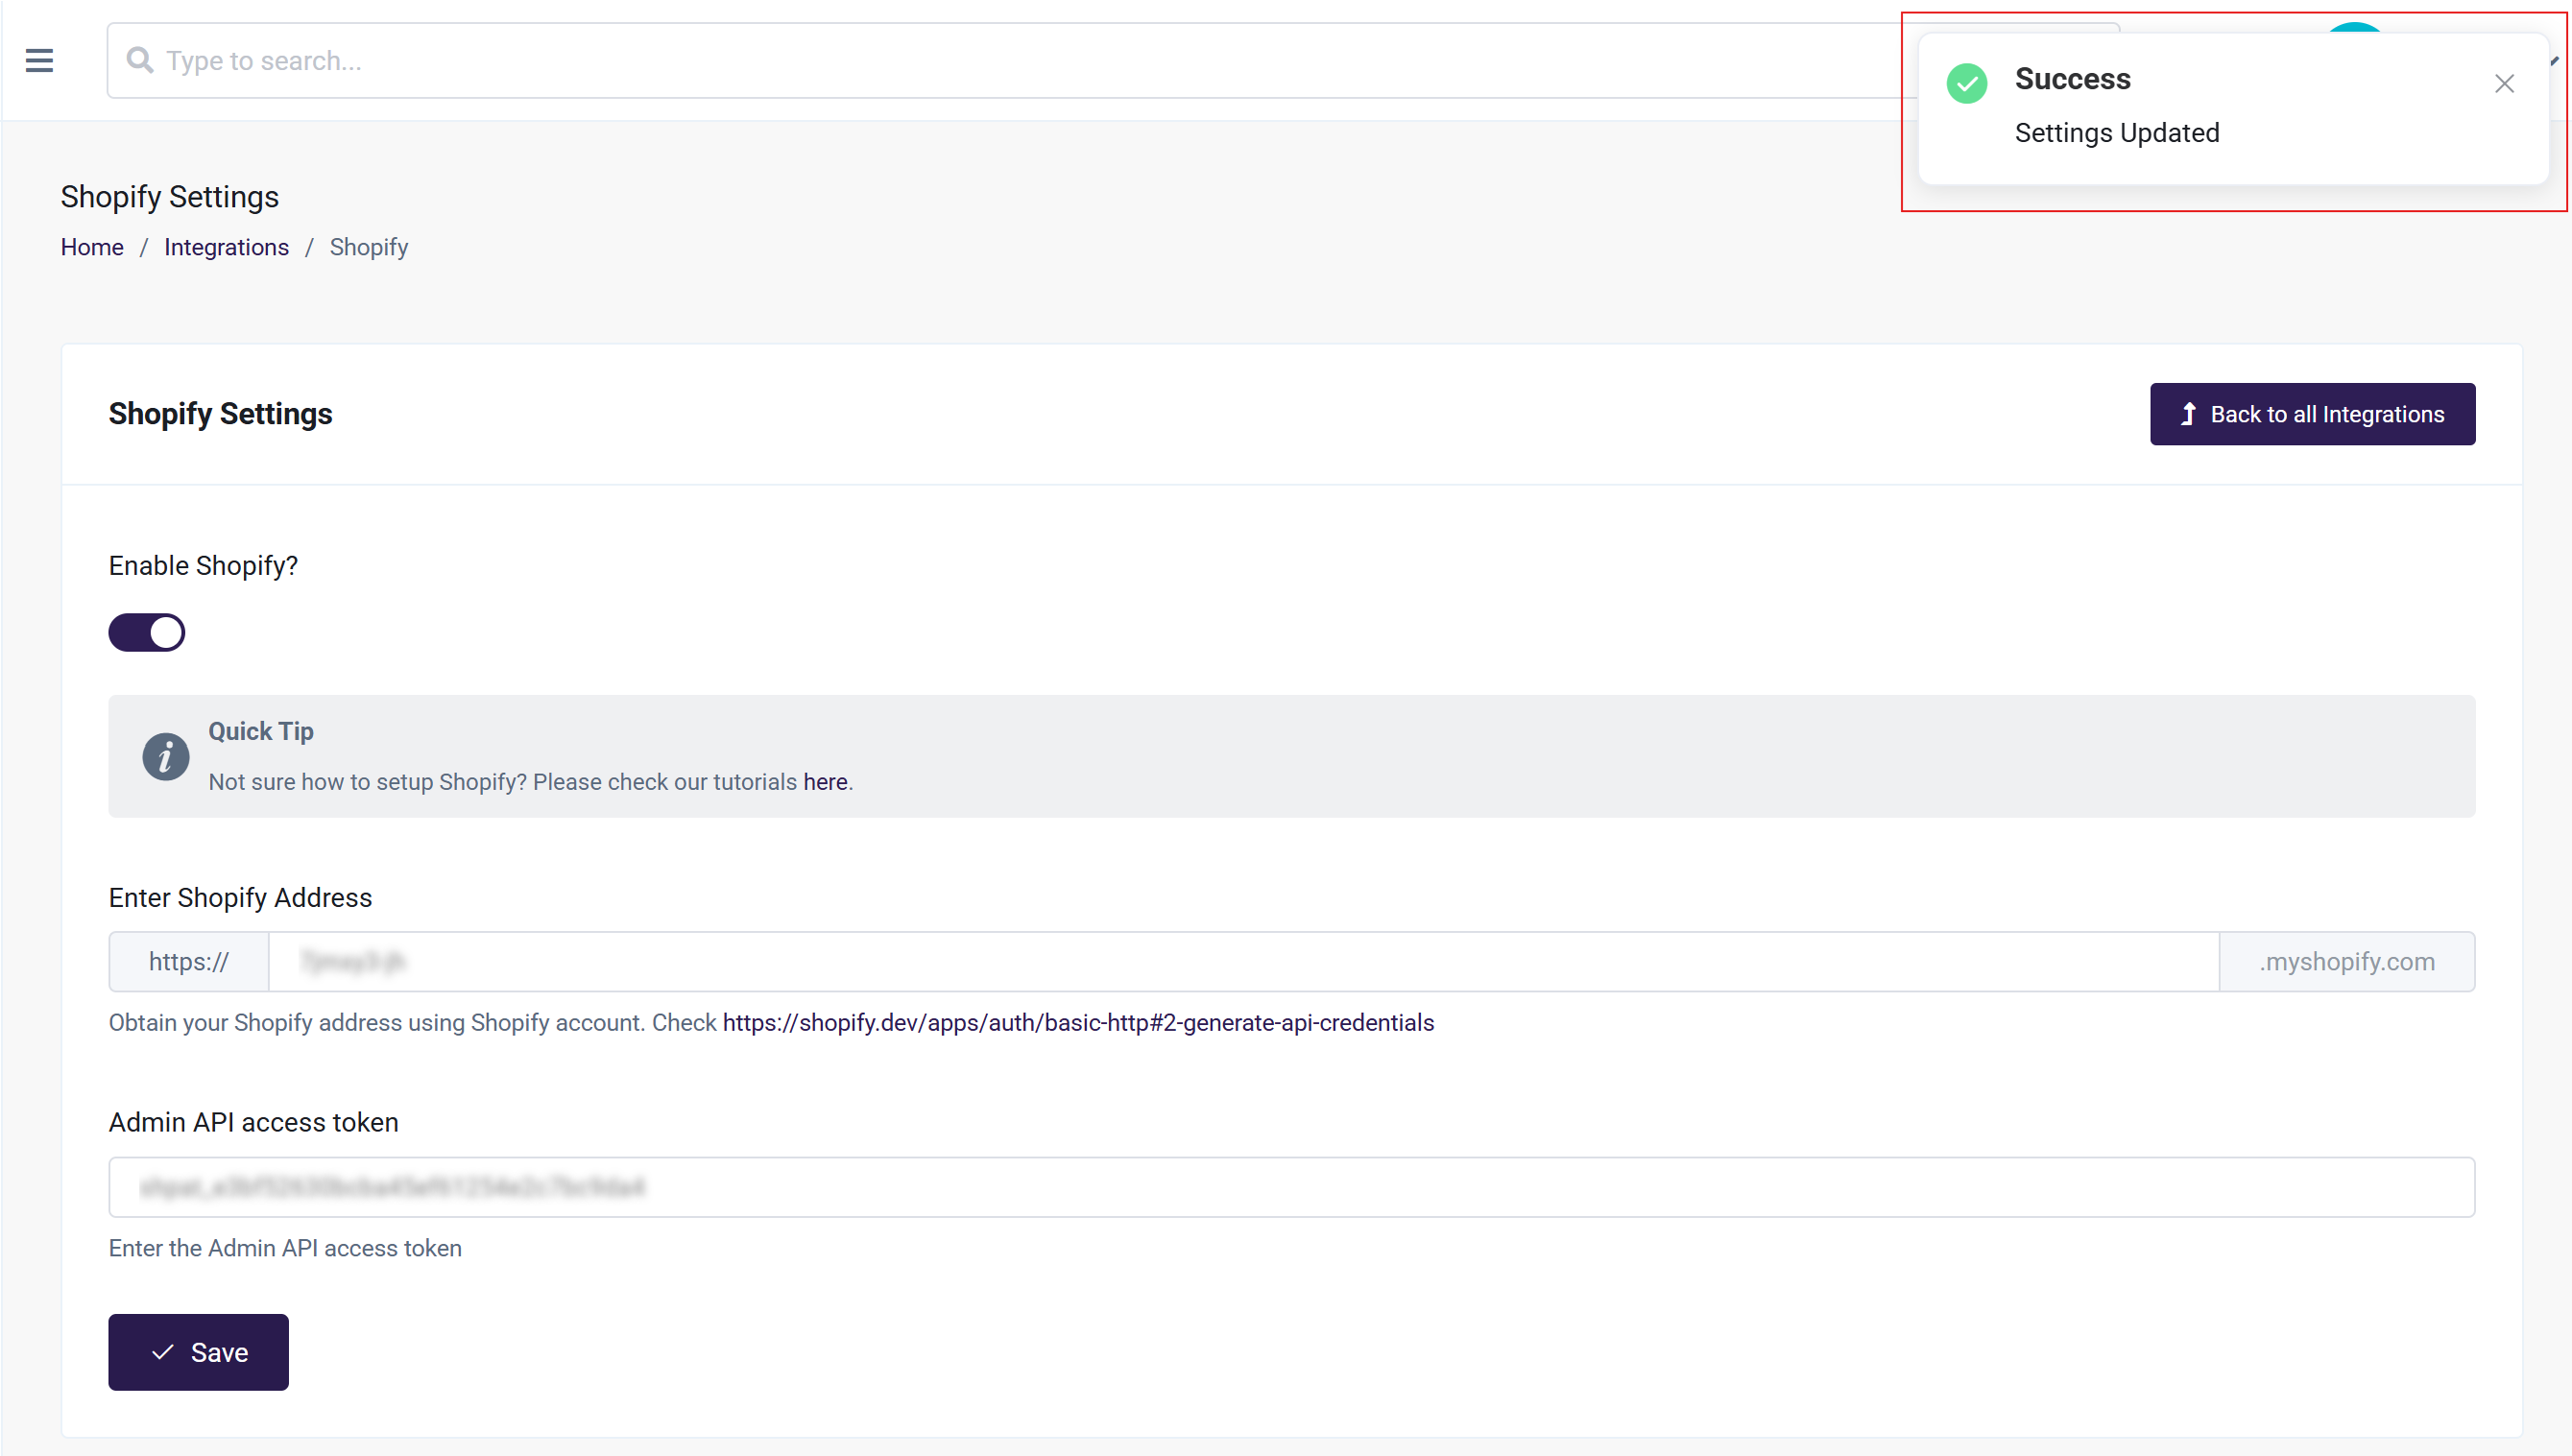
- Congratulations! You should now see an alert indicating the settings have been updated successfully, and Shopify is connected to your LMS. We can now link our courses to Shopify products.
Step 4: Map AOM Course with a Shopify Product
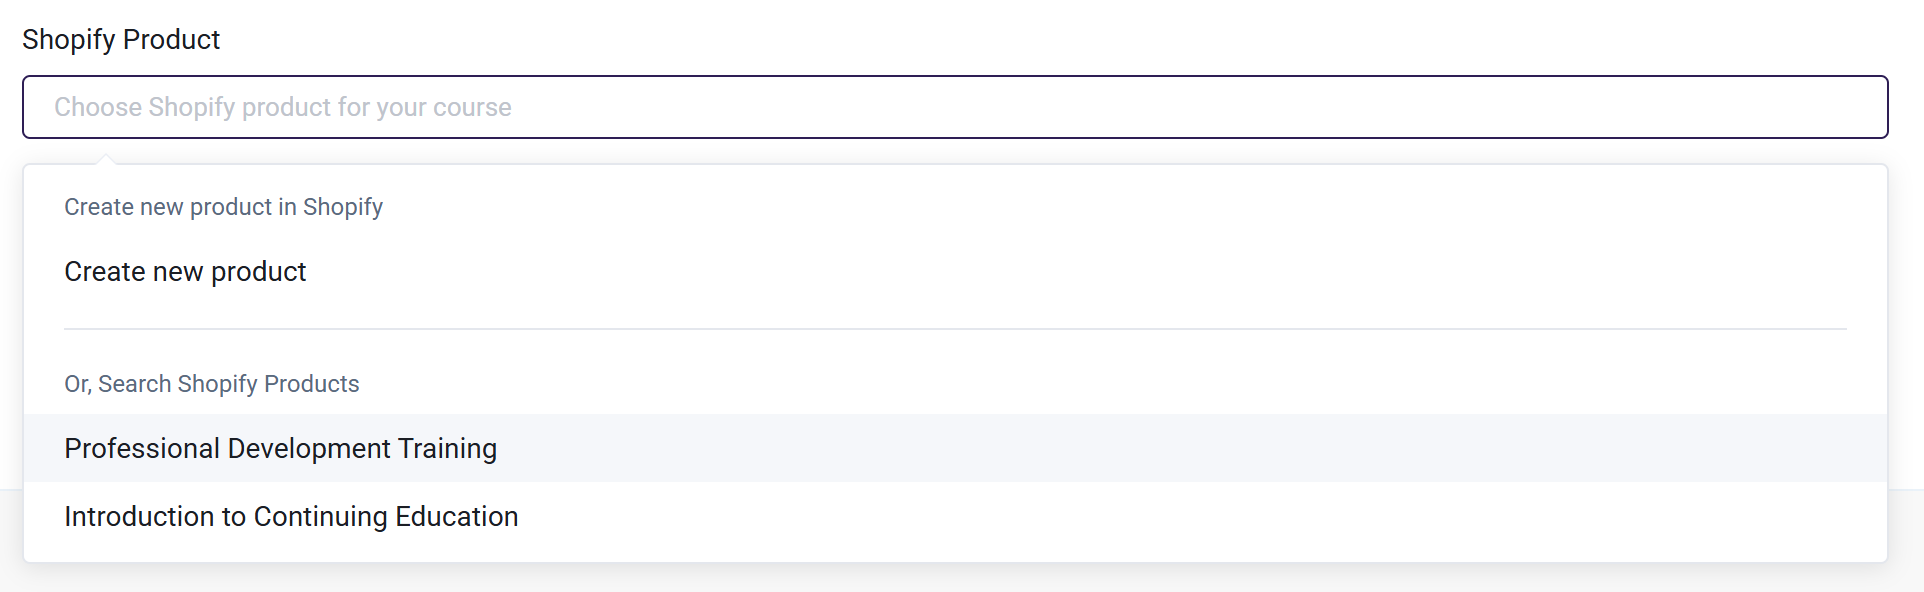
- Go to the create/edit page of a Course you want to link to a Shopify product. In the Basic Info (Step 1) tab of the course creating/edit process you will find a Shopify Product field at the bottom. Here you can select all the Shopify Products that should enroll a purchaser in this course. You can also choose to create a completely new Shopify Product right from the dropdown if you wish. After selecting all the Products that should give access to this course, be sure to Save/Update the Course
- If you want to sell one or more courses together in one product as a bundle, you will need to edit each course that is a part of that bundle, and add the correct Shopify product using the step above. For example, if Product A contains a bundle of courses A, B and C, you will need to make sure that each of those courses has Product A linked to it in the course settings. When a user purchases a product, they will get access to all of the included courses. A course can also be a part of more than one product--simply select all the products that the course will be a part of.
- Now we are officially done! Anytime somebody will purchase the specified Shopify Products, they will automatically be enrolled in the course in your AOM LMS. If the purchase is made by a new user, their account will first be created and then they will be enrolled. If the New Account and Course Enrollment email triggers are enabled in your LMS, they will receive their credentials there as well as an email with the courses they are enrolled into. Learn more about automated emails in Introduction to Automated Emails.
Learner Experience of Checking Out via Shopify
Now let's run through what the learner will experience as they shop via your Shopify store, and what information they will receive from AOM. As an overview, when a learner purchases a product, the will be automatically enrolled into the courses that are a part of the product, and will get automated emails from our LMS with their LMS login credentials and a list of the courses they are now enrolled into. They will then be able to log into the LMS using those new credentials to access the courses they are now enrolled into.
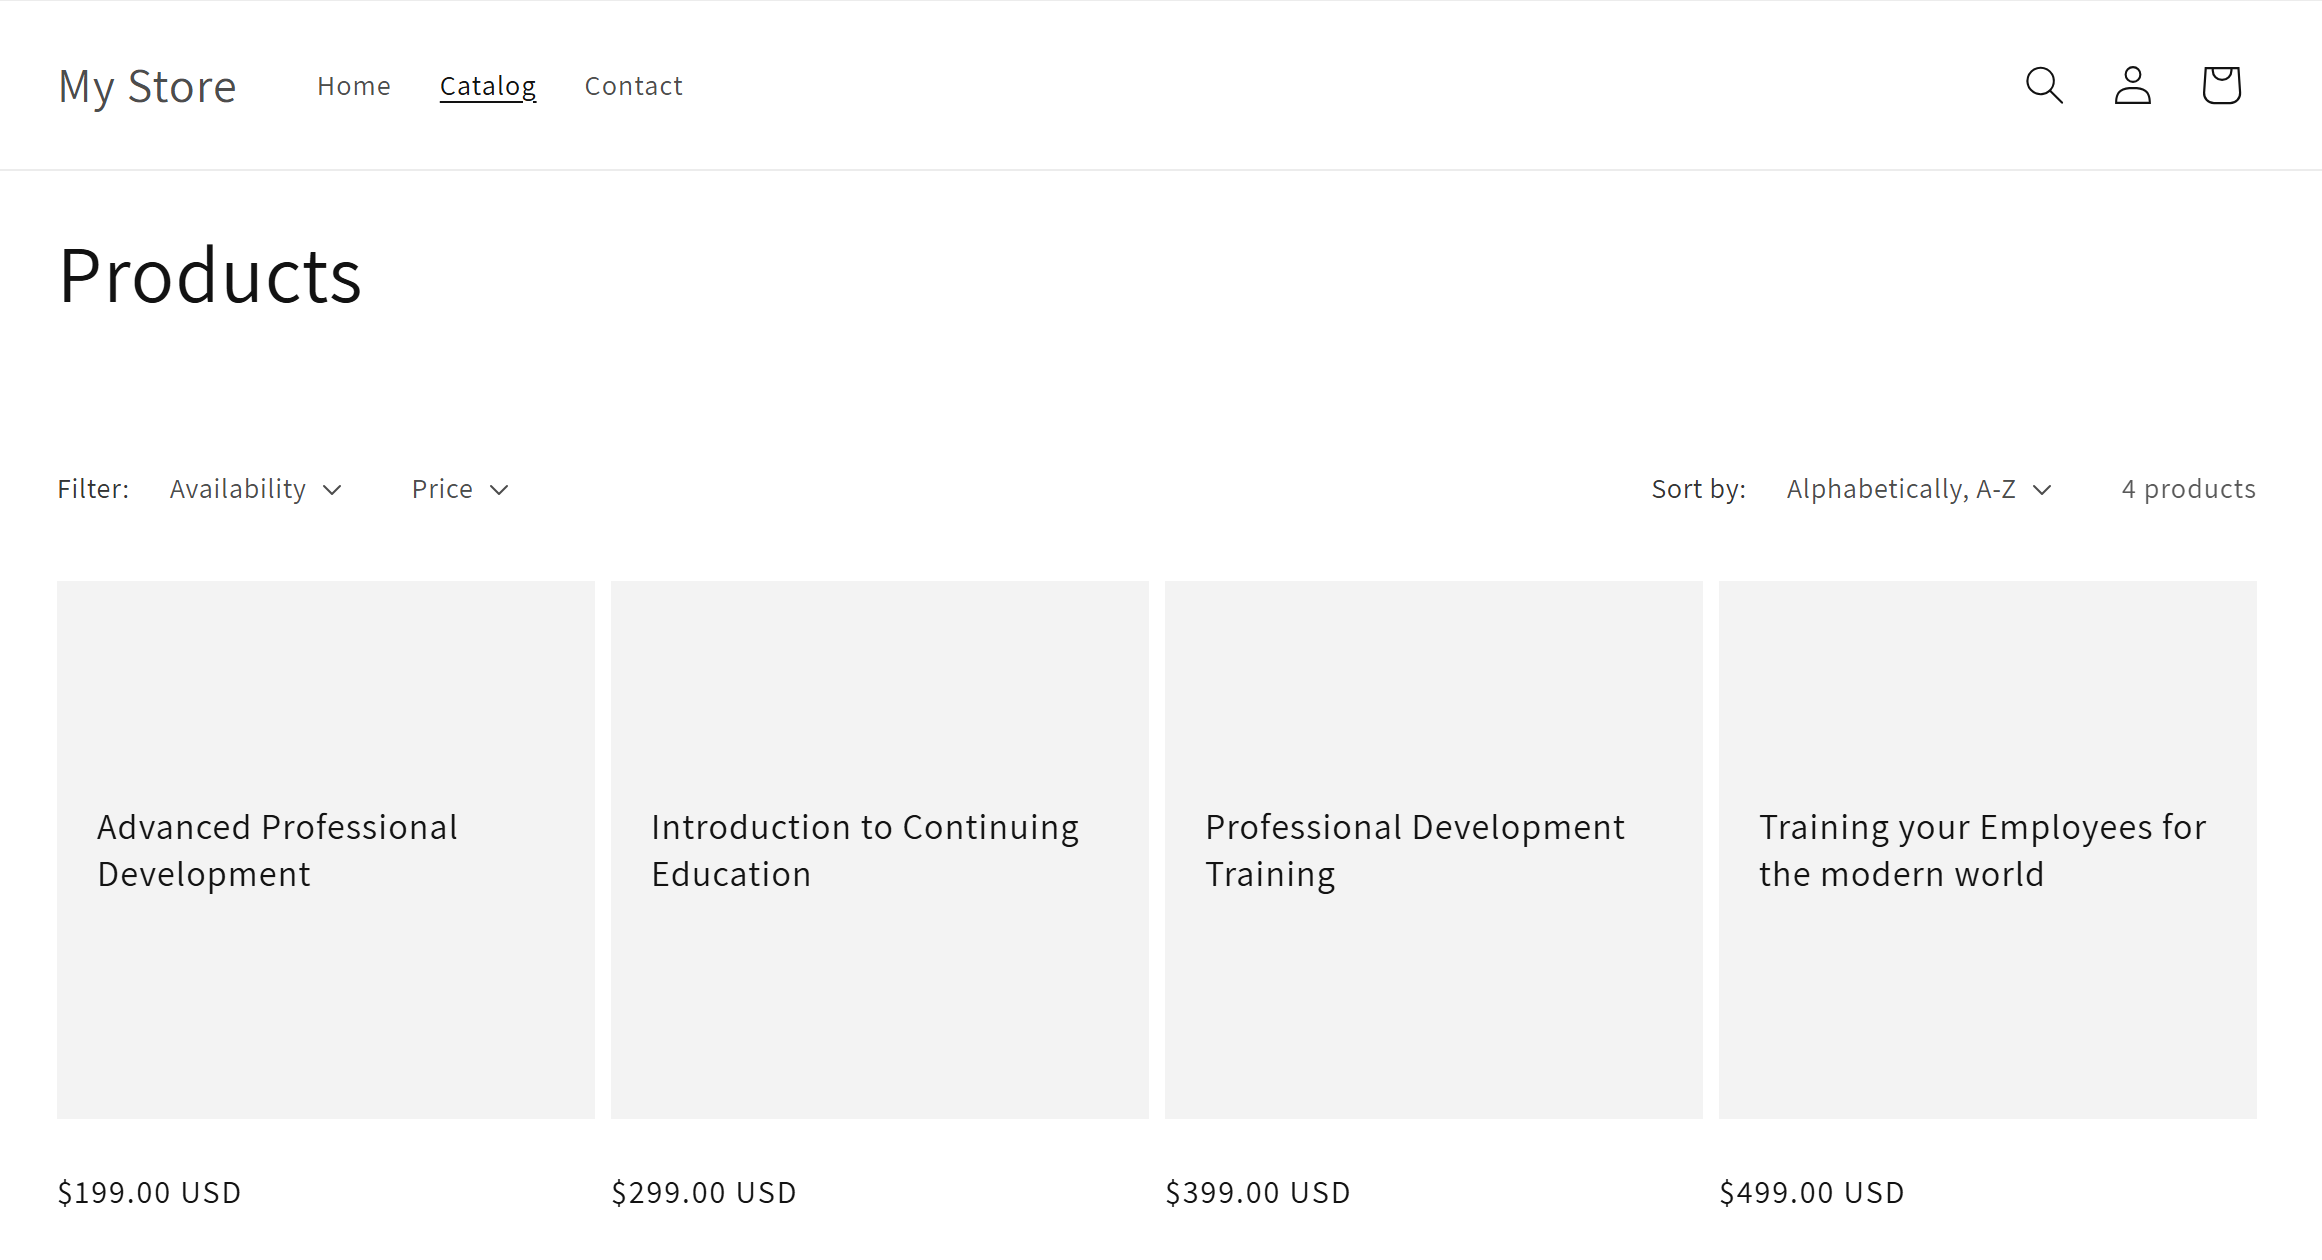
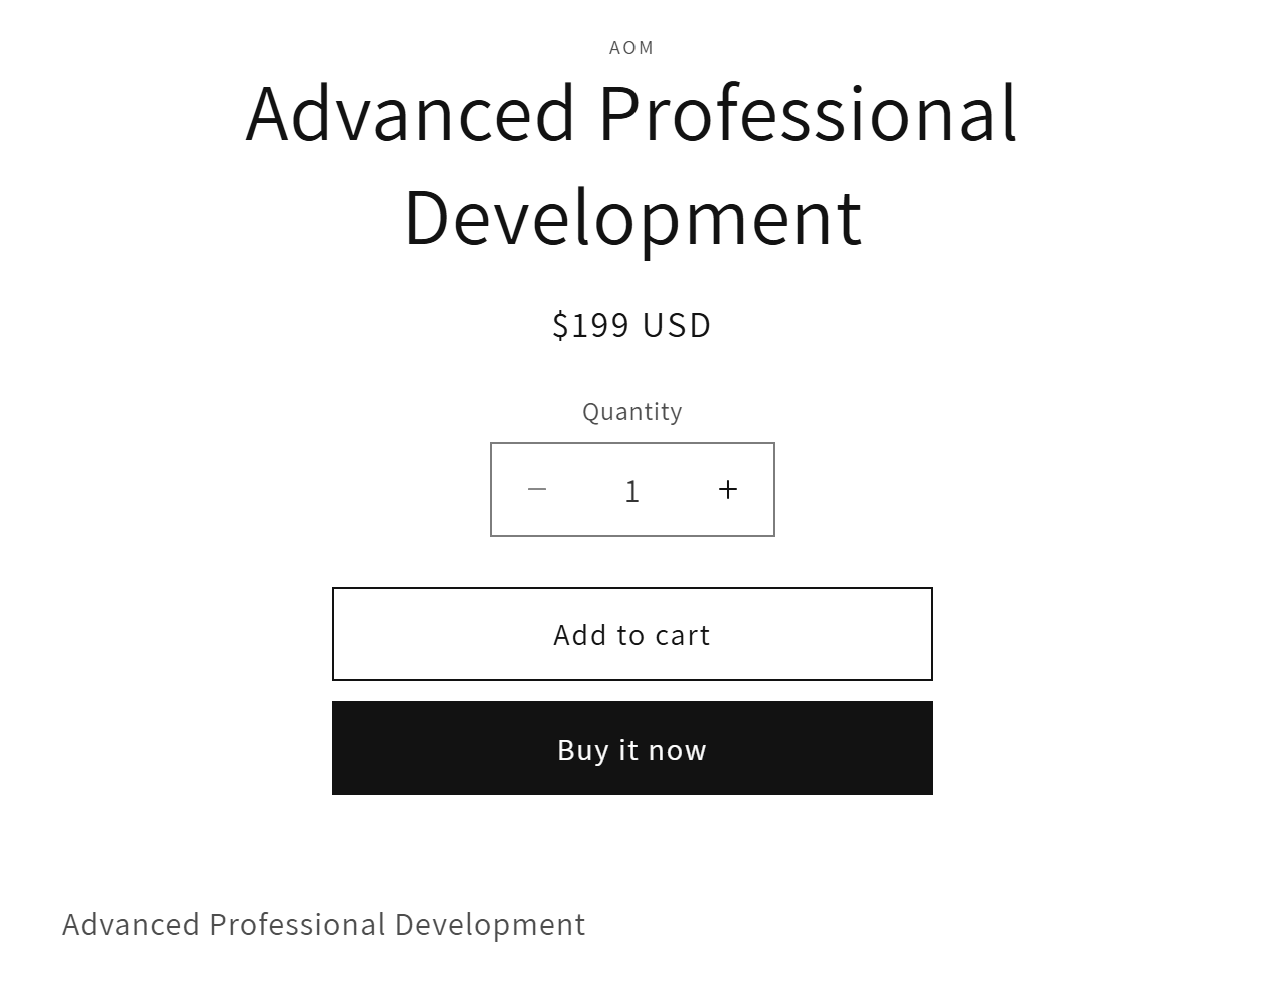
- Once they are on your Shopify store page, they will see your products listed:
- They will be able to Add to Cart after they have selected one:
- Once the product has been added to their cart, the learner can go through checkout. If they are not already signed into a Shopify account, they will be prompted to sign in or create an account:
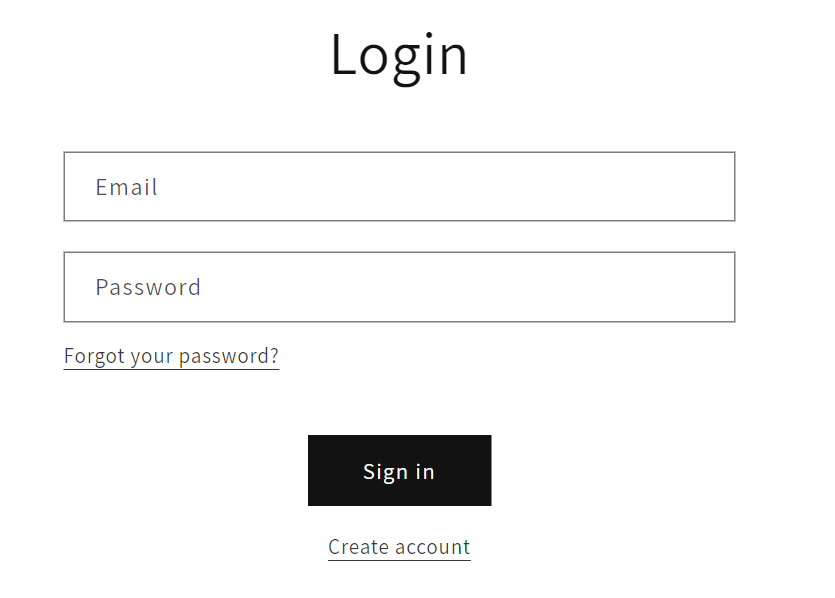
- After logging in or creating an account, they can continue through checkout and complete their order on Shopify.
Upon completion of the order, the learner will be automatically enrolled into the LMS and the courses that are associated with the product
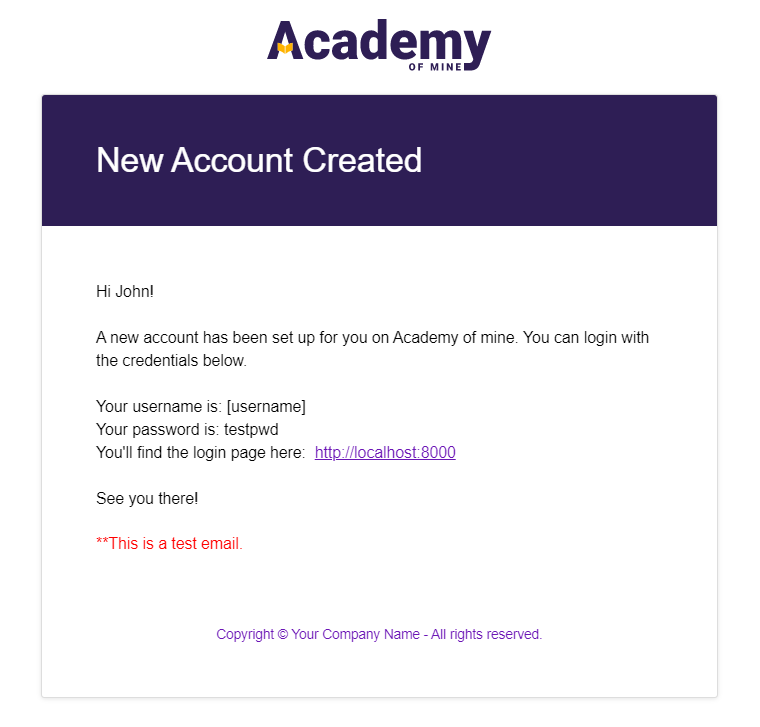
- Once the order has been completed, the learner will get some automated emails from the LMS, including a New Account email which will include their login credentials for AOM where they will be able to login and access their course content. Note that while the email the learner used for their Shopify login will be pulled over to the LMS, their Shopify password won't be saved in AOM and we will generate a new password. The new password will be included in the New Account email. The New Account email will look something like the image below (with your own colors, branding/logo), and you can configure the template as well using the steps here.
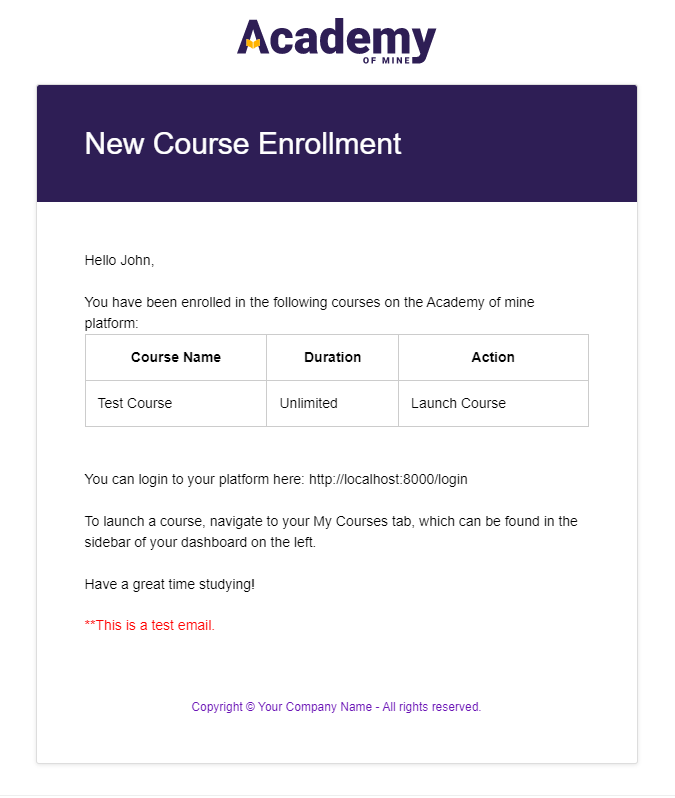
- The learner will also get a Course Enrollment email from AOM, which will list the courses that they are now enrolled in. Learn more about configuring this email here.
- Once the learner logs into the LMS using their new credentials, they will be able to view and launch the courses they have been enrolled into.
Enable Webhook to Automate Course Enrollment After Purchase
To automate course enrollment in the LMS after a purchase on Shopify, follow these steps to set up a webhook:
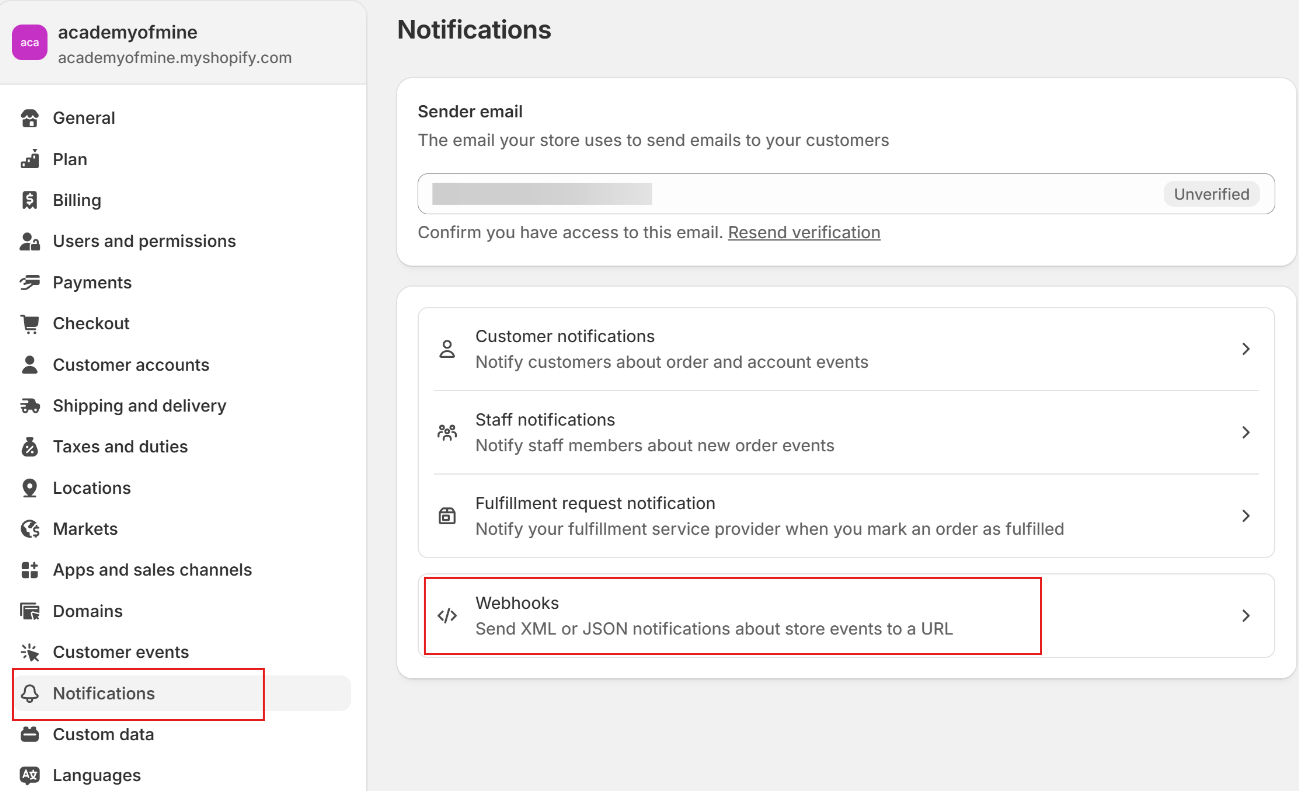
- Click on "Notifications", then click on "Webhooks".
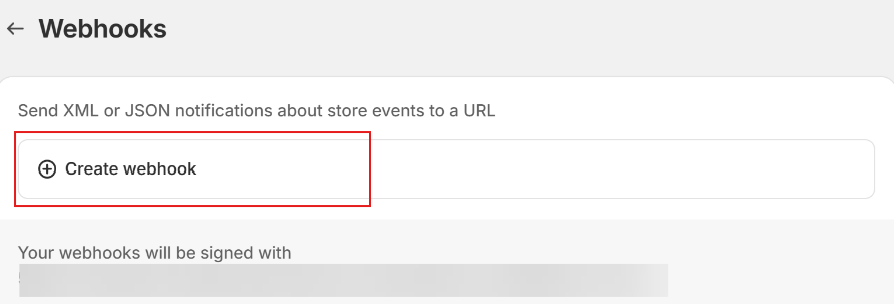
- Click on "Create webhook".
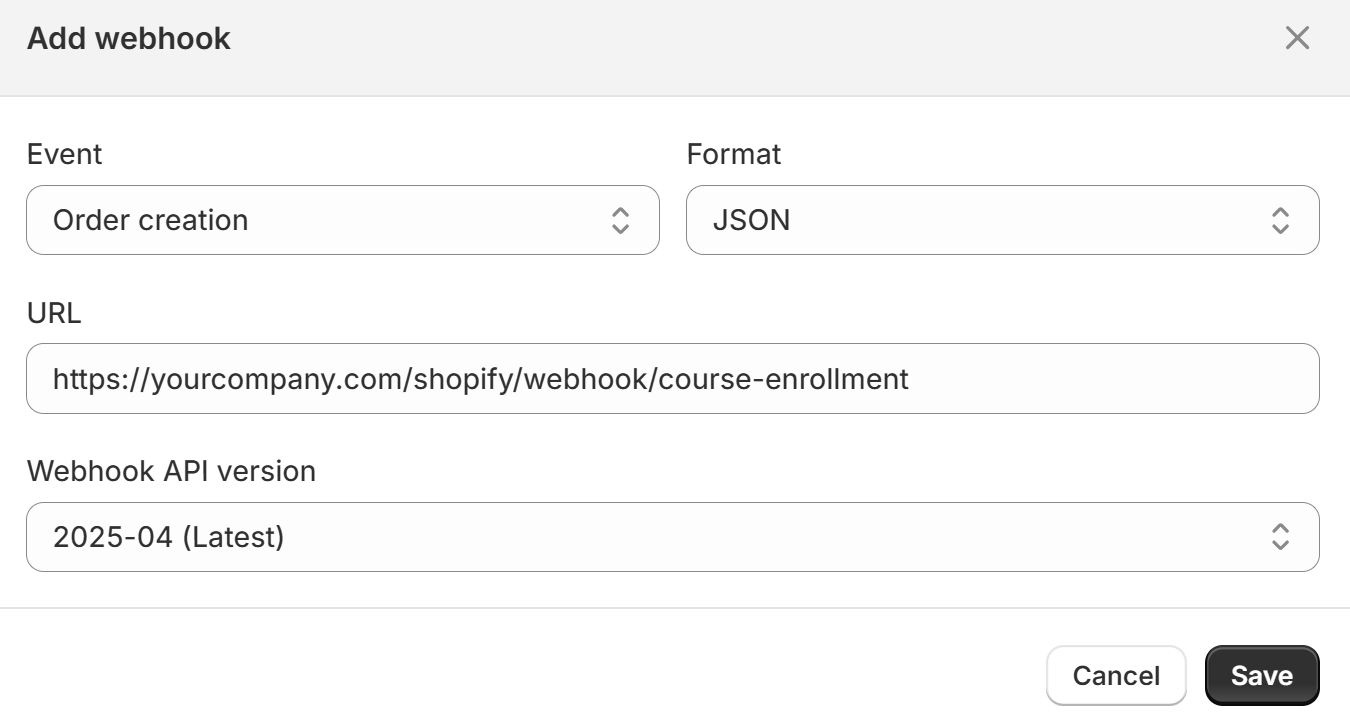
- Set the following details:
- Event: Order creation
- Format: JSON
- URL: https://yourcompany.com/shopify/webhook/course-enrollment
- Webhook API version: Select the latest available version
- Click Save.
That’s it! Now, whenever a customer places an order in Shopify, they will be automatically registered and enrolled in the corresponding course in your LMS.