Setting Up OAuth Single Sign-On (SSO)
In order to streamline user access and remove the need for users to memorize passwords or sign in with a different account coming from their origin application, Academy of Mine allows clients to integrate OAuth Single Sign-On (SSO) functionality with your platform.
Single Sign-On is an authentication process which enables a user to securely authenticate with multiple applications and websites by using just one set of credentials. In other words, SSO is an agreement between three different entities which are 1) Users, 2) The application which the user is trying to access, and 3) The governing body i.e. Identity Provider. The Identity Provider is where users should be able to manage their personal information that is used in the SSO, such as their password. The Identity Provider stores and manages the user's information while the application that is being signed into is limited to user credentials obtained via a user verified token.
OAuth is an authorization framework which enables applications to obtain limited access to user accounts on an HTTP service, such as Google, Facebook, Twitter, LinkedIn. OAuth does not share password data but instead uses authorization tokens to validate an identity between users and service providers. The SSO feature allows users to approve identity for your AOM LMS by interacting with another 3rd party on your behalf without giving away your password.
In this guide, we will be going through how to activate and configure the OAuth 2.0 SSO functionality. You will need to access the Application OAuth Service Provider's console to get the API keys and other details, and then enable the integration in AOM, and add that information you've gathered. Follow these steps to configure everything:
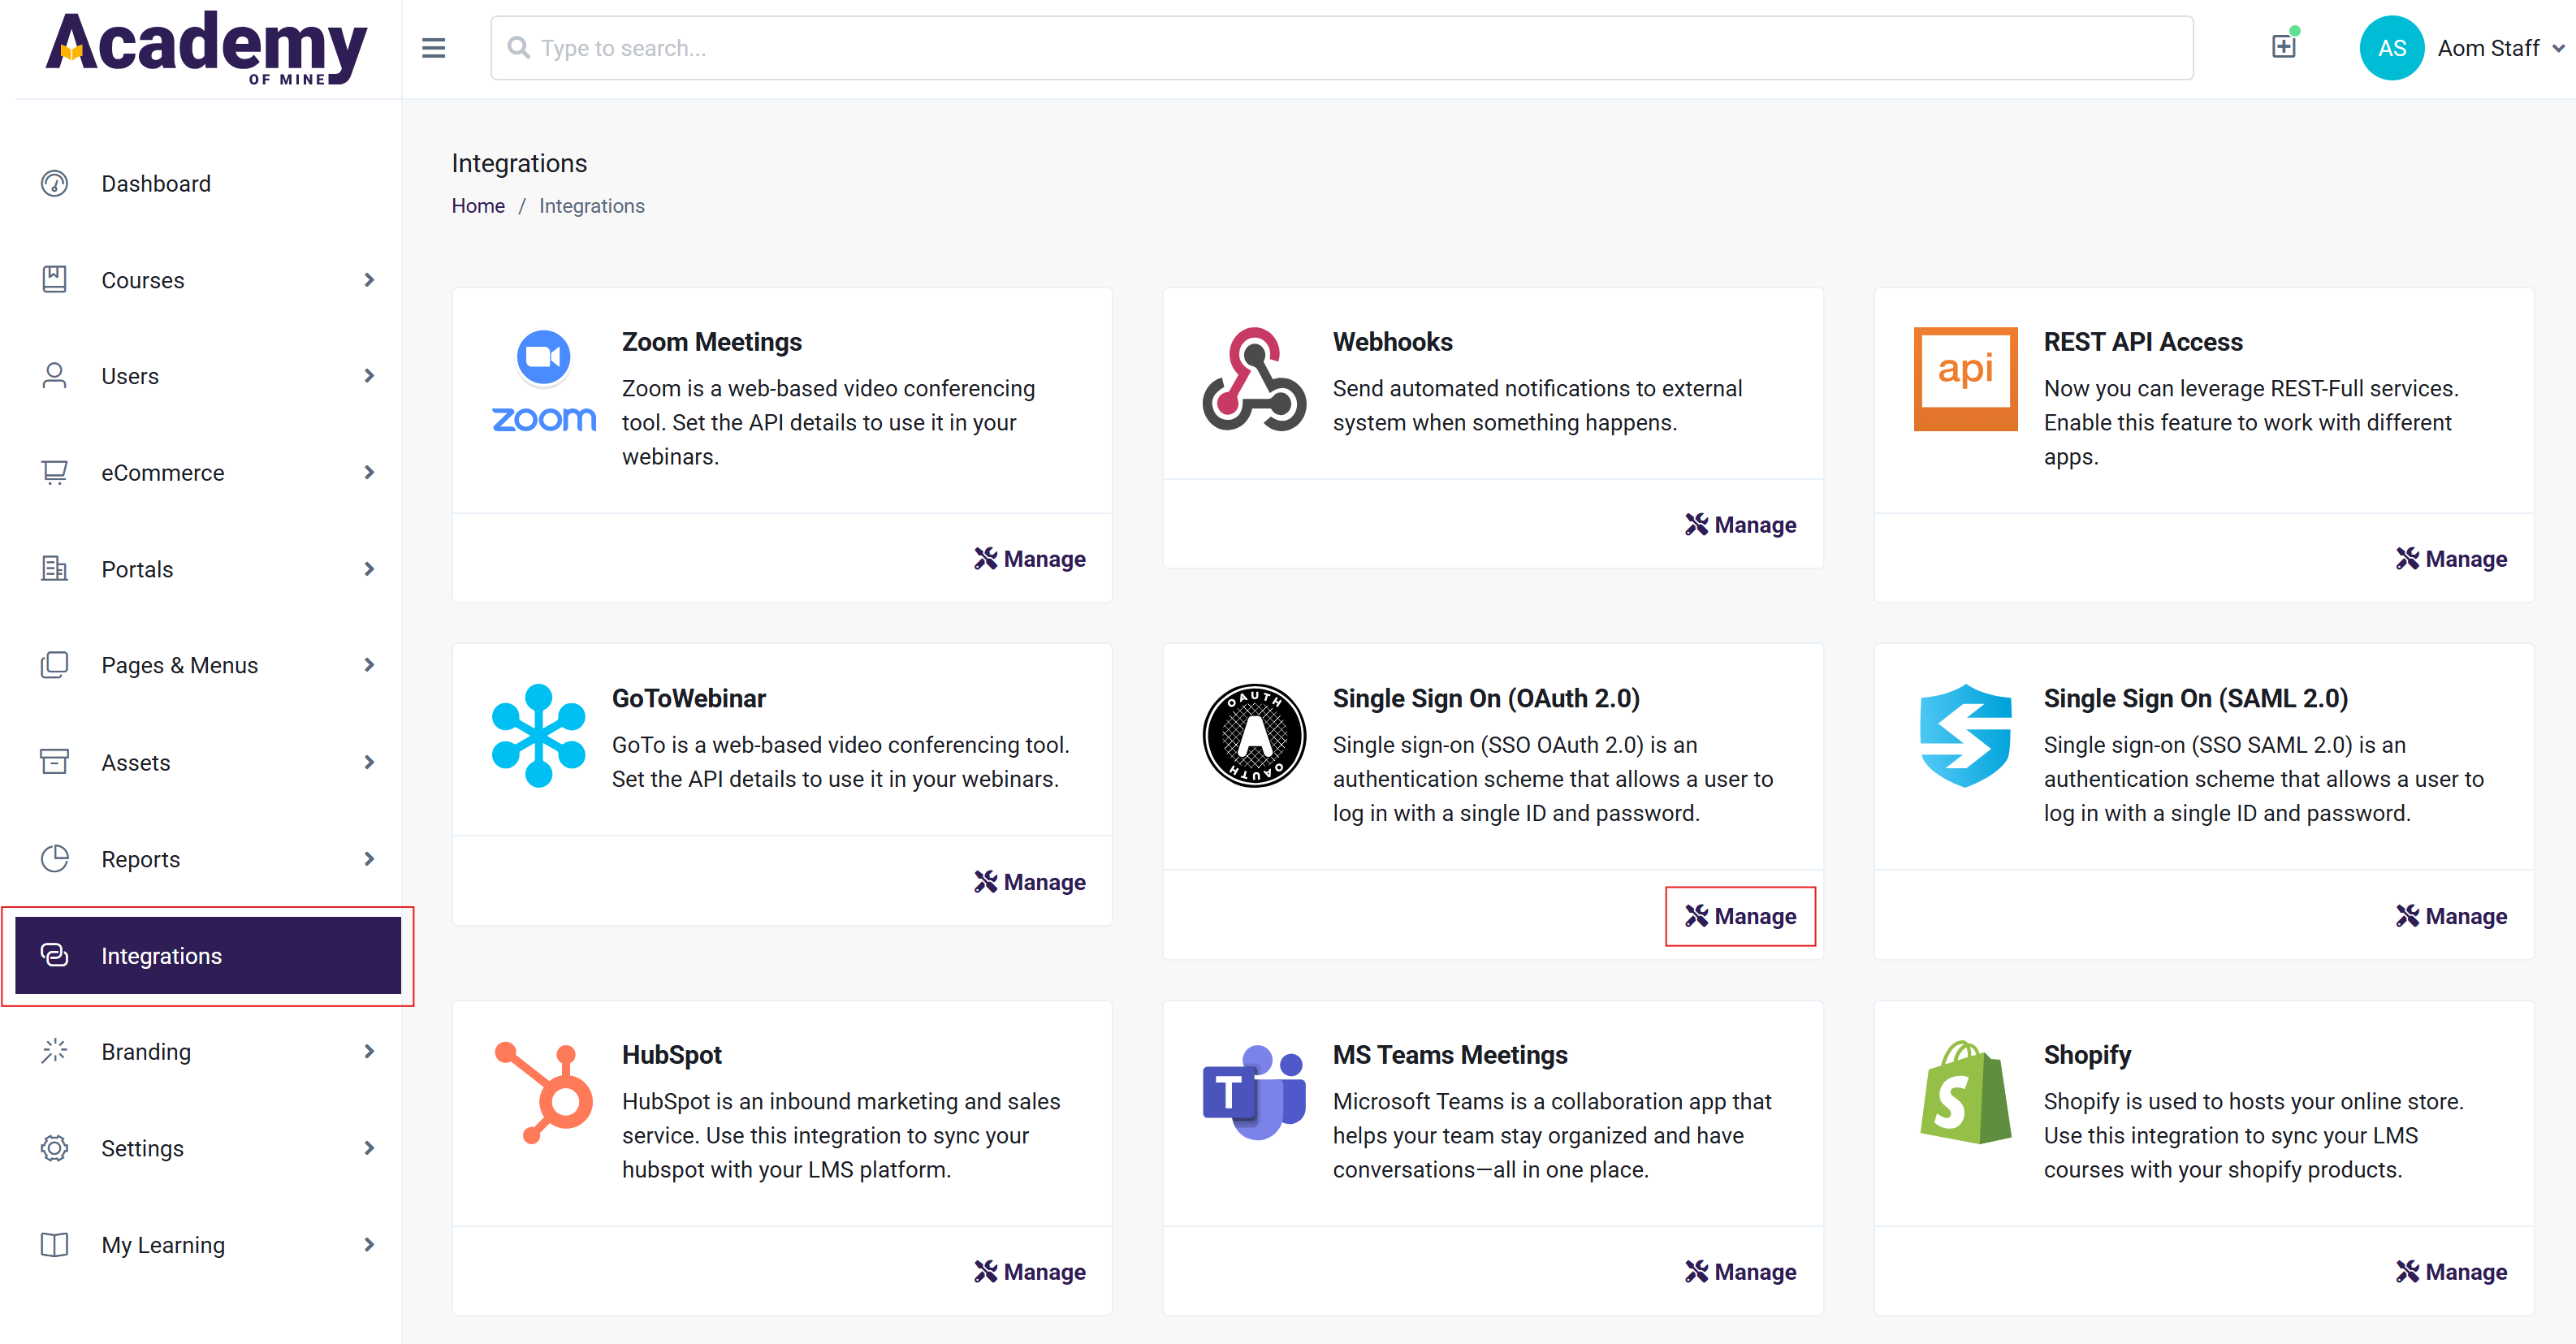
- From the Admin Dashboard, navigate to the Integrations tab
- Locate the Single Sign On (OAuth 2.0) section at the bottom and click on the Manage button to navigate to the Settings page.
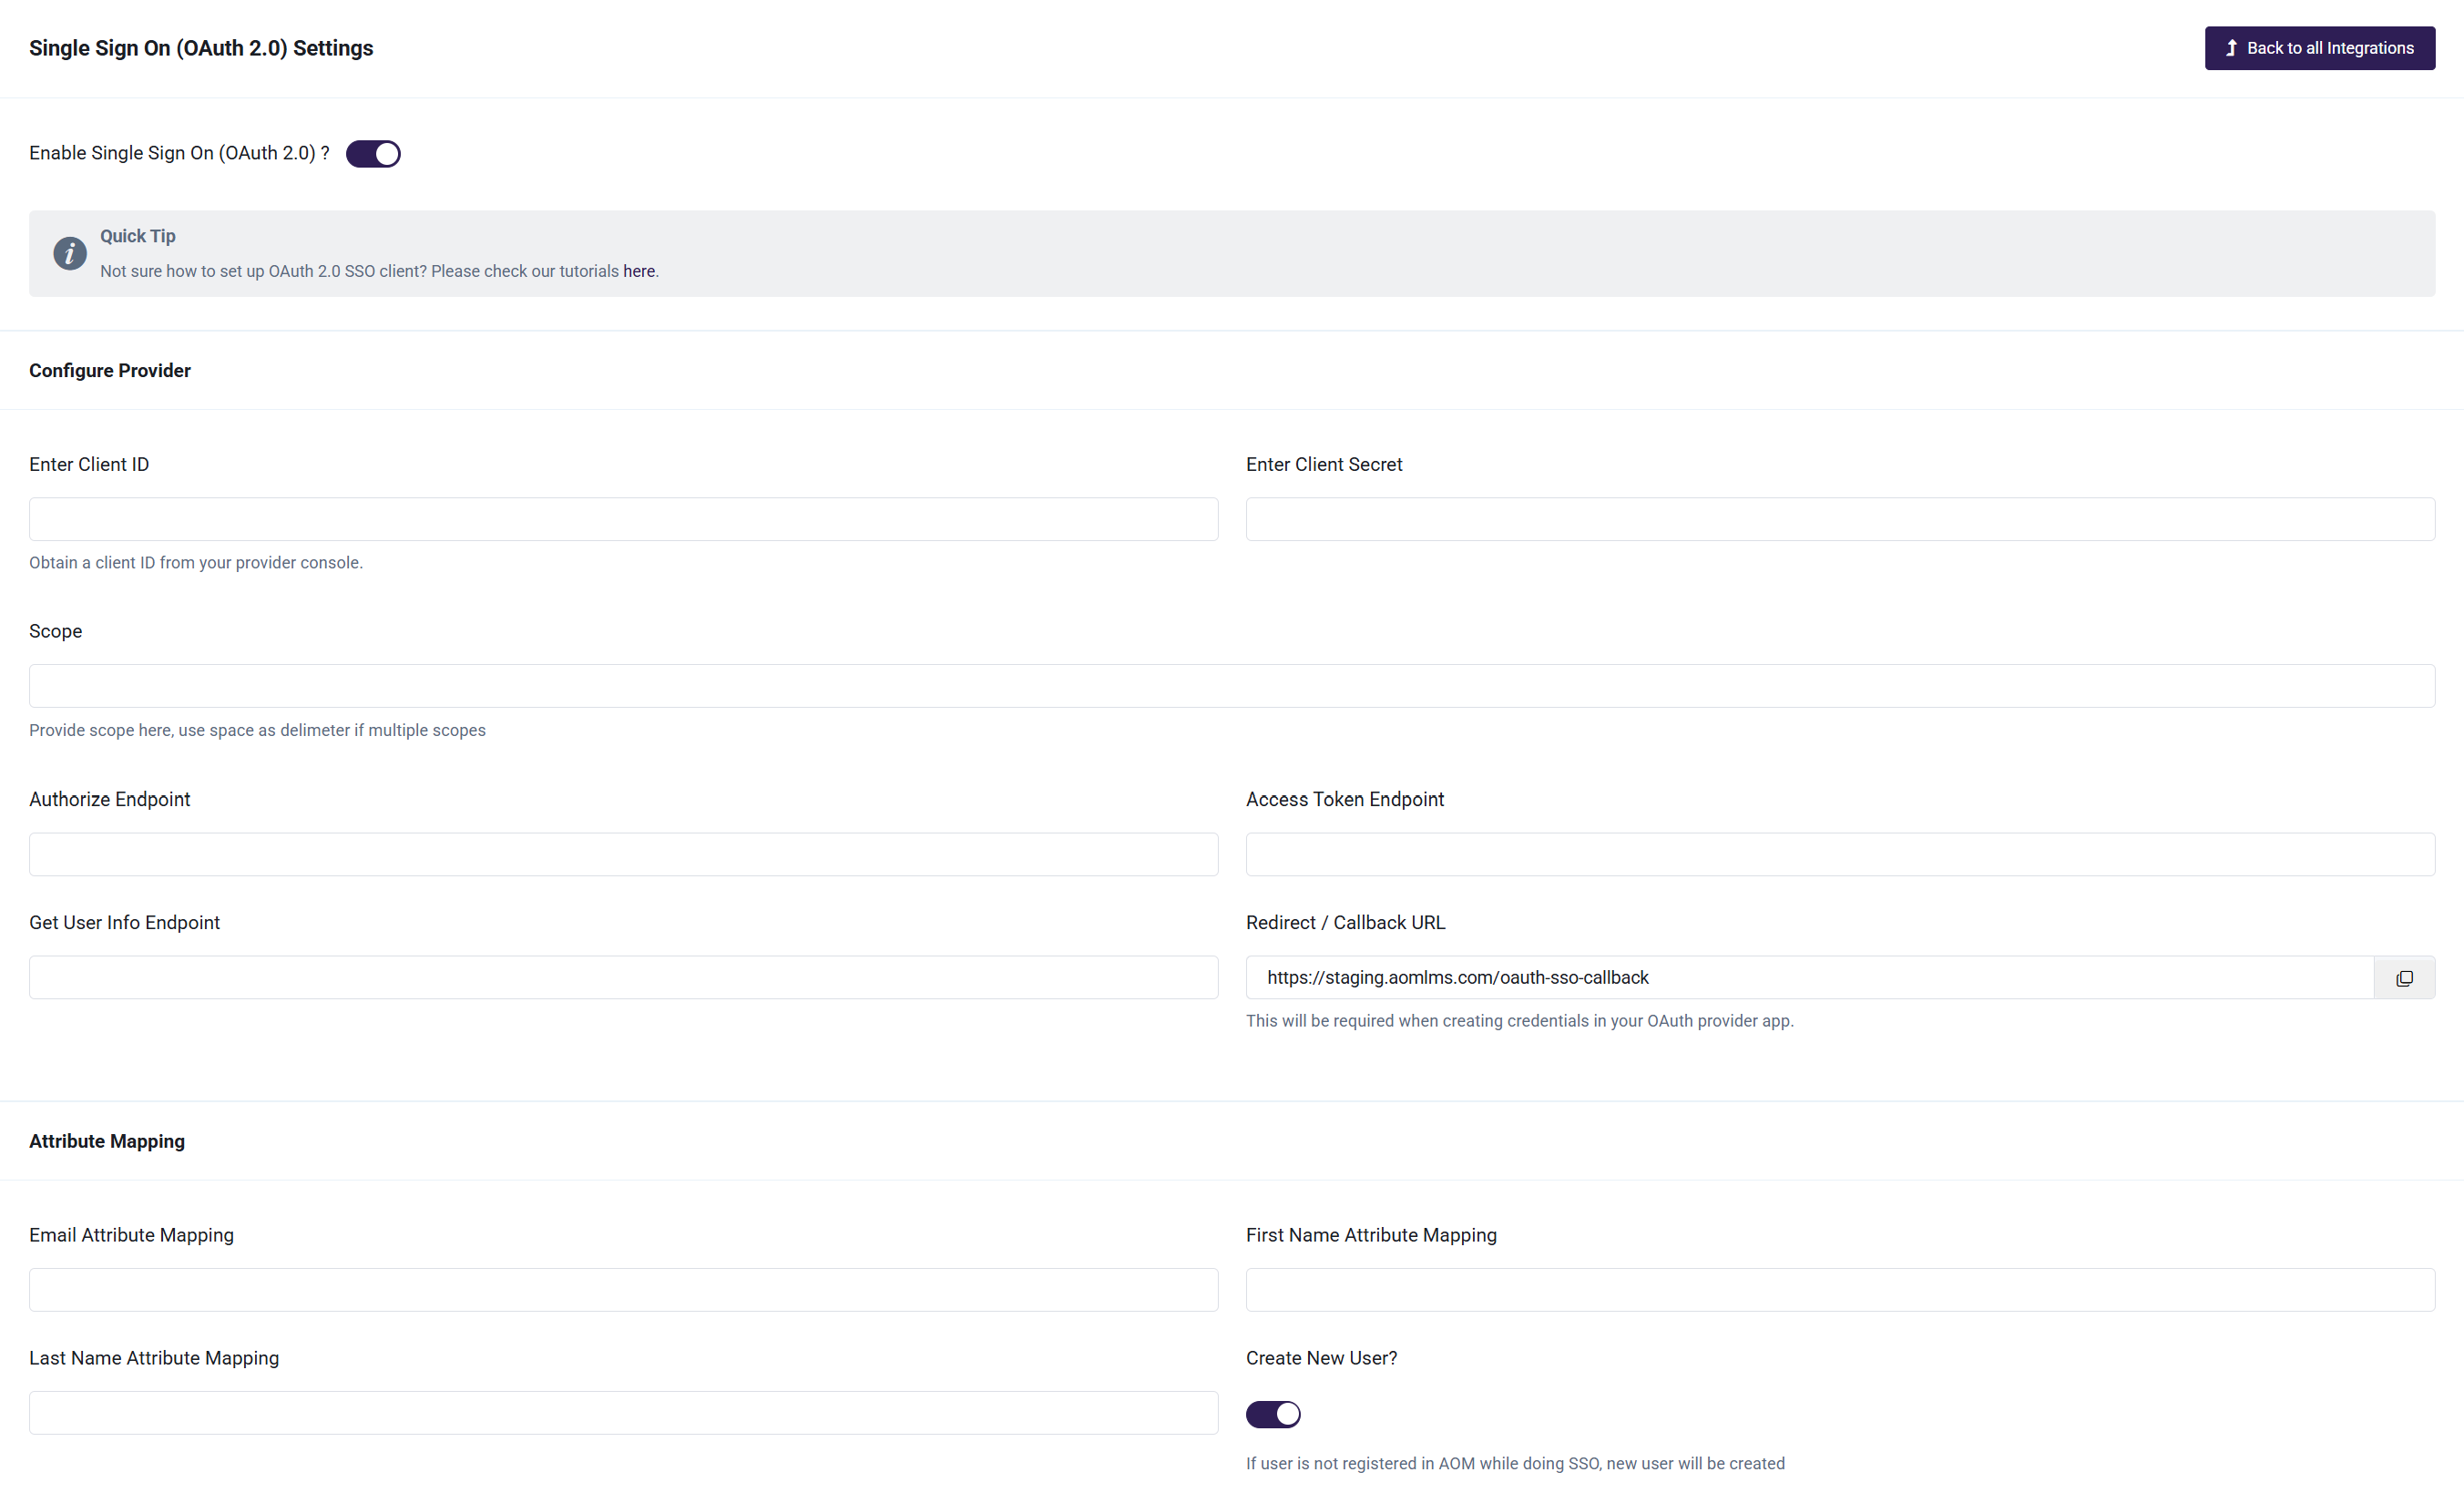
- Enable Single Sign On (OAuth 2.0) via the toggle and configure the other details on the page. Proceed to step 4 to get the API keys for the service.
- Open a new tab and navigate to the Application OAuth Service Provider's console, e.g. Google. Here, you will be configuring and collecting the details for the settings page in your LMS.
- If you do not have your project set up yet, create it and configure the details such as Client ID, Client Secret, Scope, Authorized Endpoint, Access Token Endpoint, and Get User Info Endpoint. Also, multiple scopes can be defined by using space as delimiter. Note that the exact methods of configuring this data will depend on the 3rd party you are using for the OAuth SSO. You can click on Google, Facebook, Twitter or Microsoftto set up keys using the relevant Application OAuth Service Provider's console.
- Under Redirect/Callback URL, make sure to provide the domain specified here: /oauth-sso-callback. Redirect/Callback URL registration prevents attackers from tricking an authorization server into sending the authorization code i.e. Client Secret to the attacker.
- You can also provide additional details on the application that will be using the key such as name, company logo and the authorized domains.
- Navigate back to the Single Sign On (OAuth 2.0) settings page on the AOM LMS and fill in the gathered keys.
- Provide first name, last name, and email attribute mapping followed by your Application OAuth Service Provider. (Last name is optional. Fill the attribute when you are expecting it in your provider's response)
- In addition, you can either allow all the users irrespective of their presence in your LMS to be able to use the OAuth 2.0 SSO or restrict your application to be accessed by only those users that already have an account in your LMS. This can be done by enabling/disabling the Create New User? toggle. If you keep it enabled, a new user will be created if user is not registered so far. You can optionally fill in the Role Attribute Mapping and Group ID Attribute. Here, Role Attribute specifies the user role (Admin/Group Admin/Student) that gets assigned to the new user which will be delegated as a student if left blank. Group ID Attribute is the name of the group to which the user will be signed into. Also, user will not belong to any group if this field is left blank.
- You can specify the text/label to be displayed on the corresponding login button of your OAuth service provider in the Login Button Text field, accompanied by the color of the button as well.
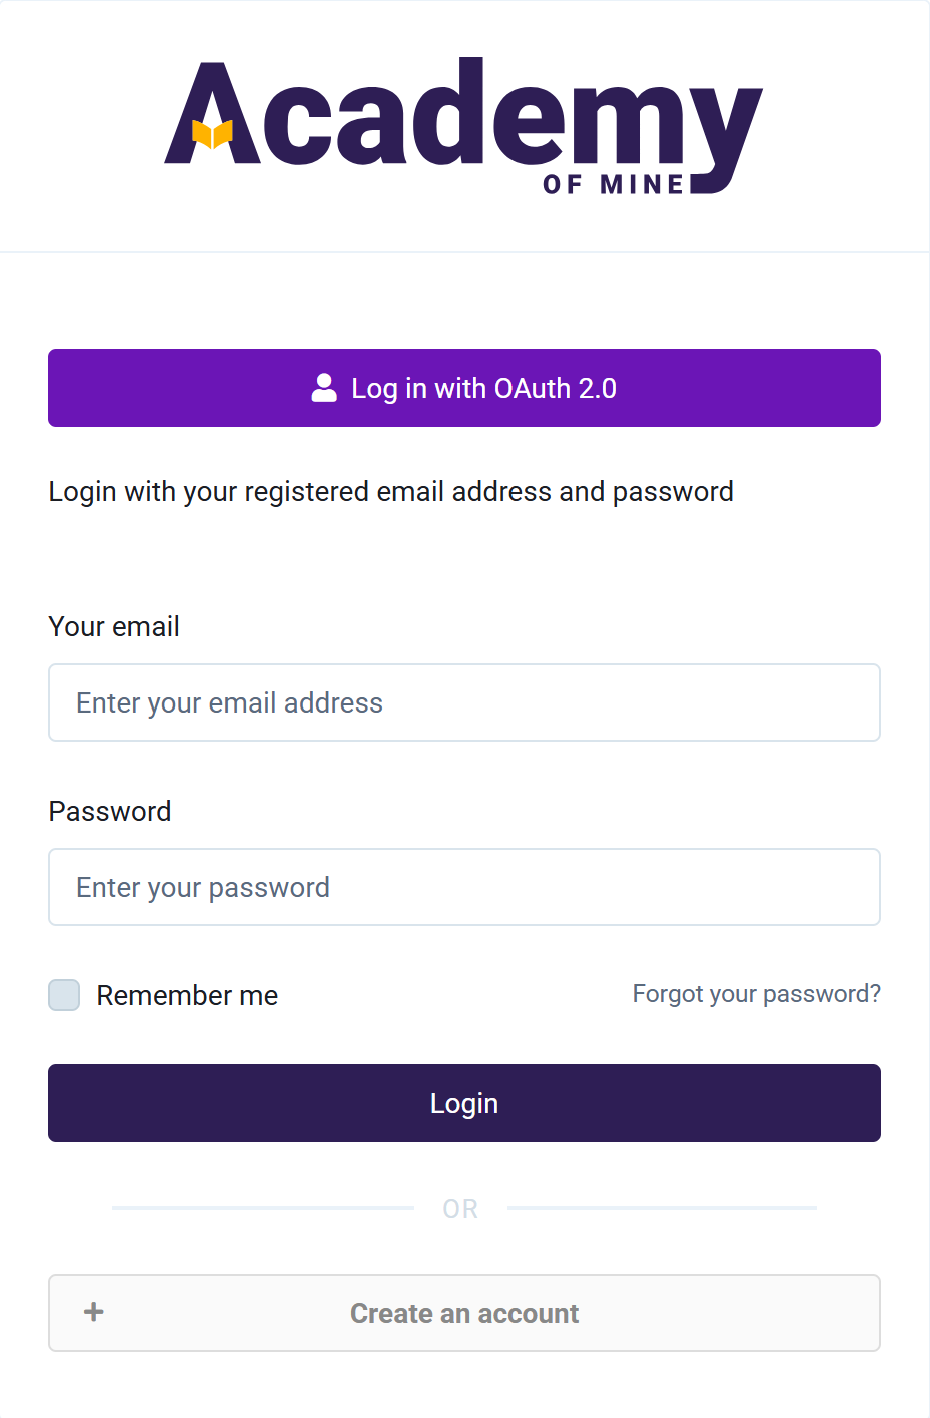
- Lastly, be sure to save the changes. The SSO will be activated now and can be used to log in from the login screen of your platform. An example login screen is shown below.