Adding the Meta Pixel (formerly Facebook Pixel)
The Meta Pixel (formerly known as the Facebook Pixel) is a powerful tool for tracking conversions from traffic coming from Facebook, allowing you to optimize ads and narrow down the right target audiences. It's also incredibly easy to connect with your platform once you have created your Pixel.
This guide will walk you through the steps needed to integrate Meta Pixel with your platform.
In this article
Step 1: Meta (Facebook) Steps
Inside your Meta (Facebook) Business page, follow these steps to create your Pixel. You can also follow along with Meta's guide here: How to Set Up and Install a Meta Pixel
- Open the Events Manager.
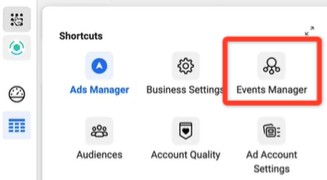
- Select Connect Data Sources.
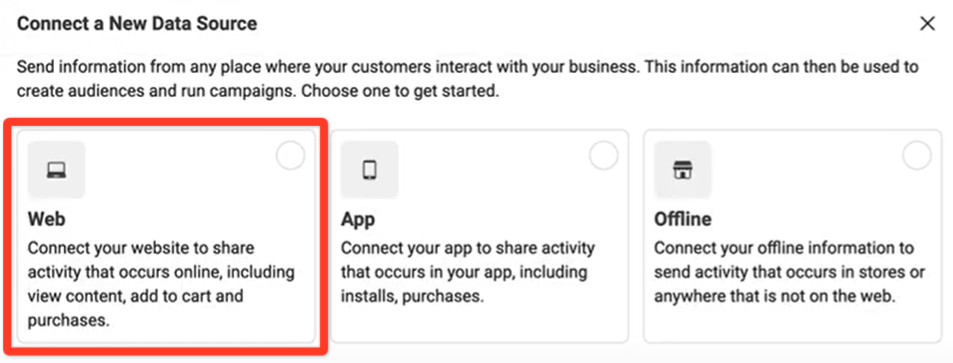
- In the Connect a New Data Source section, select the Web option.
- In the Set Up Web Events section, select Meta (Facebook) Pixel.
- Name your Pixel. Give it a memorable name to help you track your activity. In the Connect Website Activity Using Pixel section, select Install Code Manually.
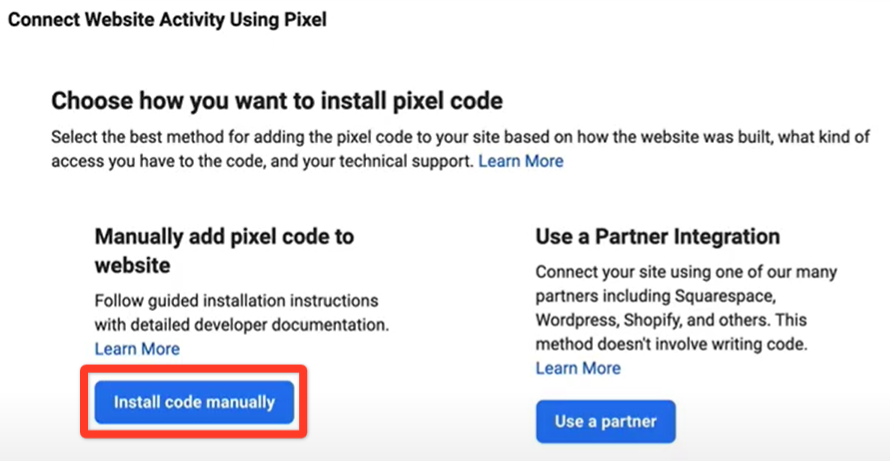
- Copy the base code provided to you.
Step 2: Academy of Mine Steps
Back in your Academy of Mine account, follow these steps to complete your Facebook Pixel integration.
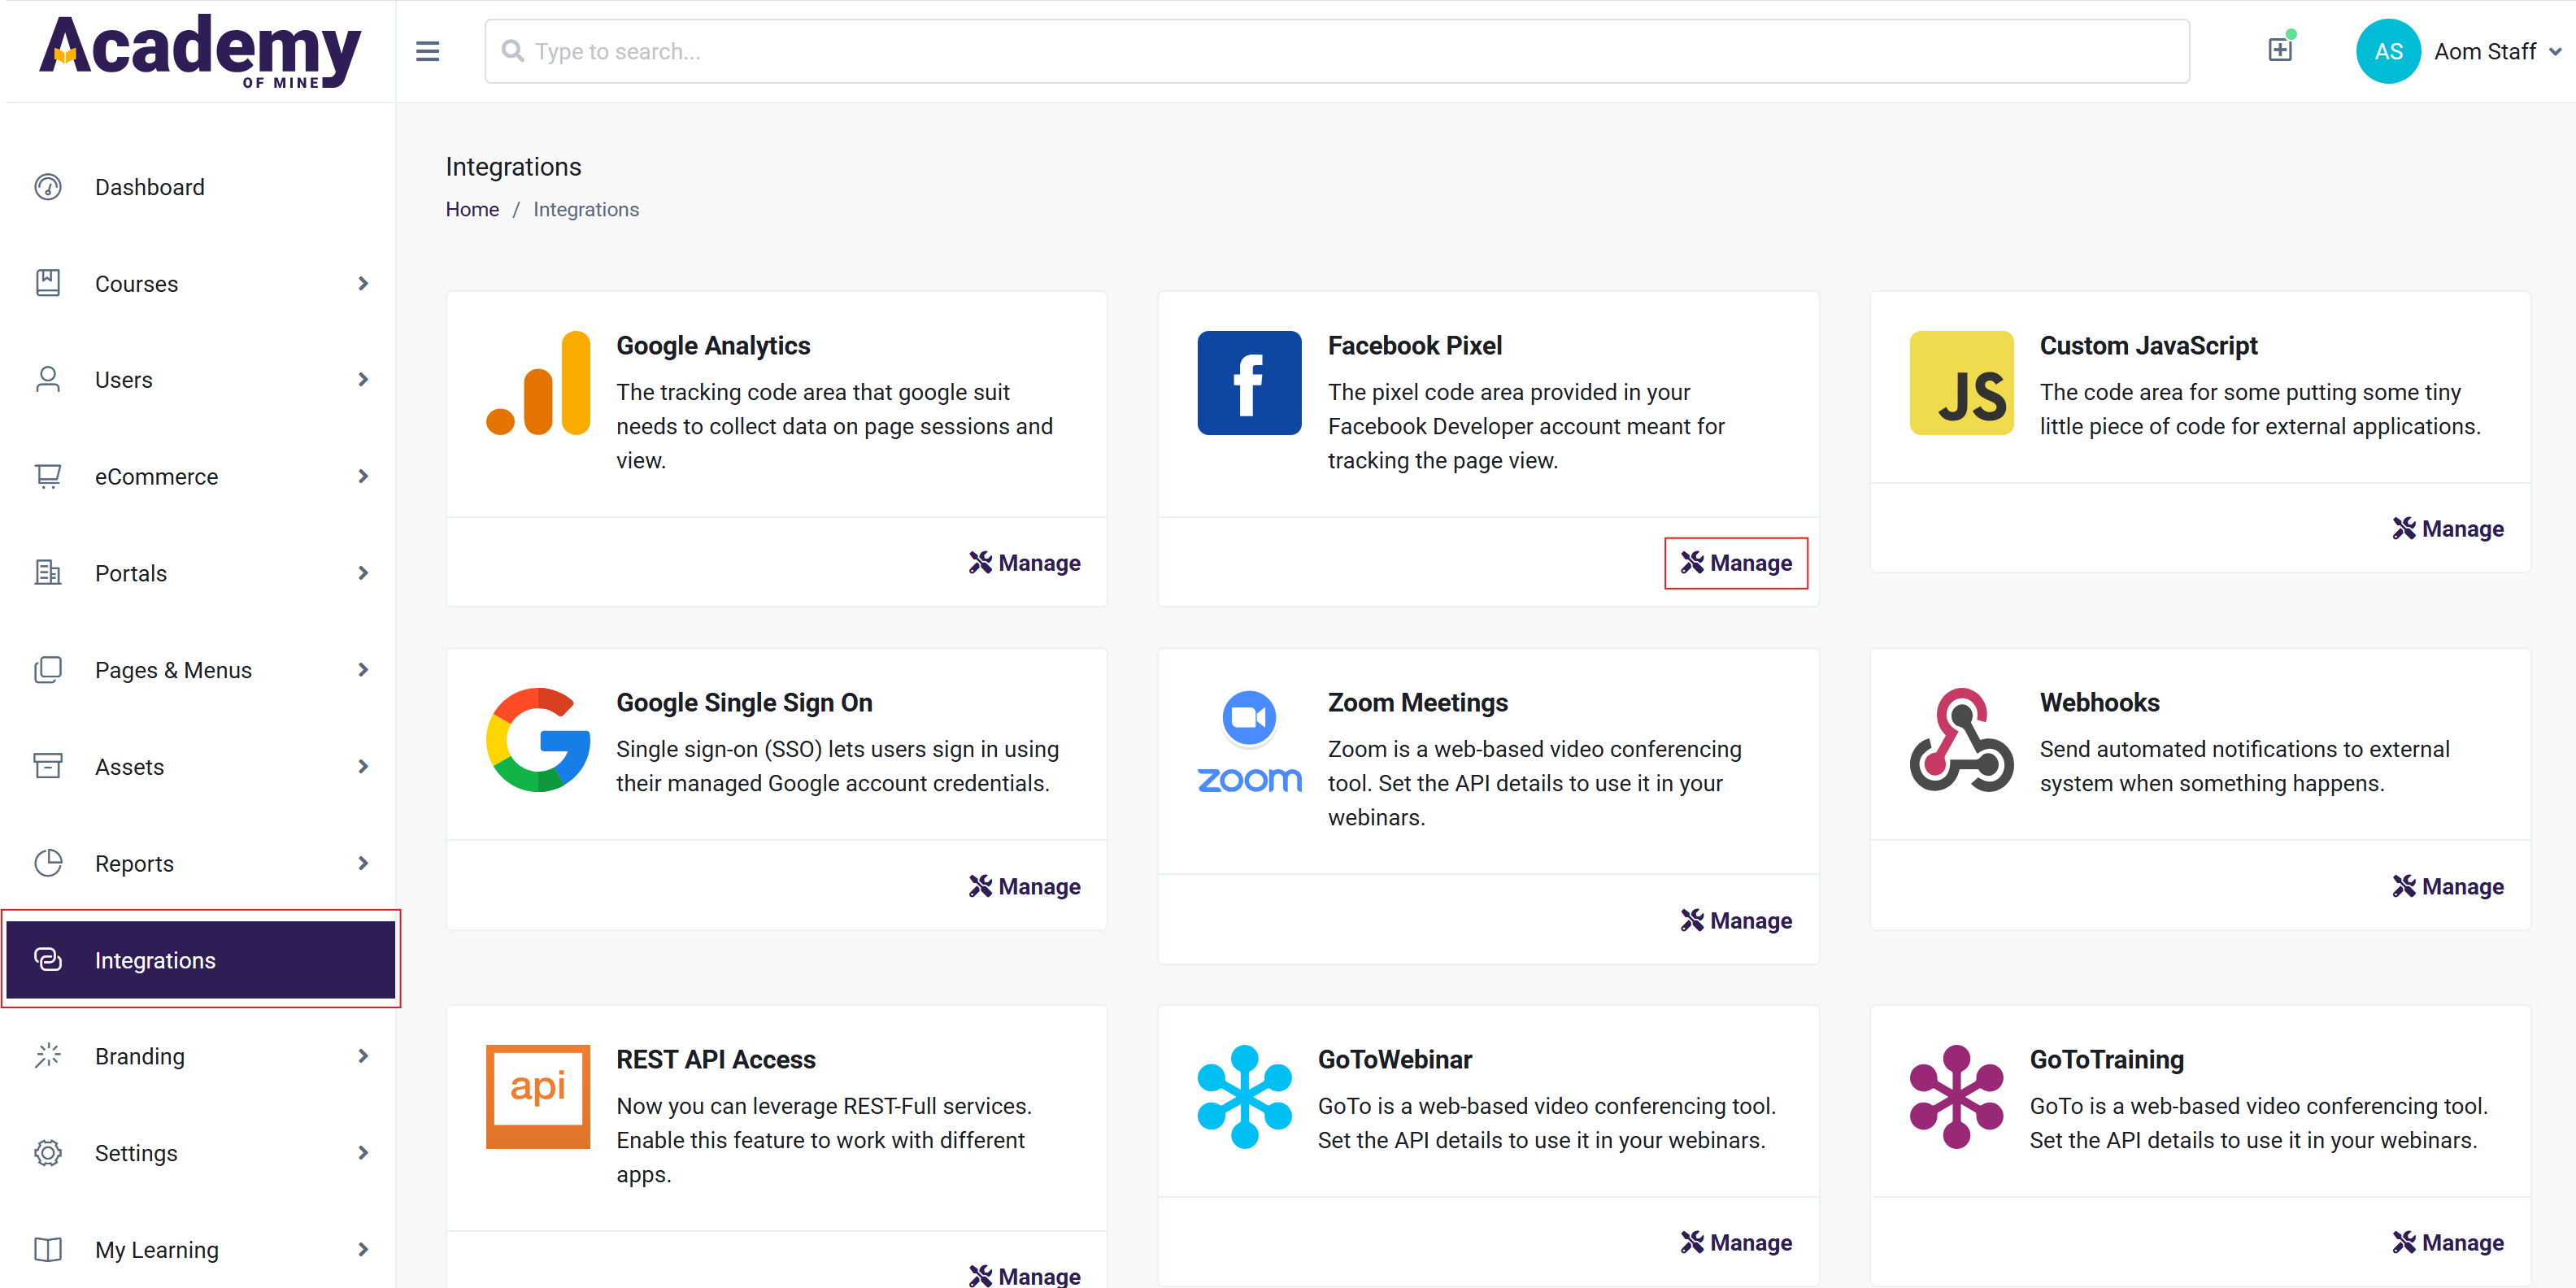
- From the Admin Dashboard, click on the Integrations menu.
- Click the Manage option on the Facebook Pixel.
-
Paste the code you copied from your Meta (Facebook) account, then select Save Changes.
-
To start using the Pixel, turn it on by selecting Enable Facebook Pixel.
