Integrating with Stripe for eCommerce
Stripe is an online payment processing platform that allows businesses to send and receive payments over the internet. It is fully integrated into Academy of Mine's checkout process. Payments made in Academy of Mine will be passed on to Stripe for collection.
Note: As Academy of Mine does not directly collect payments, you will need to sign up with a third party payment gateway, such as Stripe, then connect it with the Academy of Mine platform using the API credentials provided by the payment gateway. Before proceeding with this guide, you must sign up for a Stripe account if you don't already have one. Once you have your Stripe account set up, this guide will help you complete your Stripe integration, set up testing, and ultimately go live to collect real payments.
Be sure to review our overview of eCommerce Setup guides: Introduction to eCommerce
In this article
Setting Up the Stripe Integration
There are four main steps to integrating with Stripe. You will need to have a Stripe account set up before beginning, and will be going between Stripe's site and AOM to transfer the API Keys. Once you have added the test keys and tested, you can add the production keys and then the account will be able to accept payment.
Step 1: Prepare Payment Settings in AOM
The first step is to set up the Stripe integration within Academy of Mine.
- From the Admin Dashboard, select eCommerce, then Settings. Then click the Payment tab
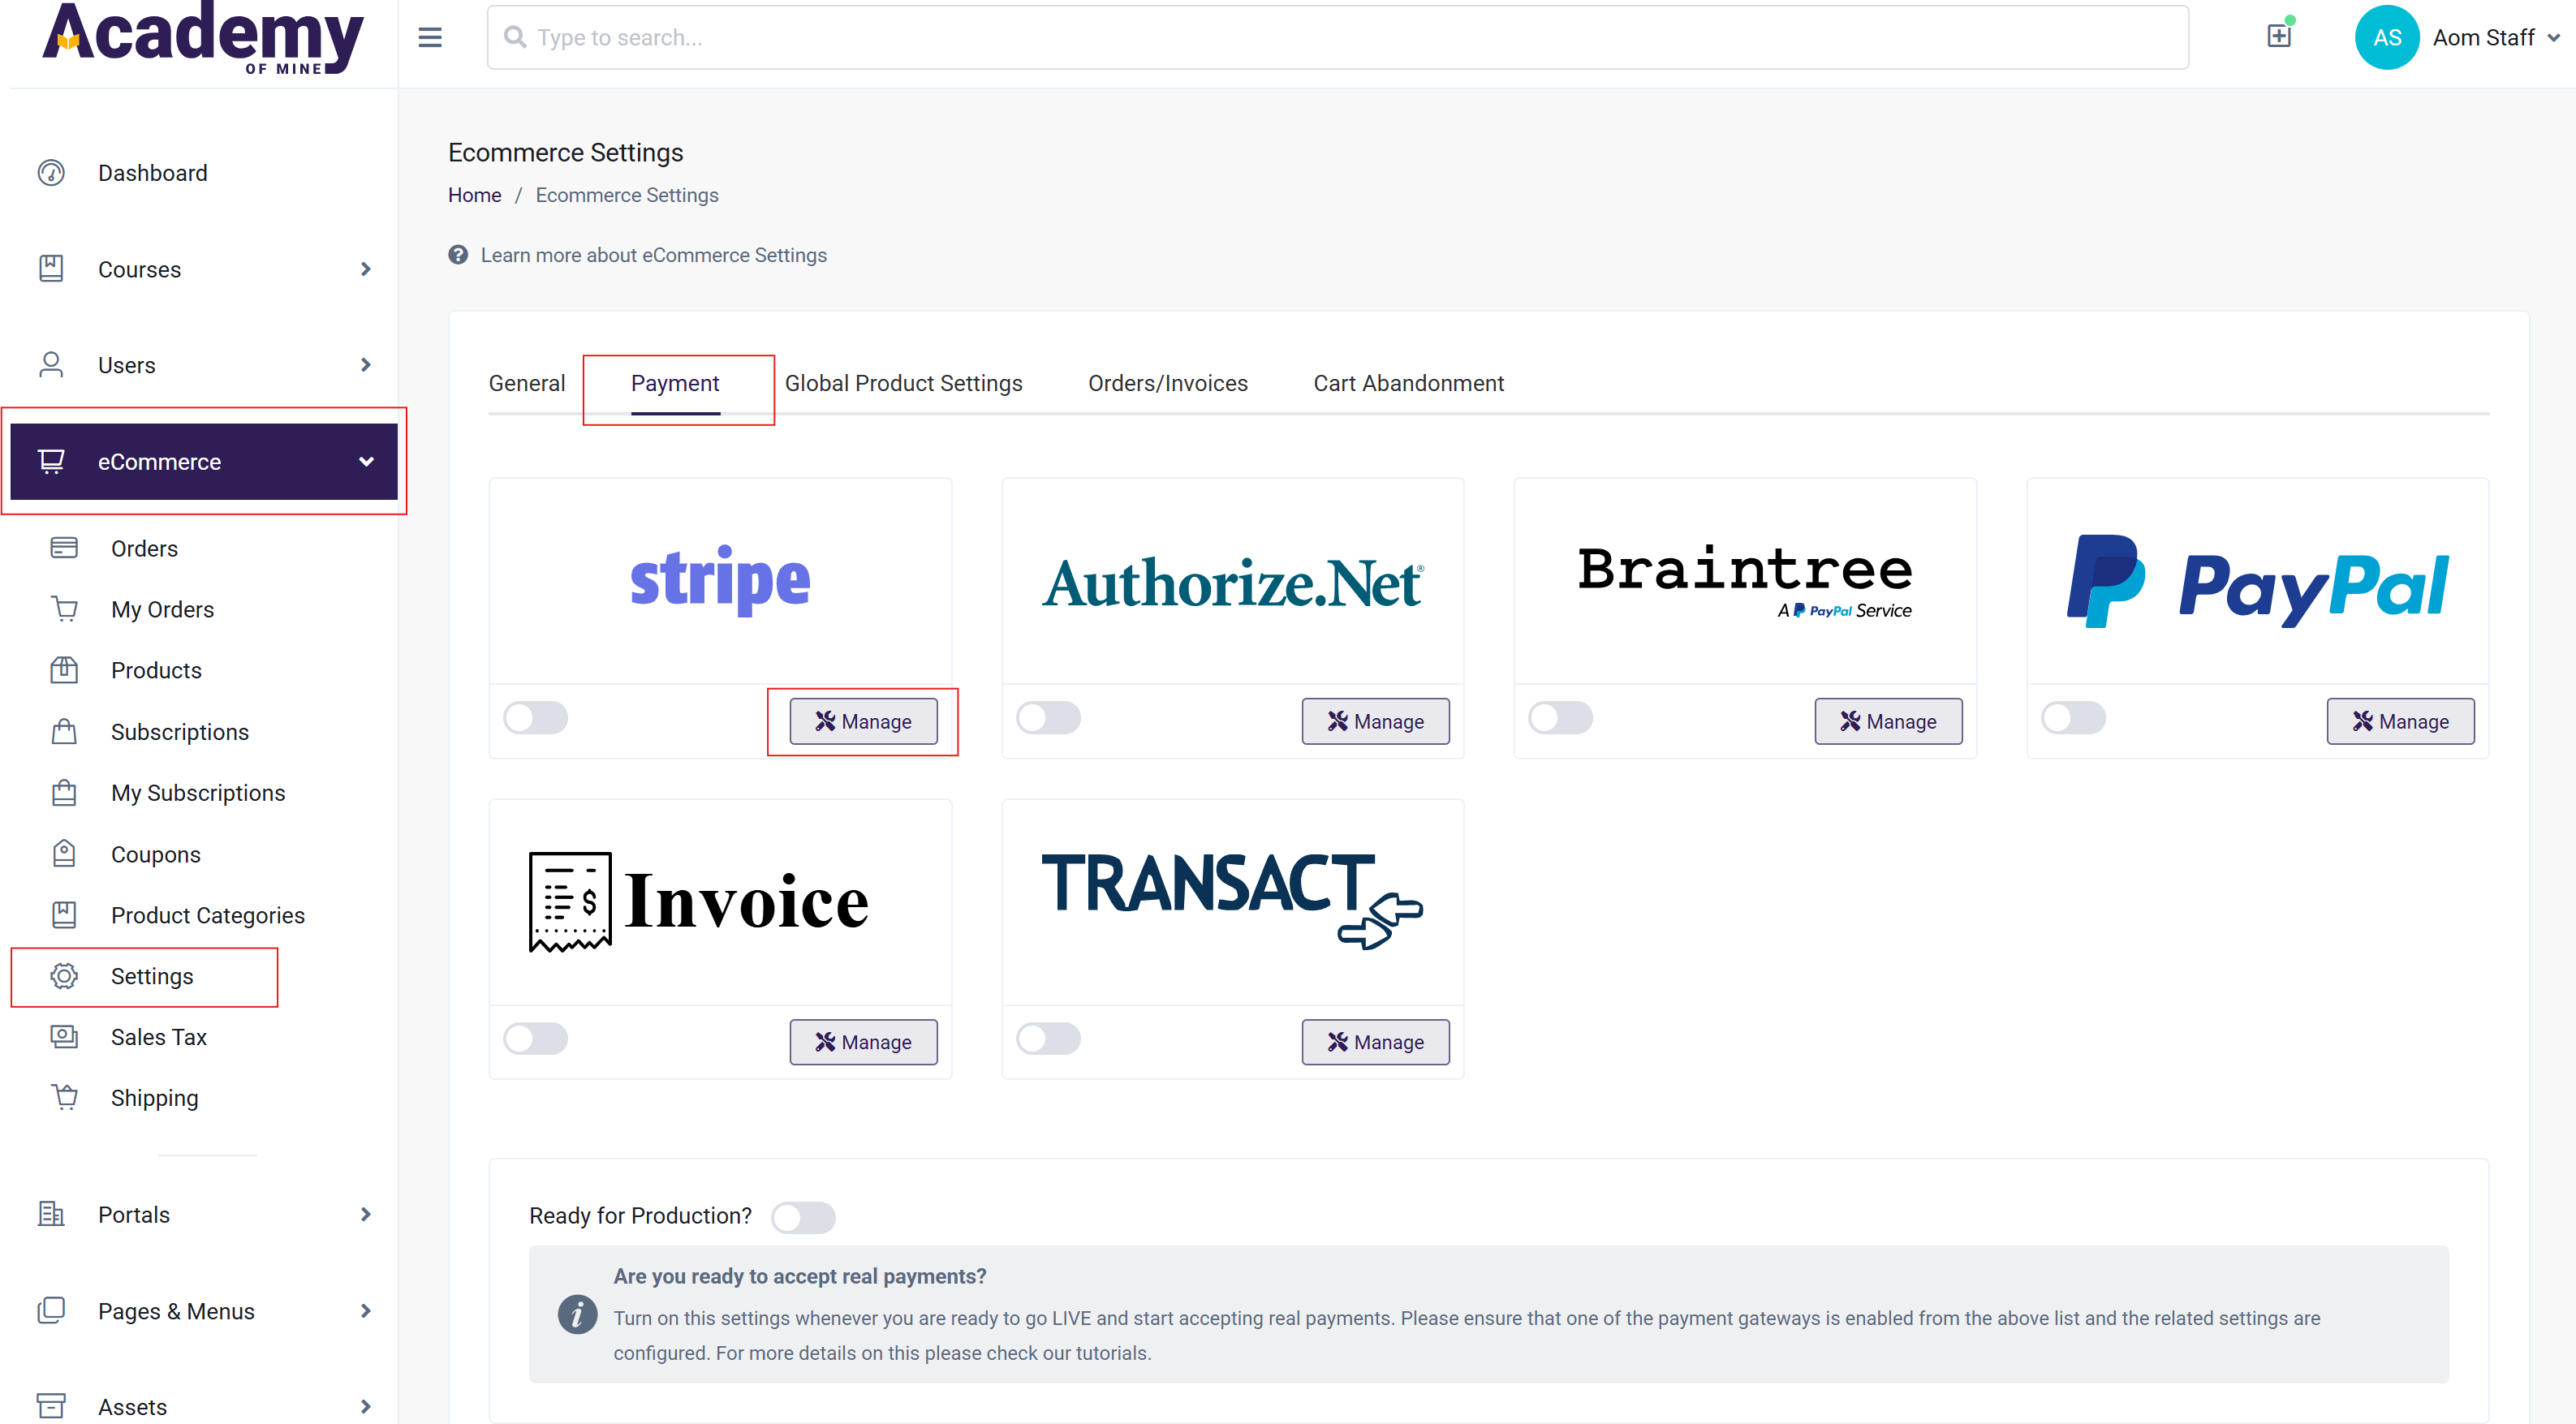
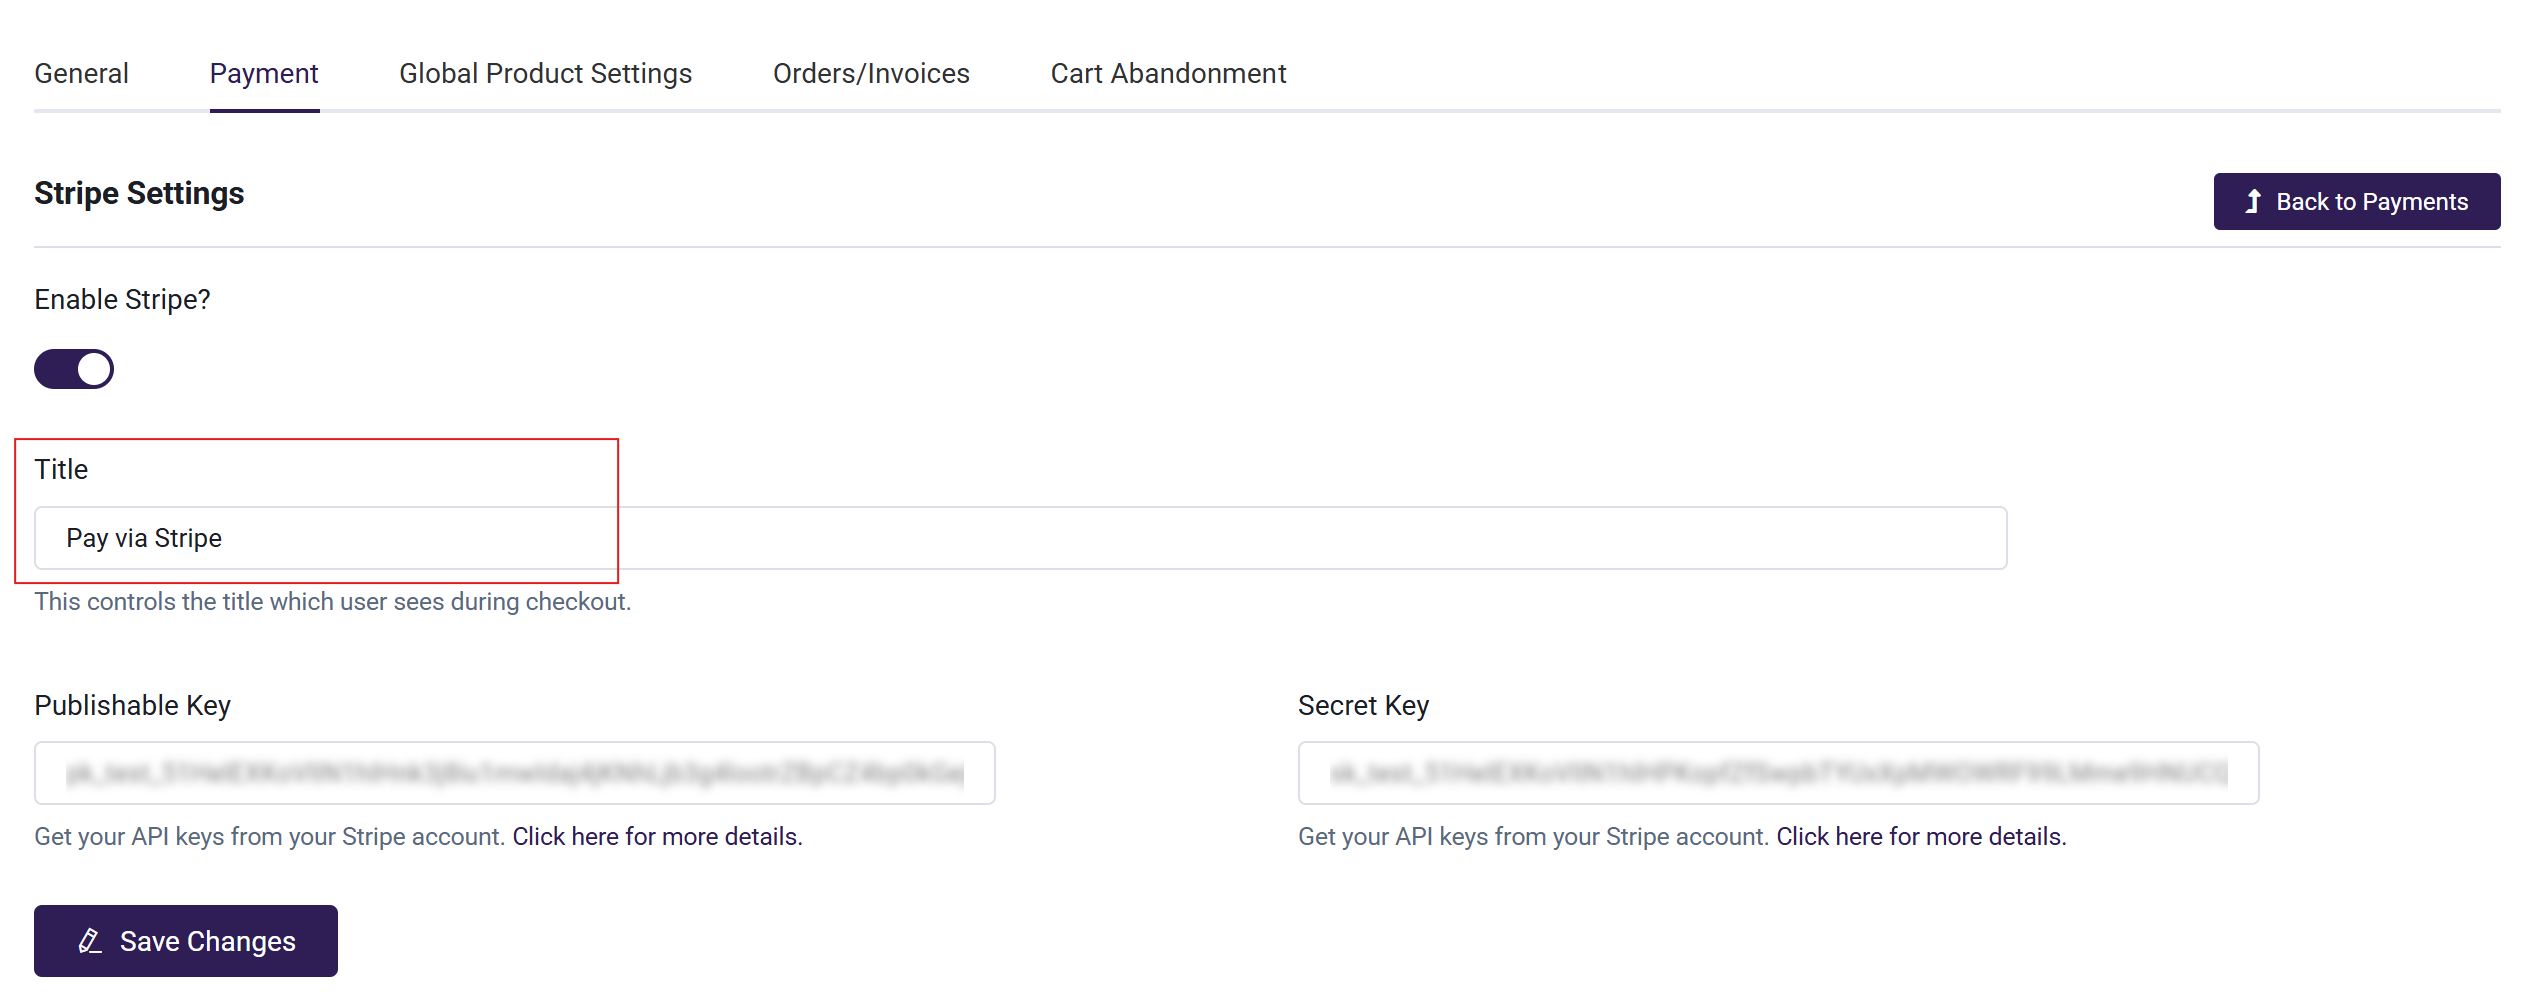
- Select Manage in the Stripe section to enter the Stripe Settings page.
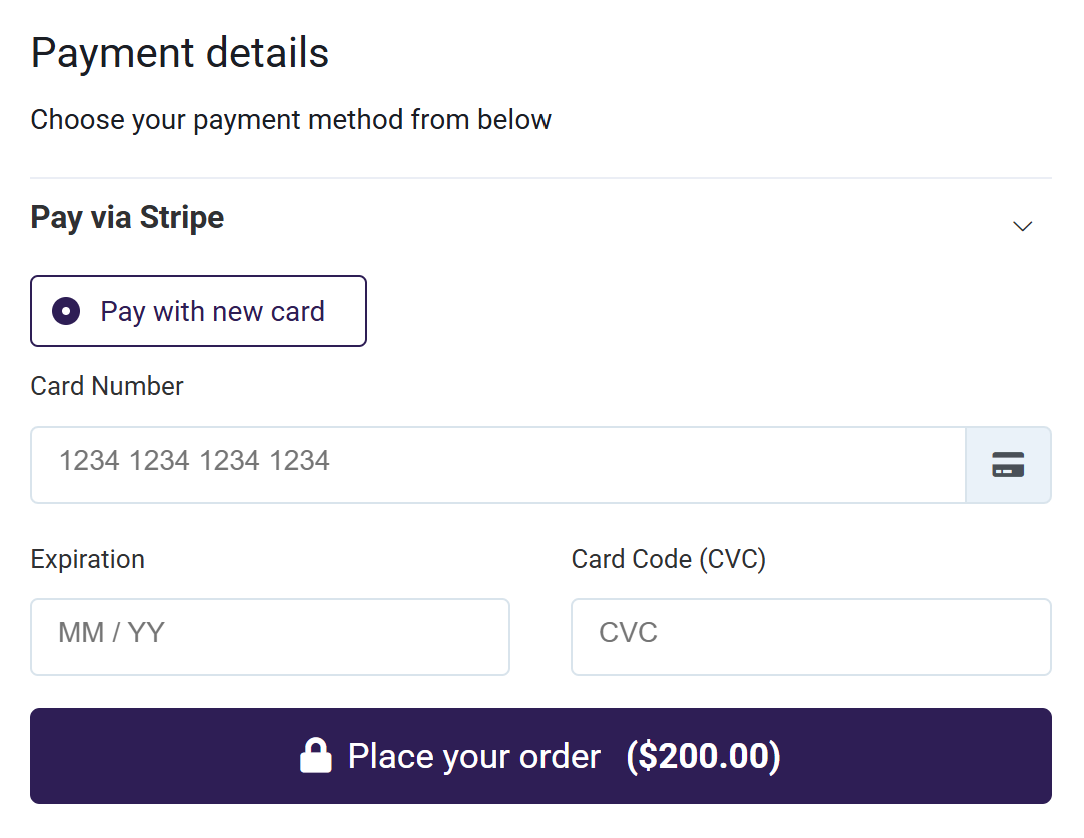
- Enter a Title: The title you add will appear on the Payment Details section of your checkout page.
What shows on checkout screen to users:
Step 2: Add Your API Credentials & Enable Stripe
Note: Stripe has two sets of API keys, one for testing and one for real payments. You must use the test keys first, and once you are ready for real payments, you will swap the test keys for the live keys.
To begin using your Stripe integration, you'll want to use the Test version of your Publishable Key and Secret Key. The test version of your API keys will begin with pk_test_ and sk_test_ and will prevent you from running a real payment and charging a credit card.
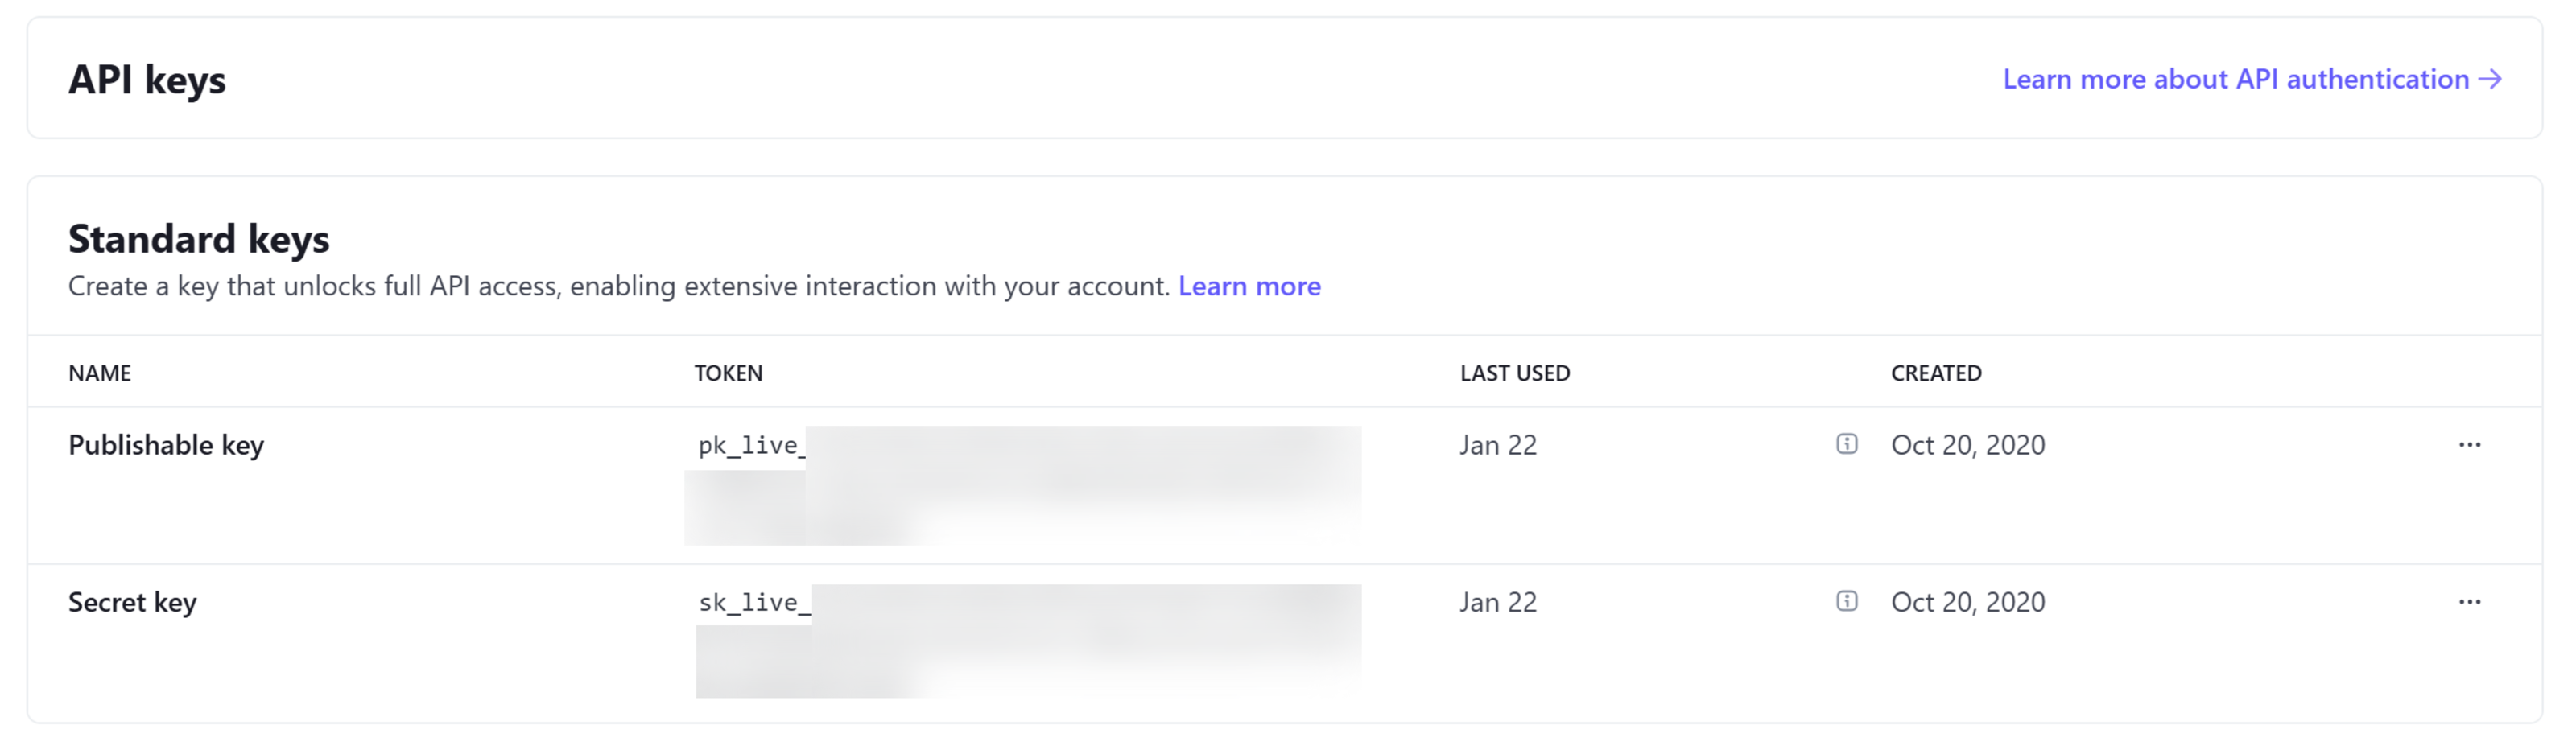
- In your Stripe account dashboard, head to Developers > API Keys.
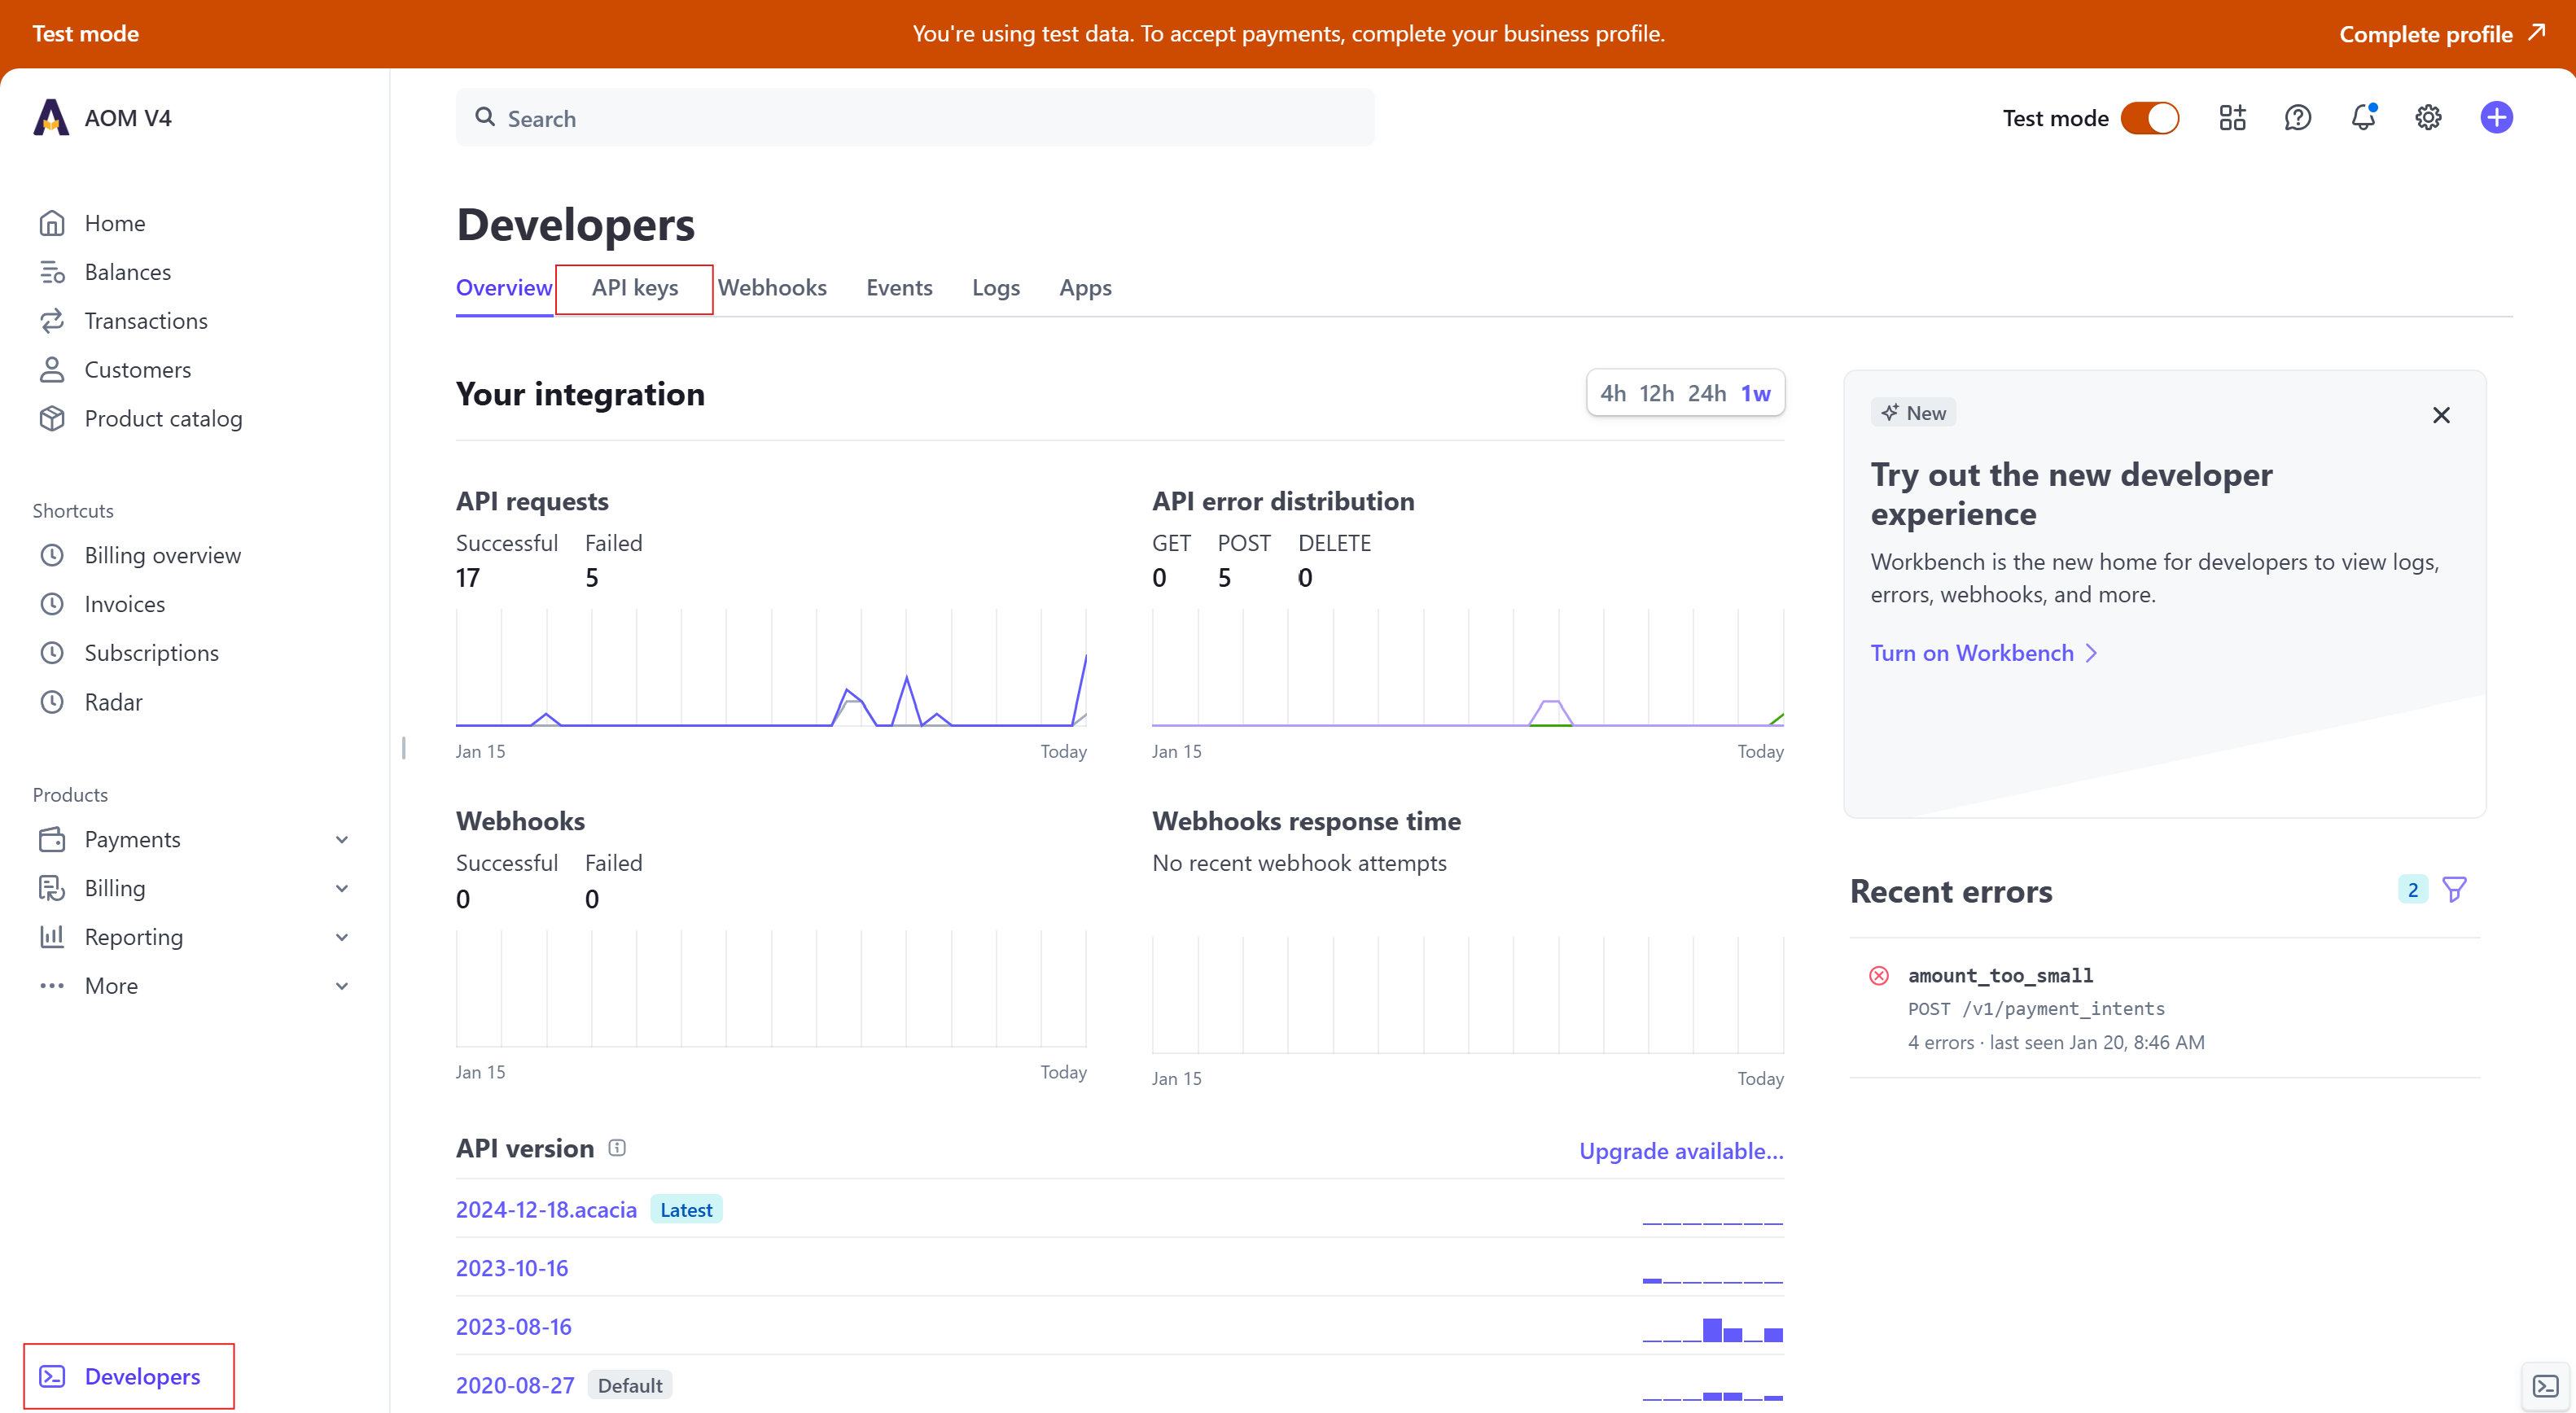
- Copy the test Publishable Key and Secret Key.
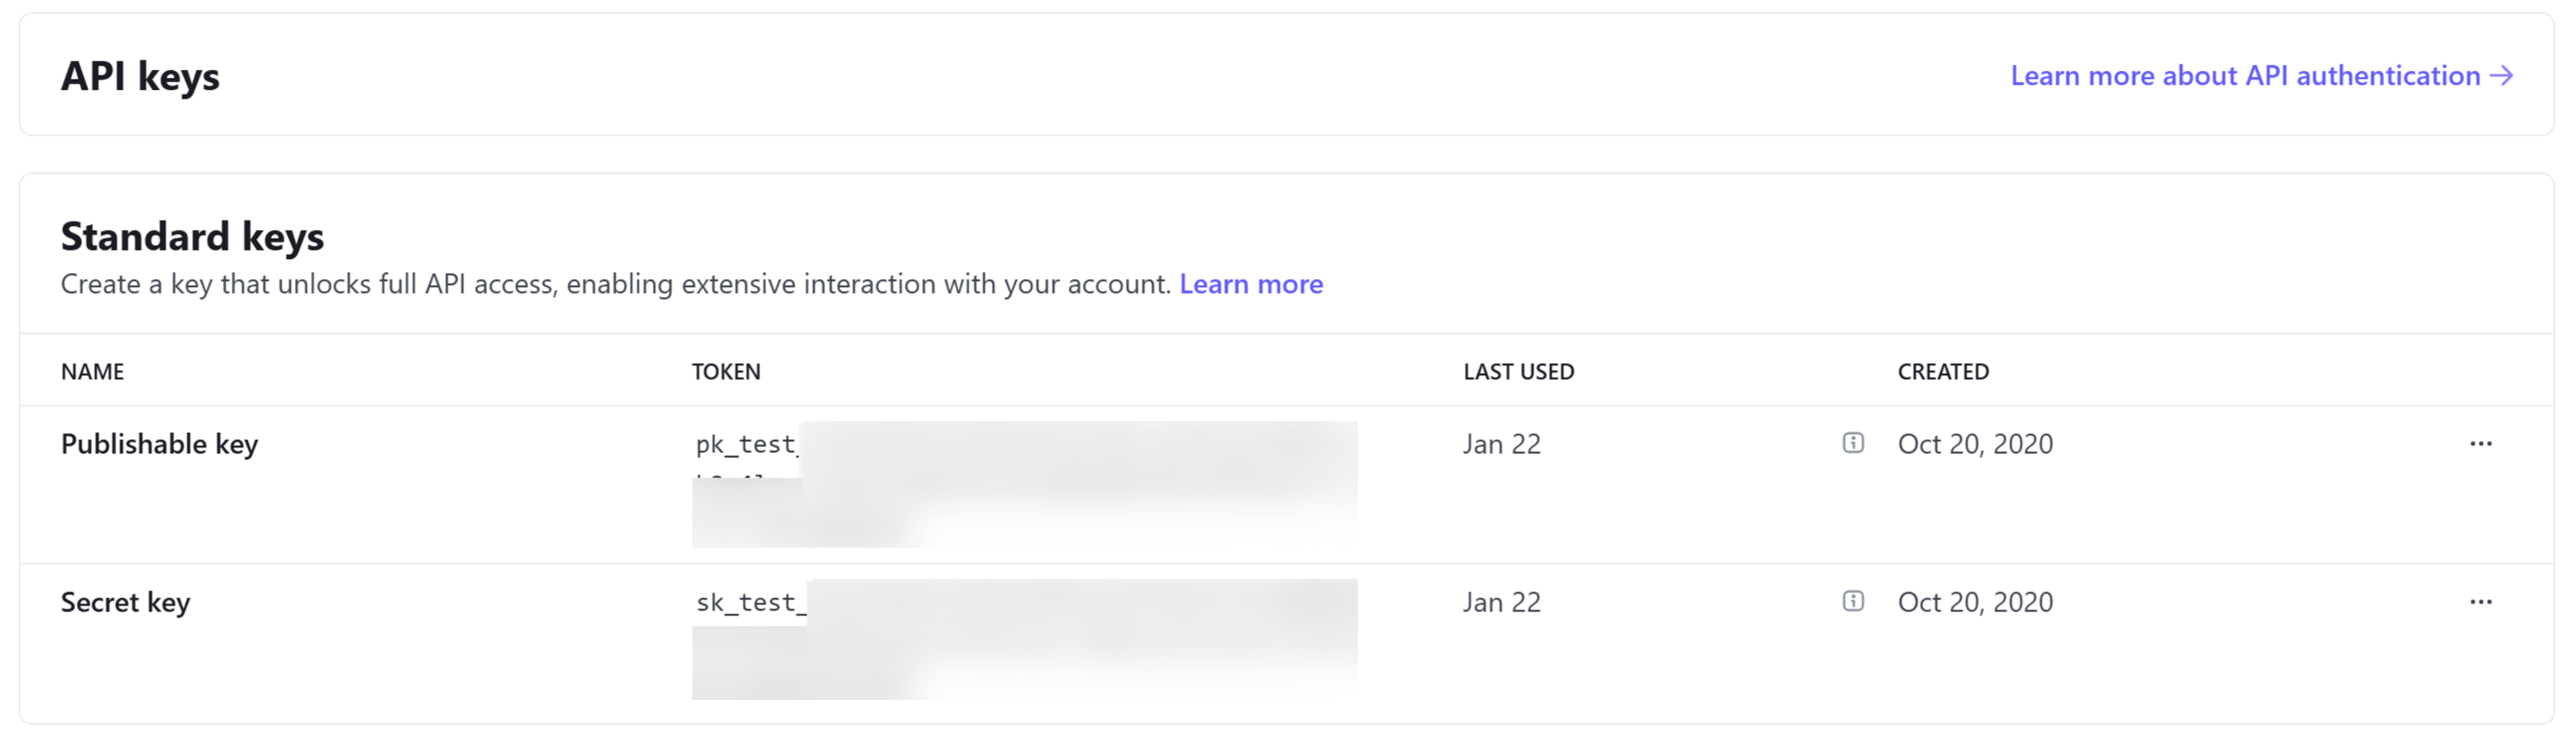
(image altered for security purposes)
- Go back to Academy of Mine, and paste in your API keys in the Stripe settings page
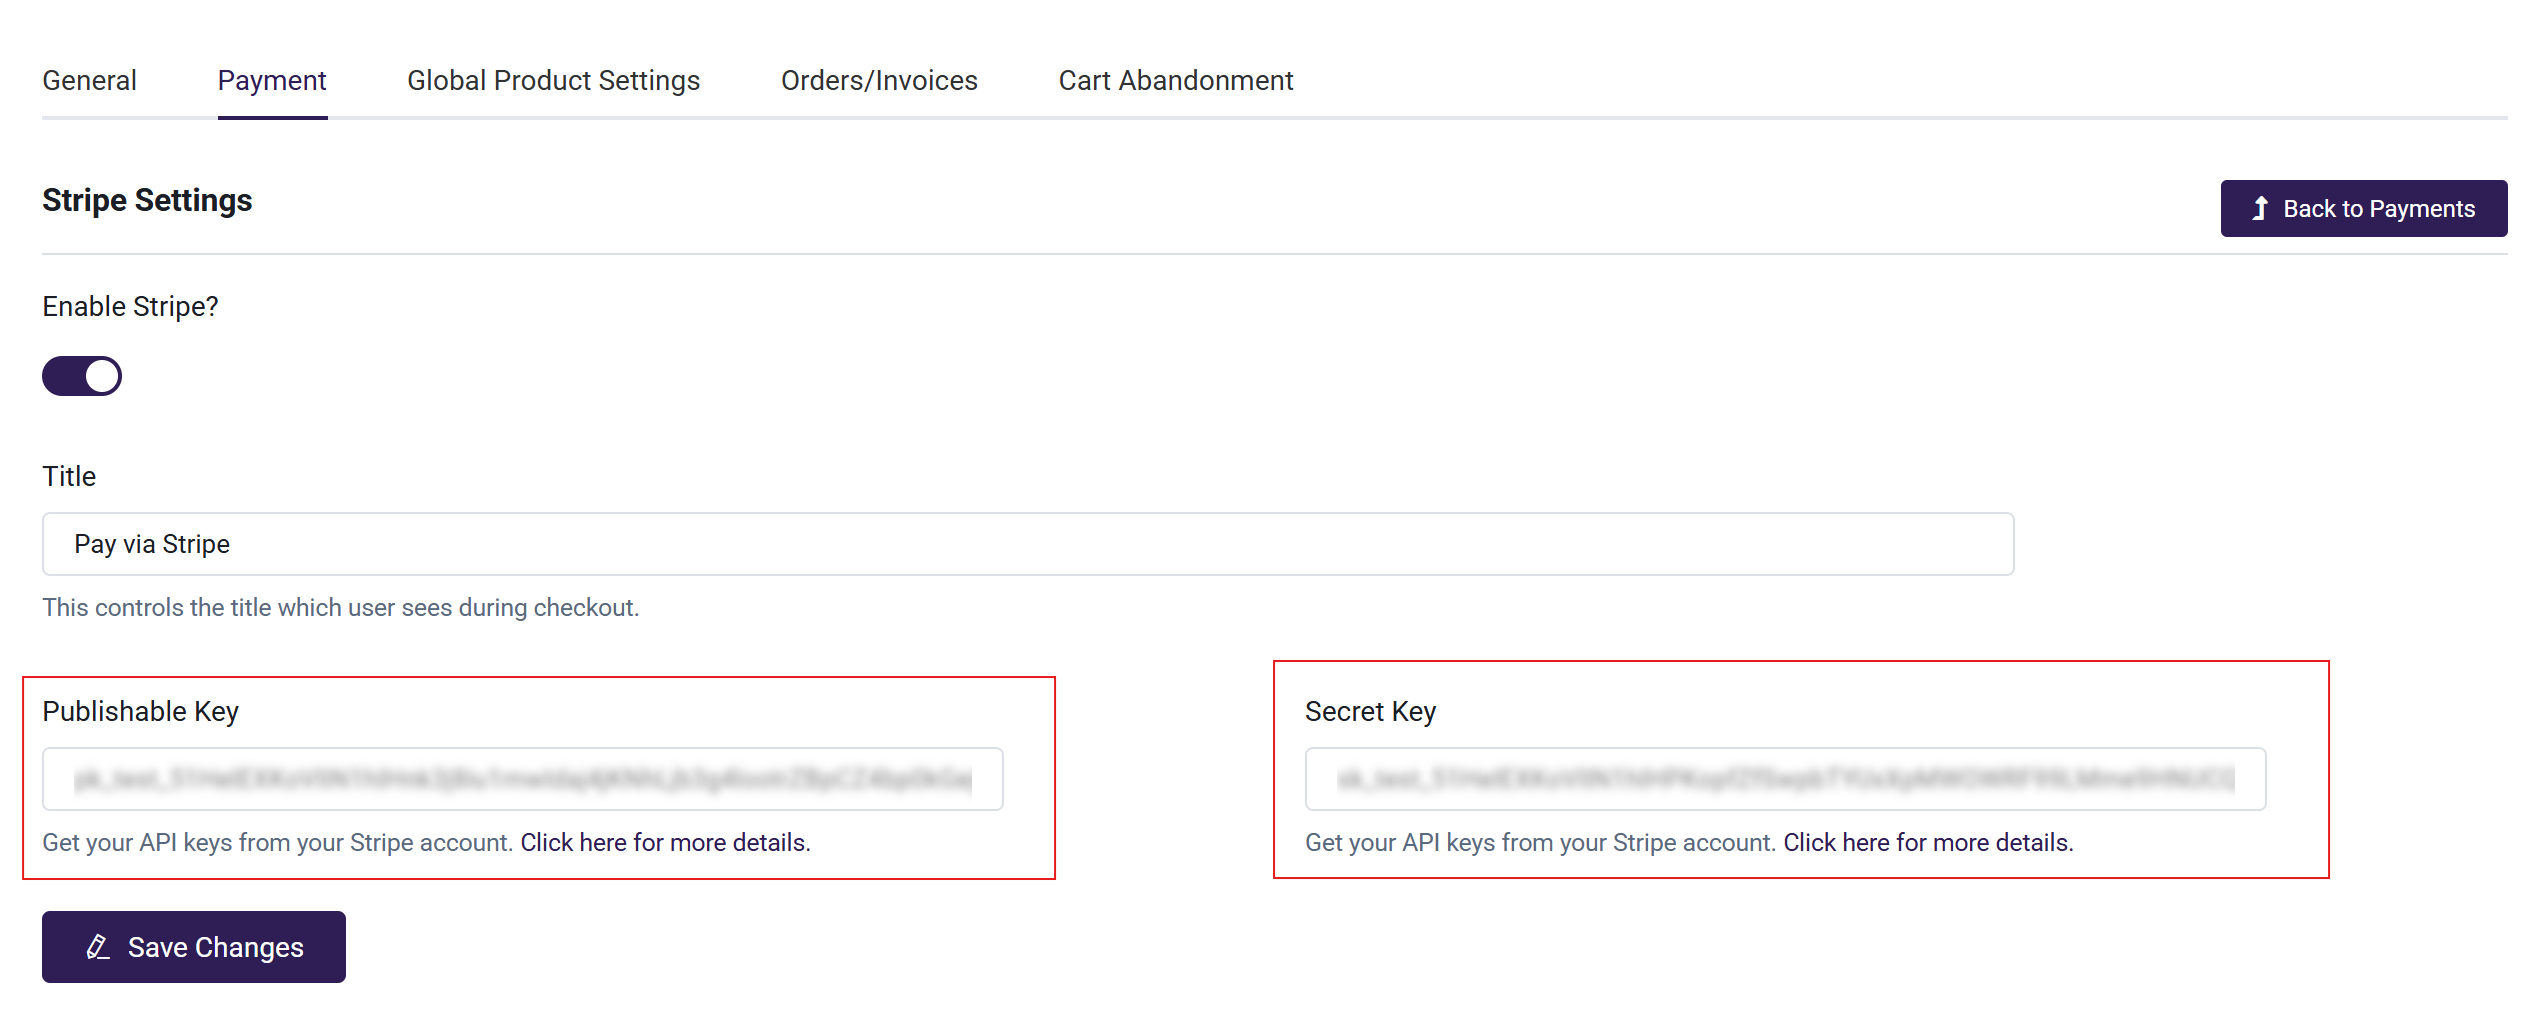
(image altered for security purposes)
- Within this Stripe settings page, be sure to Enable Stripe. Before you begin testing in your account, you must enable Stripe. If Stripe is not enabled, your Academy of Mine account will not connect with your Stripe account.
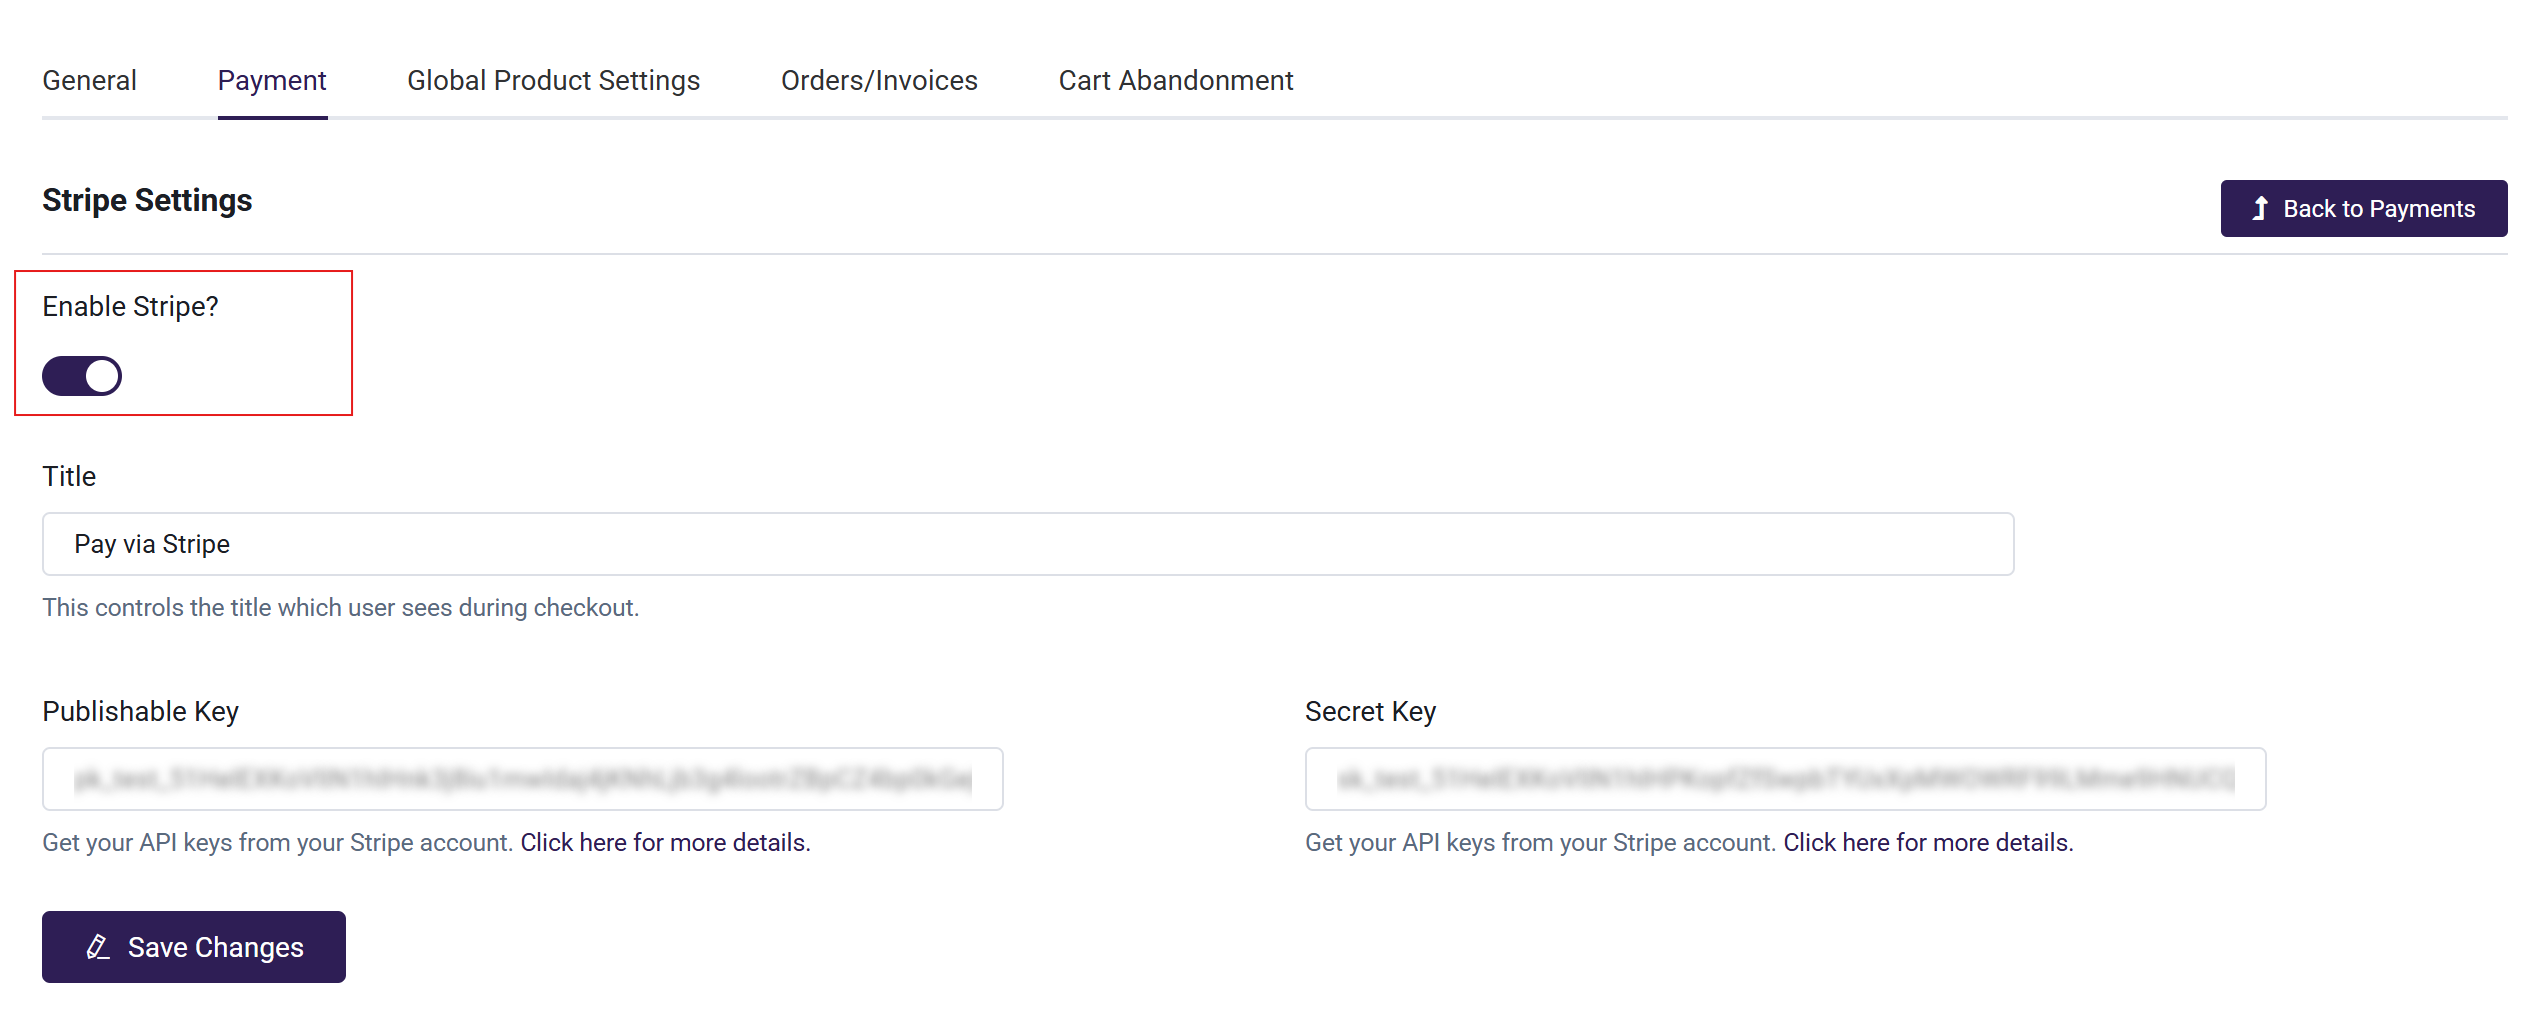
- Click Save Changes
Step 3: Begin Testing
-
Once you have successfully added your test Publishable Key and test Secret Key, you are ready to attempt test purchases of your Products. If you need a hand going through checkout, take a look here.
-
When checking out and placing an order, it is important that you use a test credit card number provided by Stripe, rather than a live credit card. For example, when testing a successful transaction with Visa you will use the card number 4242 4242 4242 4242, a CVC of any 3 digits, and an expiration date of any future date.
- Learn more about testing with Stripe via their Testing Documentation.
Step 4: Ready for Production
If your tests have completed successfully and you are ready to accept real payments, you will replace the test key with the live key. Note that when using Stripe's live API keys, real cards must be used, and real payments will be processed.
WARNING: Stripe has updated their security procedure for accessing your live Secret Key. You will only be able to access it one time. Make sure to copy it and save it somewhere you can access it again until you are sure that your Stripe integration is working correctly. You will not be able to access your Secret Key from your Stripe account again. If you lose access to your Secret Key, you will have to delete it and create a new one within your Stripe account. If this happens, please visit``https://stripe.com/docs/keys for directions on how to delete and create a new Secret Key.
- You must replace your test Publishable Key and test Secret Key with Stripe's live Publishable Key and live Secret Key. The live versions of the API keys will begin with pk_live_ and sk_live_ and will allow for real payments.
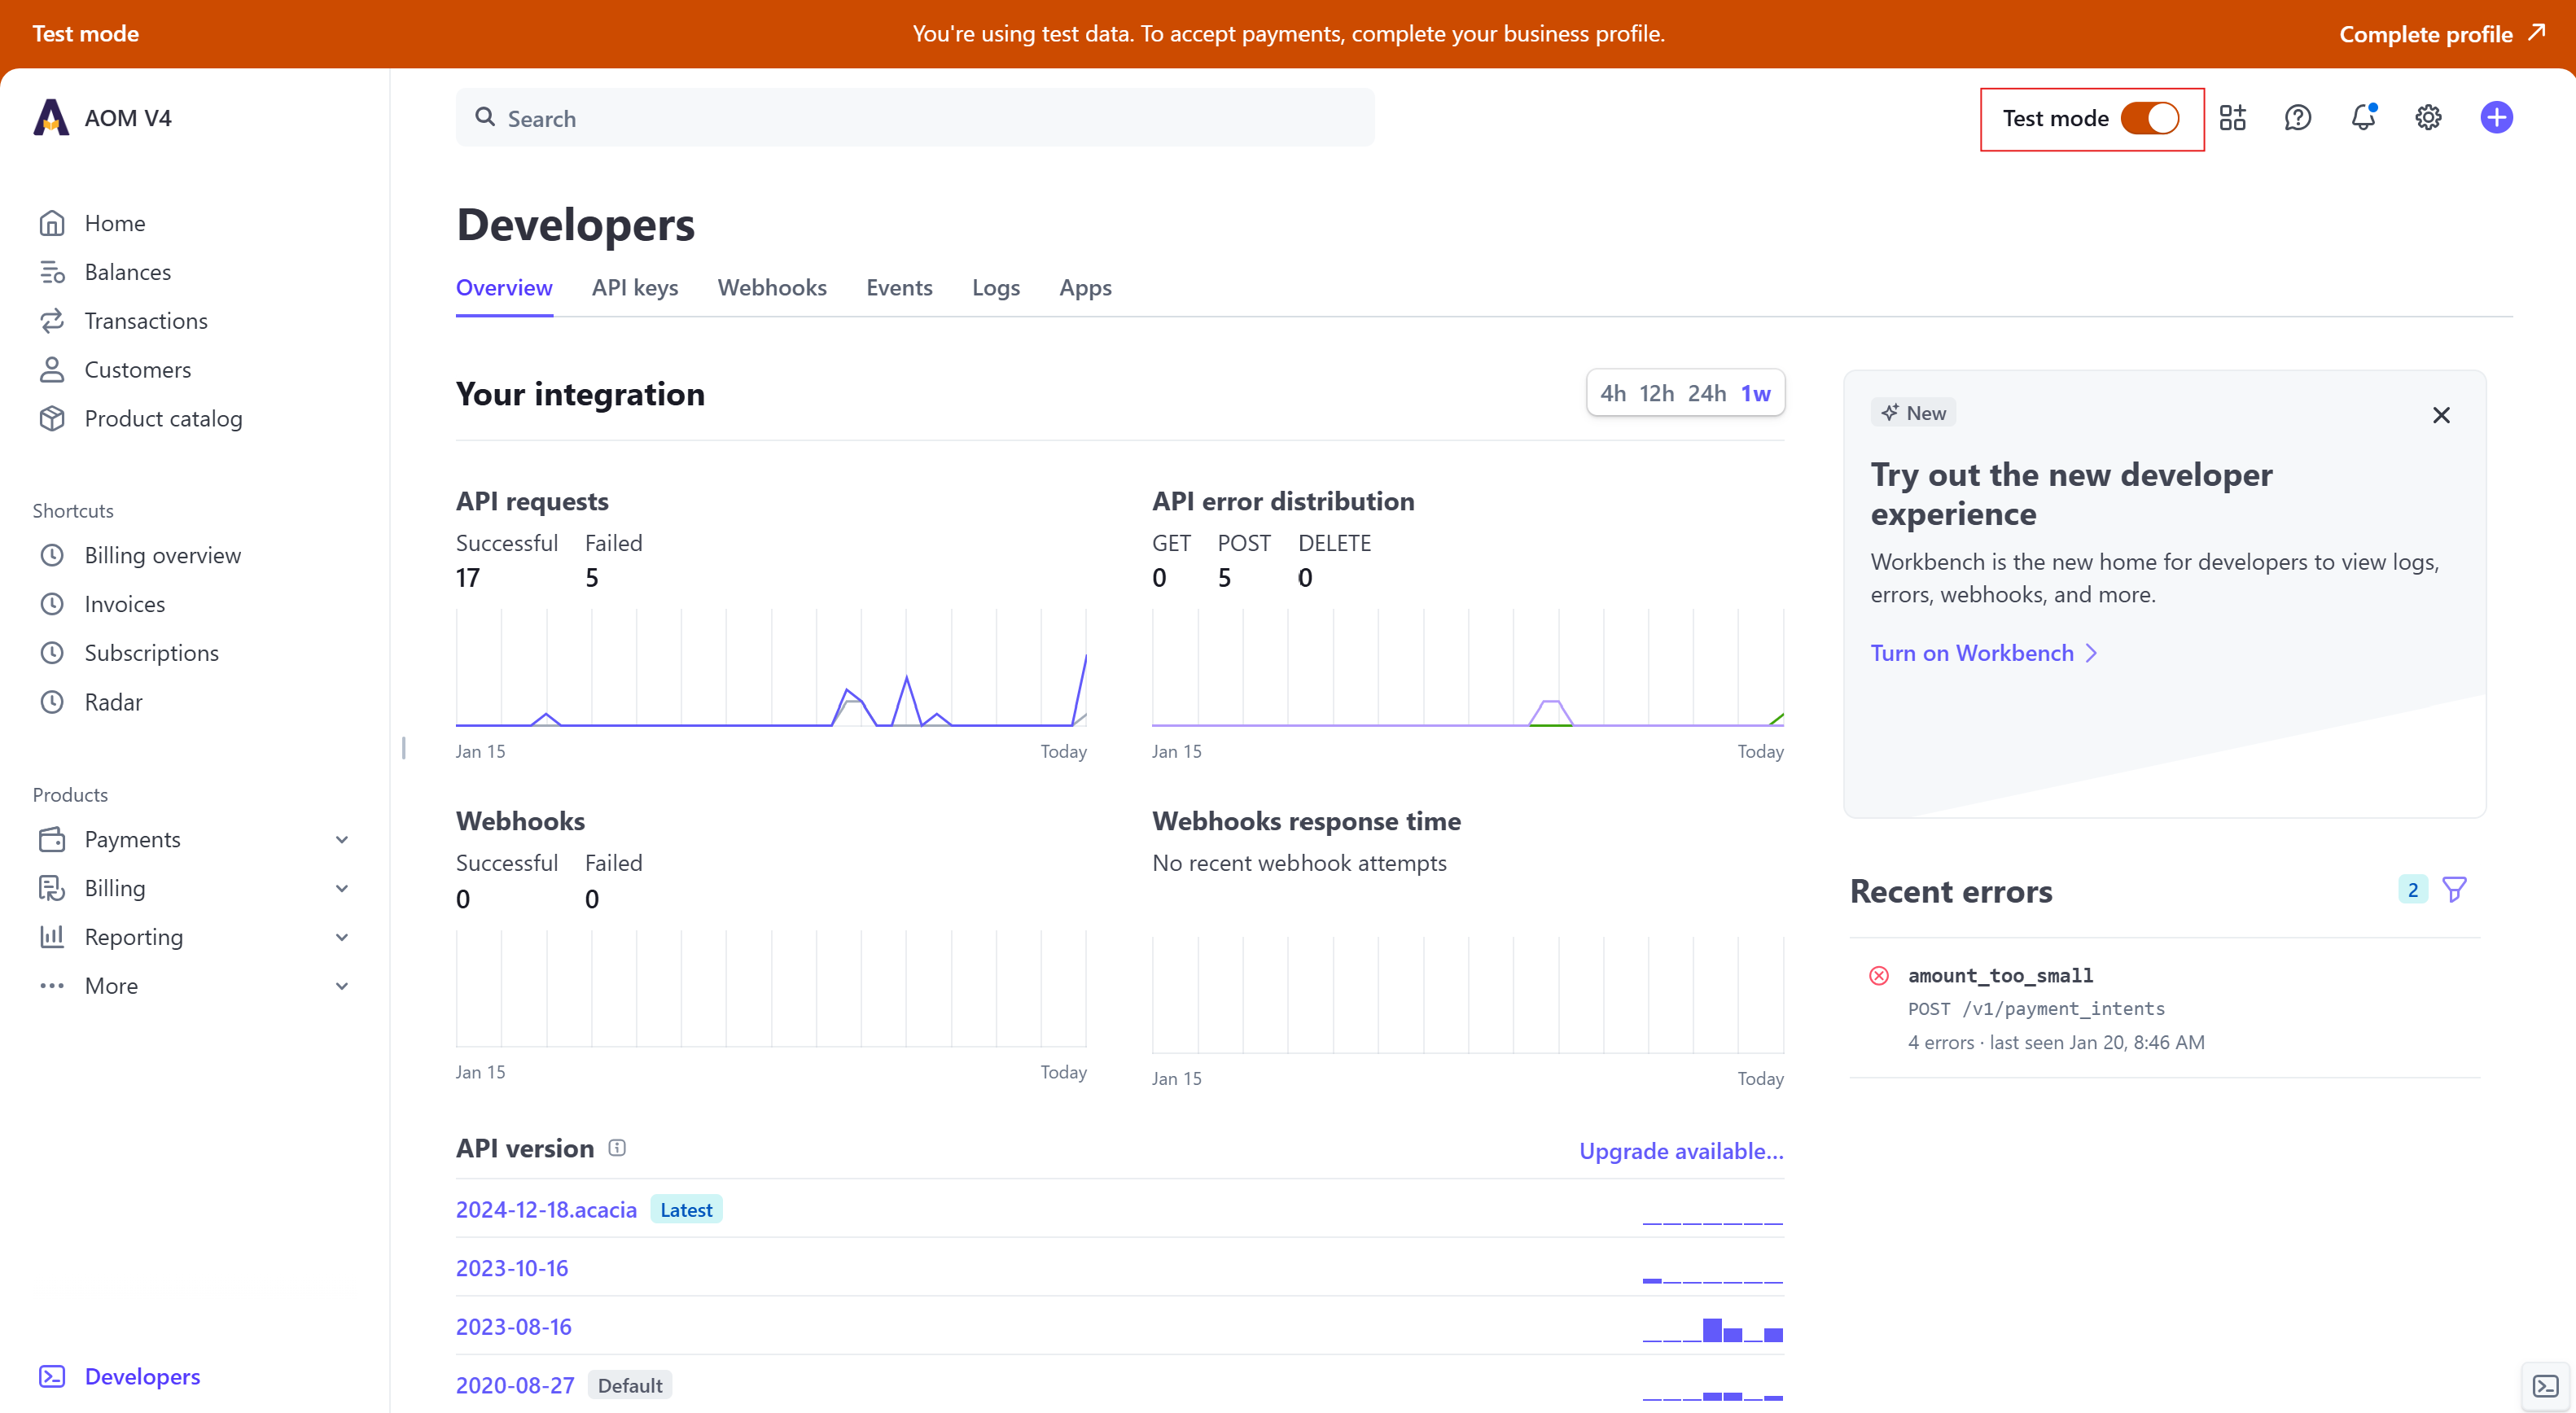
- In the Stripe dashboard, head to Developers > API Keys.
- Toggle the Test mode settings to view the live API keys.
- Copy the new Publishable Key and Secret Key.
(image altered for security purposes)
- Return to Academy of Mine, replace the old test keys with the new live keys in the Stripe Settings.

(image altered for security purposes)
- Enable the setting for Ready for Production. This is the final safety in place to prevent a real payment. Enabling it will officially turn on real payments.
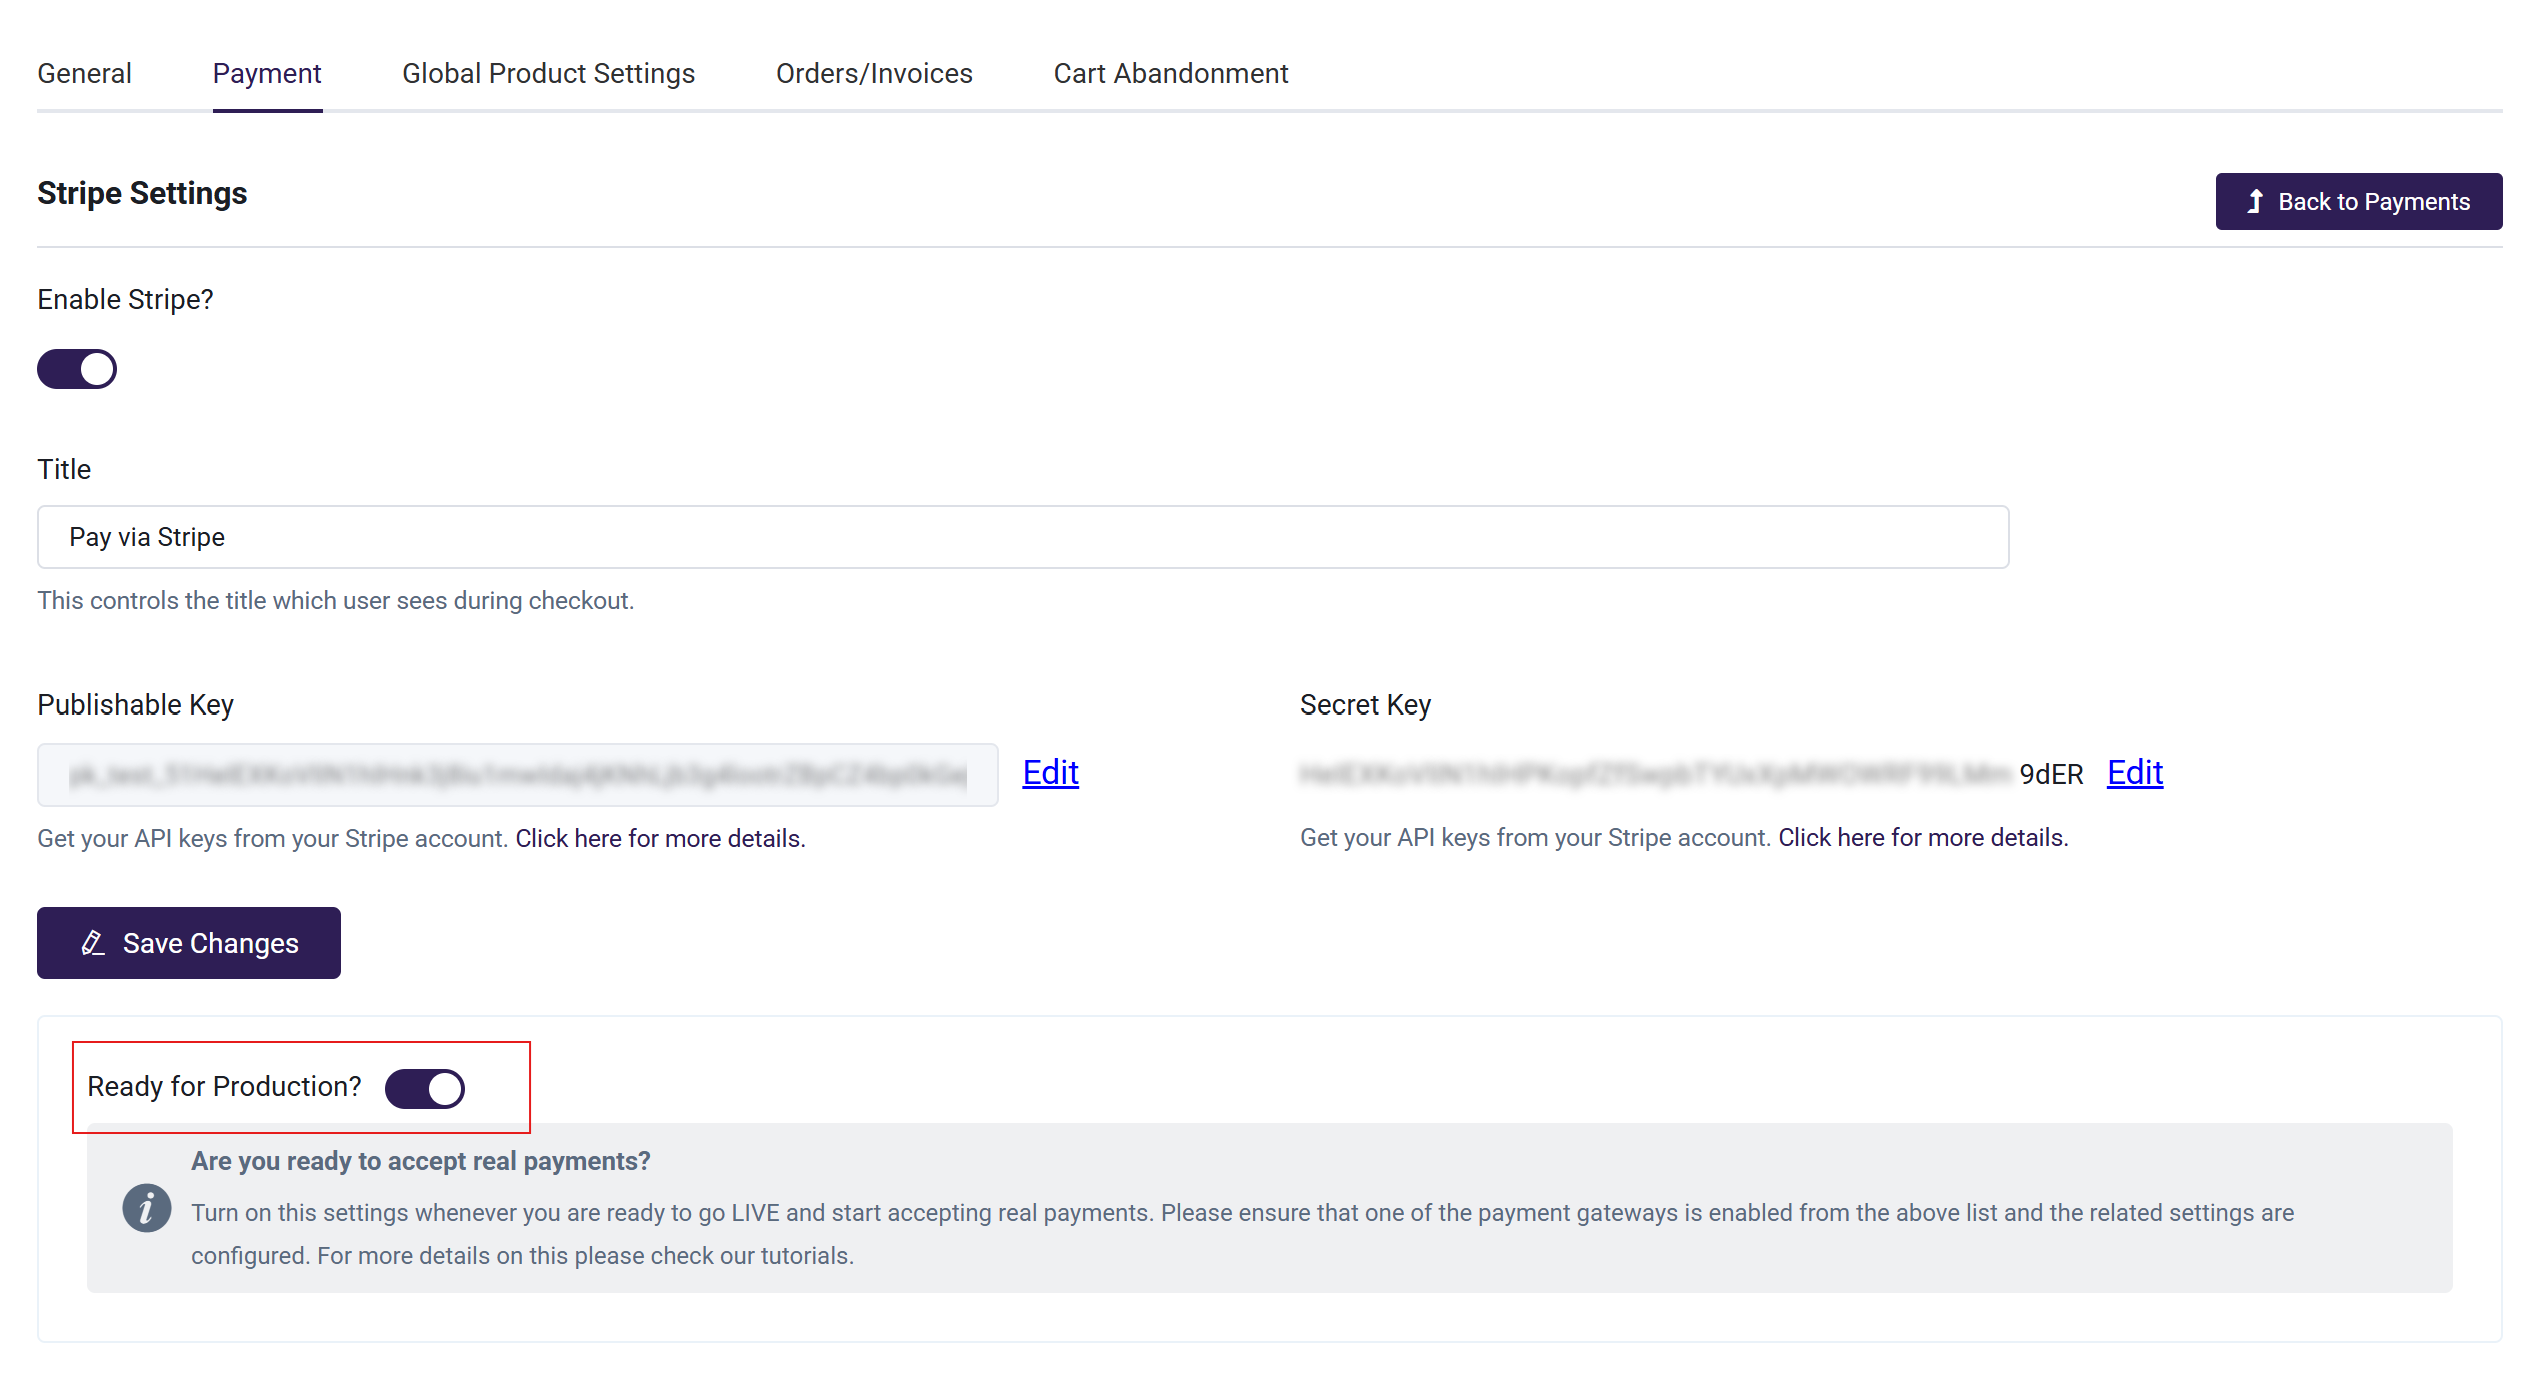
- Click Save Changes
- Optional step: test real payments in your Academy of Mine account. Create low value transactions to test, for example a simple Product for $1. You must use a real payment method for these tests.
Next Step
Up next, you'll learn about creating Products to sell your Courses: