Configuring eCommerce General Settings & Choosing a Payment Gateway
Setting up your eCommerce settings is essential to start accepting payments via the platform. This includes configuring general settings like your base address, and currency, enabling coupons, and selecting a payment gateway to process transactions. In this guide, we will walk you through these steps and introduce the third-party payment gateways supported by the platform.
For an overview of all the steps necessary to fully set up eCommerce, please check our overview of eCommerce Setup guides: Introduction to eCommerce
Configuring General Settings
To begin, you'll set up essential details for your site, including its address, base currency, and coupon functionality.
To configure general settings, from the owner dashboard, navigate to eCommerce > Settings.
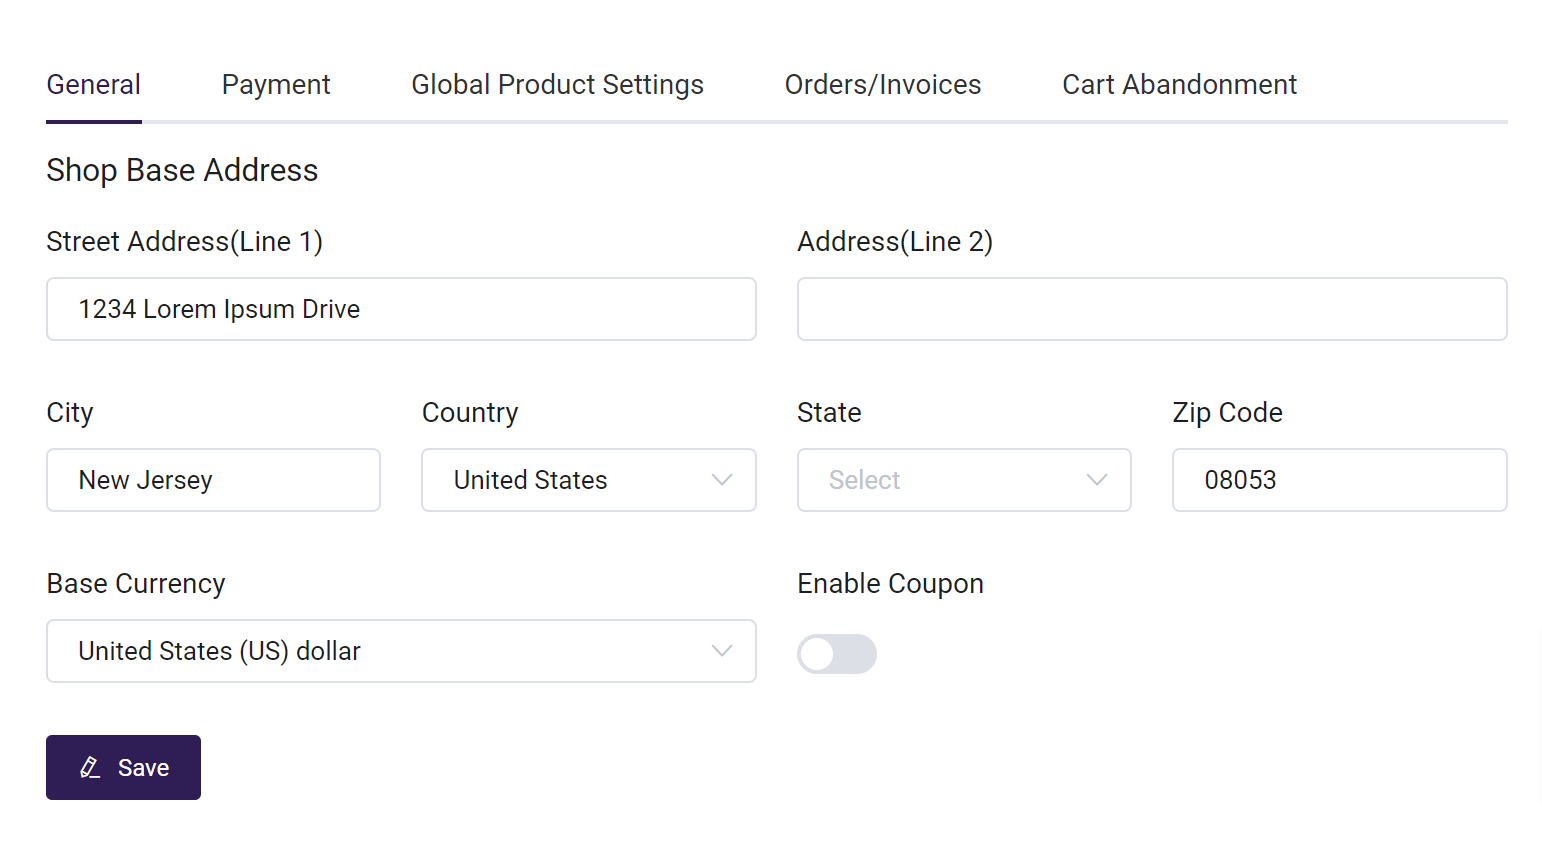
Under the General Settings Tab:
- Shop Base Address: Enter your company's main address. This address will also appear on invoices issued to customers when they purchase a product.
- Base Currency: Use the dropdown menu to select your currency. All credit card transactions will be processed in this currency.
- Enable Coupons: Toggle this option to enable coupons for your checkout process. Note that this must be activated here before individual coupons can be created.
- Click Save after making adjustments.
Third-Party Payment Options
Academy of Mine does not directly process payments. To collect payments, you’ll need to sign up with a third-party payment gateway and connect it to your Academy of Mine account using the API credentials provided by the gateway.
You can configure these payment gateways via eCommerce > Settings > Payment in your owner dashboard. The available options include: Stripe, Authorize.net, Braintree (by PayPal), PayPal, and CashNet/Transact. Each gateway provides robust features, competitive pricing, and a secure payment experience. Once integrated, they all function seamlessly within your platform.
Stripe
You can create a Stripe account here, and view Stripe's help documentation here.
To Integrate Stripe with Academy of Mine, please follow our guide: Integrating with Stripe for eCommerce
Authorize.net
Create an Authorize.net account here, and view Authorize.net's help documentation here.
To Integrate Stripe with Academy of Mine, please follow our guide: Integrating with Authorize.net for eCommerce
Braintree
You can try a Braintree sandbox account here. If you'd like to move forward with them, create a Braintree account here and you can view Braintree's help documentation here.
To Integrate Stripe with Academy of Mine, please follow our guide: Integrating with Braintree for eCommerce
Paypal
You can create a PayPal account here.
To Integrate Stripe with Academy of Mine, please follow our guide: Integrating with Paypal for eCommerce
CashNET/Transact
You can create a Transact account here.
To Integrate Stripe with Academy of Mine, please follow our guide: Integrating with Transact for eCommerce
Pay via Invoice
Depending on how you do business, some customers and clients may prefer to pay by requesting an invoice. Academy of Mine gives you the ability to include pay via invoice option at checkout.
Read about letting your customers request invoices at checkout with Pay via Invoice.