Creating a Custom Course Catalog
Your Academy Of Mine LMS comes preset with a Course Catalog that, by default, lists all the Products you create on the platform. You can find this pre-created page by navigating to your-domain.com /course-catalog/. It is important to note again that this lists the Products you create and assign courses to. To read about Assigning Courses to products, please read: Using Products to Offer Course Enrollment.
You may also want to create a Custom Course Catalog, which makes it easier to organize your Course offerings online and also make it easier for your learners to find the courses they are looking for. In this article, we're going to talk about how to achieve this.
Also, check out our video tutorial on creating a Custom Course Catalog.
Setting up Product Categories
In order to set up a Course Catalog, you will first need to assign your Products to a Category. You will use this Category later on, when you create the page you want to use for your Course Catalog. Keep in mind, a Course Catalog page can include more than one Category.
-
To start, you will want to navigate to the Product Categories page, by clicking on eCommerce > Product Categories.

-
Once on the Categories page, click on the Create Product Category Button.
-
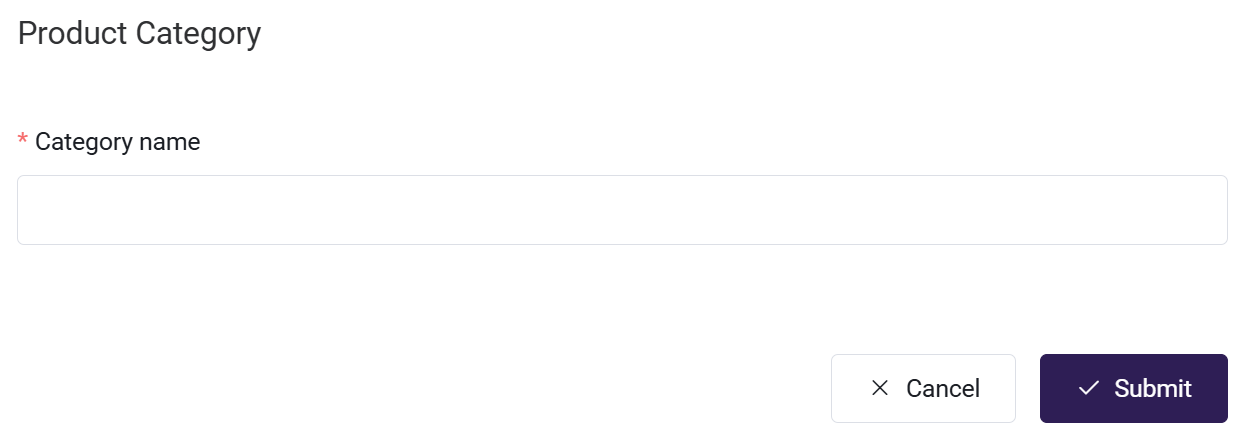
In the pop-up that appears, enter your desired Category Name and click Submit.
-
Your new category will appear in the Category list. The ID associated with it will automatically increment by one for each Category you create.
Copy the name of the category you just created and save it to be used in a later step in this process.
Adding Products to Categories
Now that you have your Category created, you'll need to assign some Products to it. You should have already created Products for the courses you take, so that Students can sign up for them (even if they're free).
-
Start by navigating to the Products page, by clicking on eCommerce > Products.
-
Once on the Product Listing page, click on the name of the Product you want to add to your Category.
-
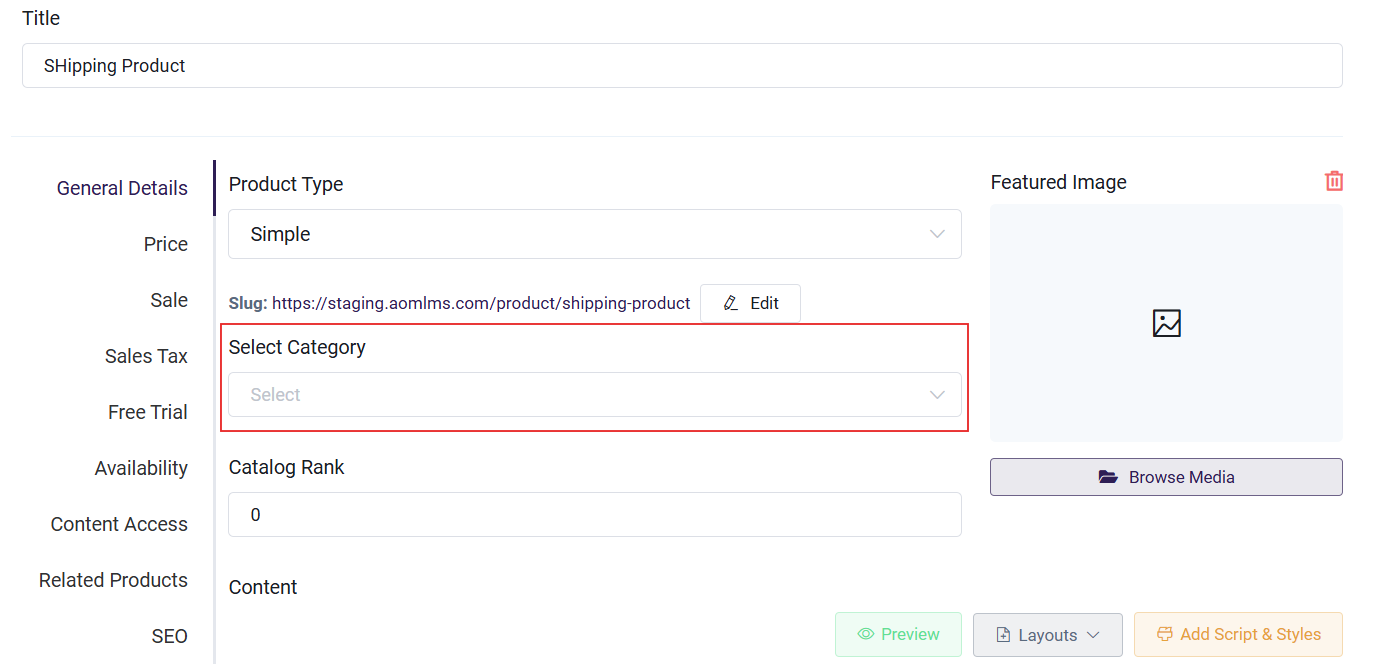
On the Product Edit screen, you can select the Category or Categories to assign to the Product. Clicking on the Category Selection field will display a list of available Categories. If there are many Categories, you can start typing the name of the desired Category to filter the list, making it easier to find the right one(s). You can assign the Product to multiple Categories as needed.
If the Category you need doesn't exist, you can create a new one directly in this field. Just type the name of the new Category, select it, and click Update Product.
And always remember to click Update Product after you assign your Category.
Creating a New Page & Adding a Product Block
Now that we have our Products set up and assigned to a Category, we will need to create a Page we can use to build our Course Catalog. When setting up your content for your Custom Course Catalog, there are many options for filling in content. For a more in-depth look into working with Page Content, please read our guide Using the Page Builder.
-
To start, click on Pages & Menus, then click on Pages.
-
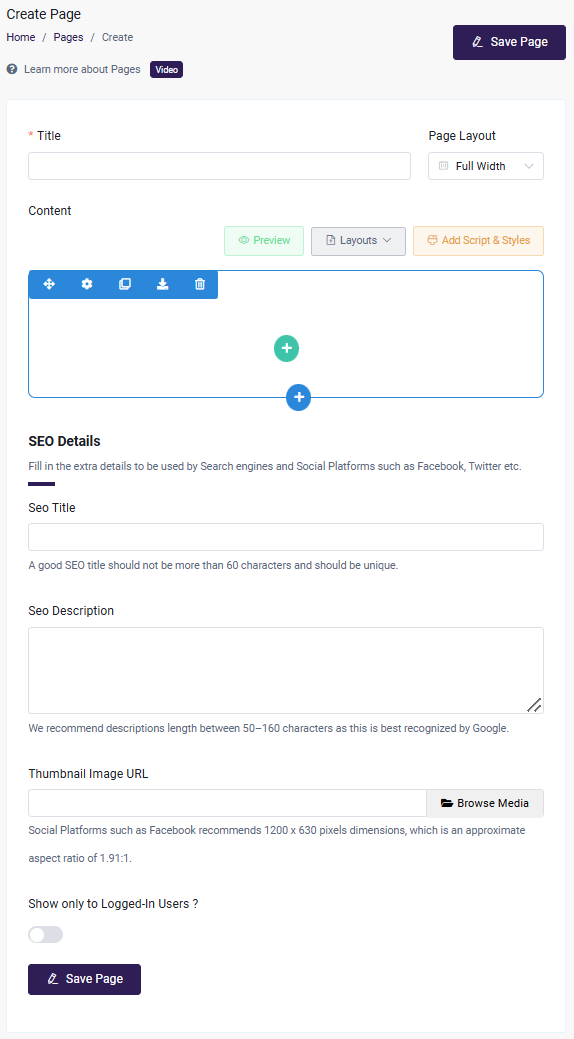
Once on the Page listing screen, click the Create Page button on the right hand side.

-
Enter the title of the page--this will become the URL of the page. (For example, if you make the page title "New Courses", then then URL for the page will be https://yourdomainname.aomlms.com/new-courses
-
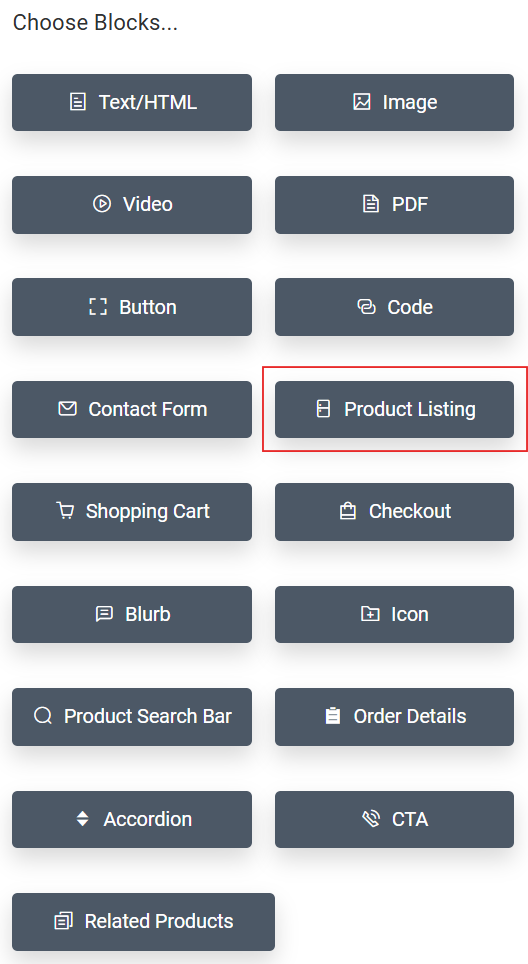
Click the green + icon to add a row, then the grey + icon to add a block. Opt to add a Product Listing block. While you can have many different types of content surrounding your course catalog, the Content Block we will focus on for your Custom Course Catalog is the Product Listing Content Block
In order to set which Products appear in your Custom Catalog, you will need to double click the Content Block. We will review in the next step how to filter for the Products you want.
Filtering Your Product List
Now that we have set up a page and added a Product List Content Block to the page, we need to filter the products based on the Category that we set up earlier.
- Open the settings for the Product Listing block by double clicking on the grey section.
- Choose the category under the "Product Categories" section and select Enable button on the toggle. This ensures the products under the selected categories are listed.
- Now that your Product Listing Content Block has been set up and saved, click on the Preview button to make sure things are looking good. Then click Save Page at the top, so that your updates are visible on the front-end of your site.
Adding a Menu Item
With your Custom Course Catalog page completed, you'll need to add it to your menu, so your students can find it on your site.
- To get started, click on Page & Menus > Menus in the Left Navigation.
- On the Menus page, add a new menu item in the left box, by entering the menu item name and selecting the page you created for your Custom Course Catalog. Once you have done so, click the Add Menu Item button.
- Your menu item will appear at the bottom of the menu.
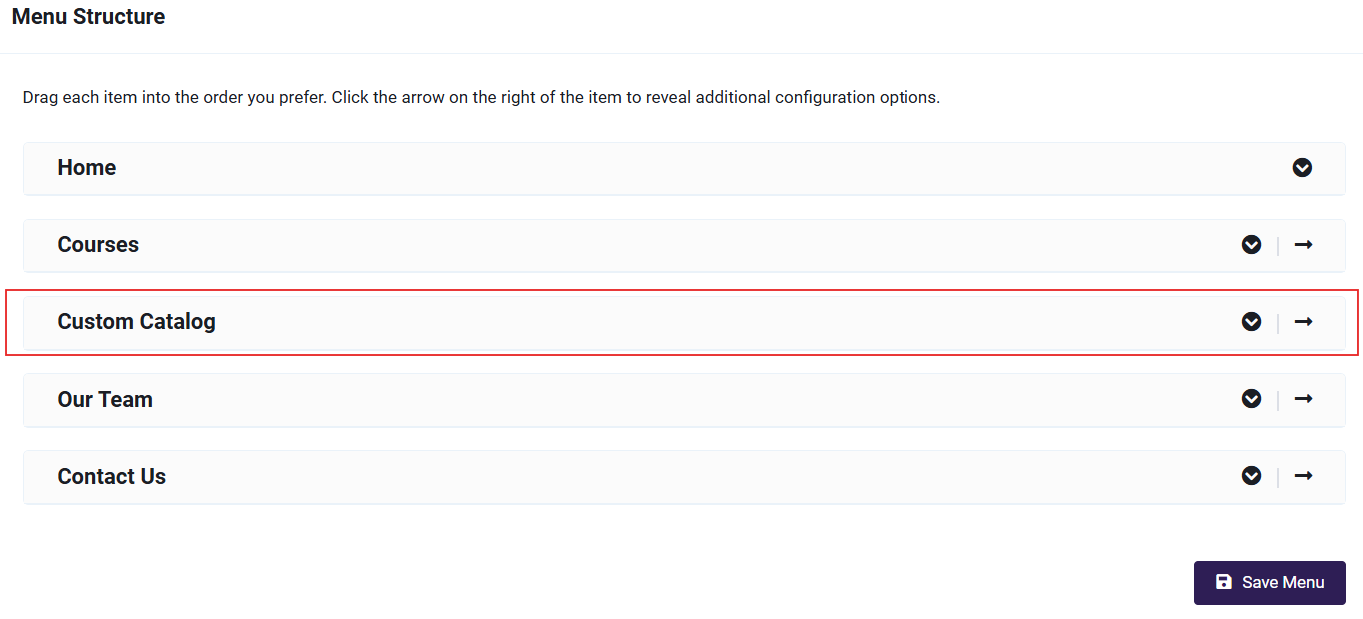
4.The bottom of the menu, is not where we want our new Custom Course Catalog menu, though. Click and drag the menu item up to the level you want and then we can click on the right arrow, to make it a sub-menu of the Courses menu item. This makes it easier for your student to know where to look.
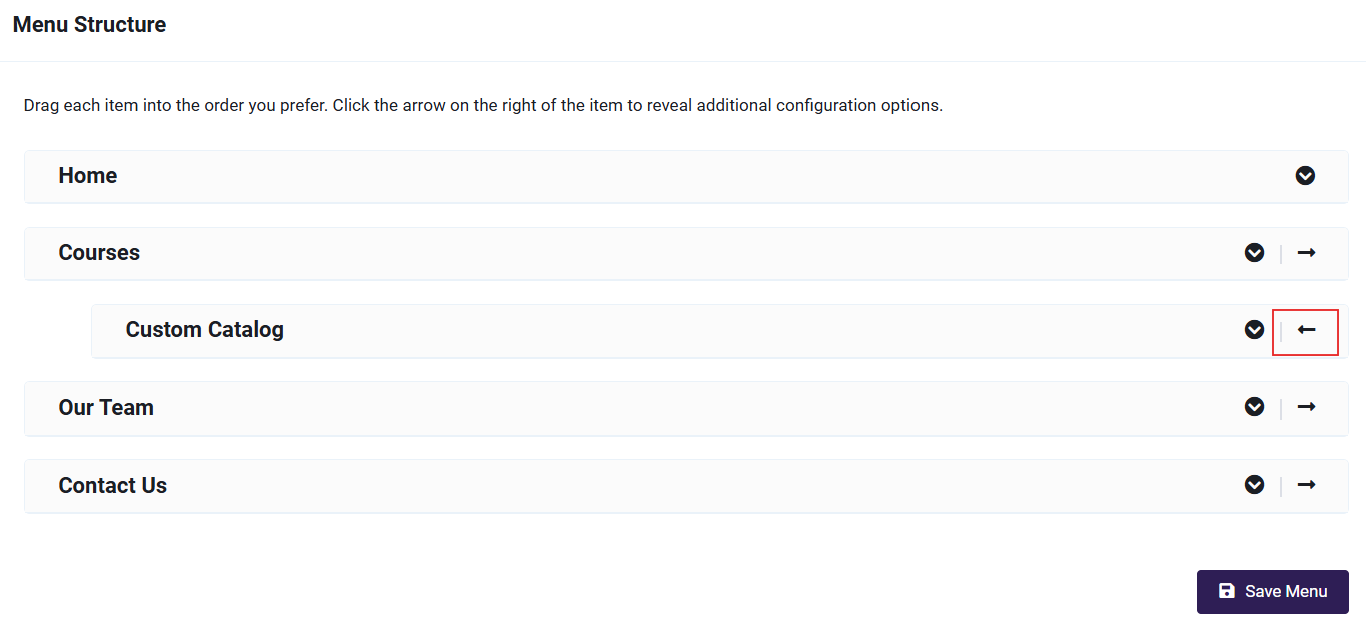
- With your menu item in the location you want it to appear, click Save Menu at the bottom right of your Menu structure.
Student View
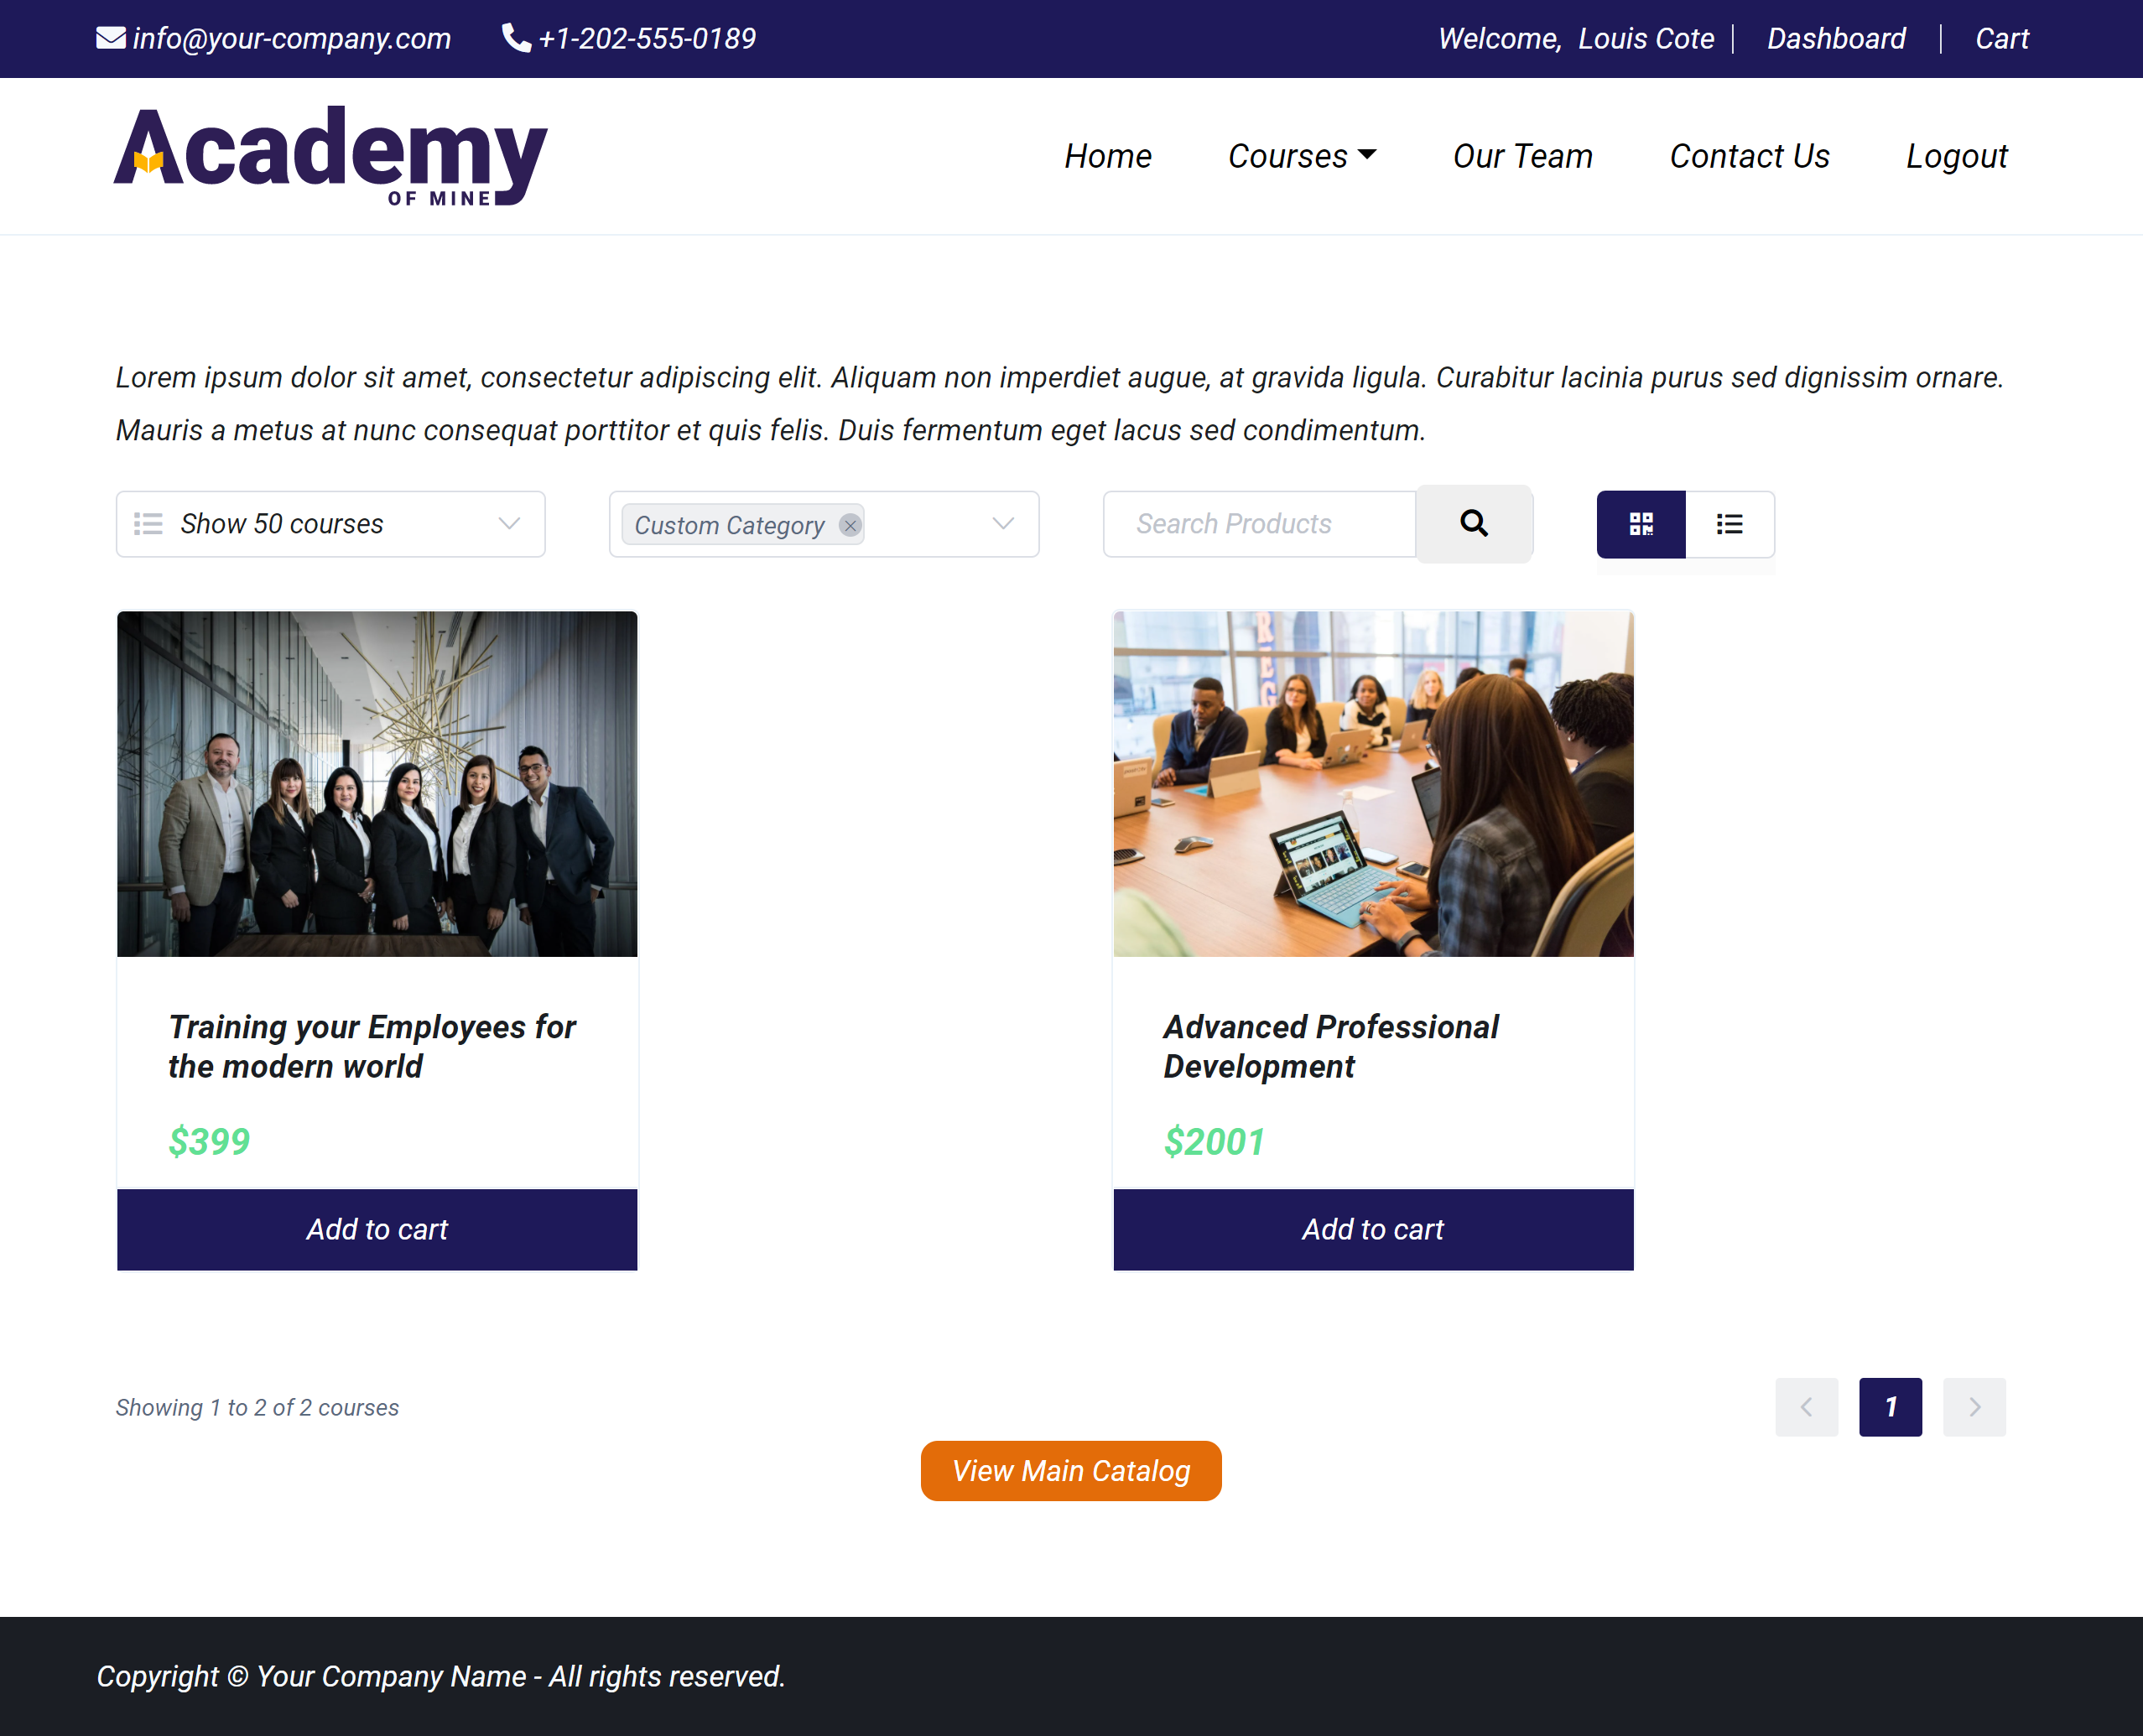
With your menu item saved, let's see what it looks like on the front-end of your site. In the header menu you updated, you can see the added menu item. In our example, we're looking at Custom Catalog at the bottom of the Courses sub-menu.

By clicking on your new menu item, you will see the Custom Catalog page you created, with all of the Products you added to your Category, just as a Student would see it while navigating your site and looking for specific courses.
Next Step
Now that your Custom Course Catalog is completed, it's time to move on to the Checkout process: