Using Pay via Invoice
Depending on how you do business, some of your customers and clients may prefer to pay by requesting an invoice. Academy of Mine gives gives you the ability to include this option at checkout.
Subscriptions cannot be purchased using Pay via Invoice.
Enabling Pay via Invoice
To allow your customers to choose Pay via Invoice as a payment option at checkout:
- From your Dashboard go to eCommerce -> Settings.
- Select the Payment tab and find the Invoice option.
- From here you can enable it by clicking the slider.
- Select Manage to modify the settings.
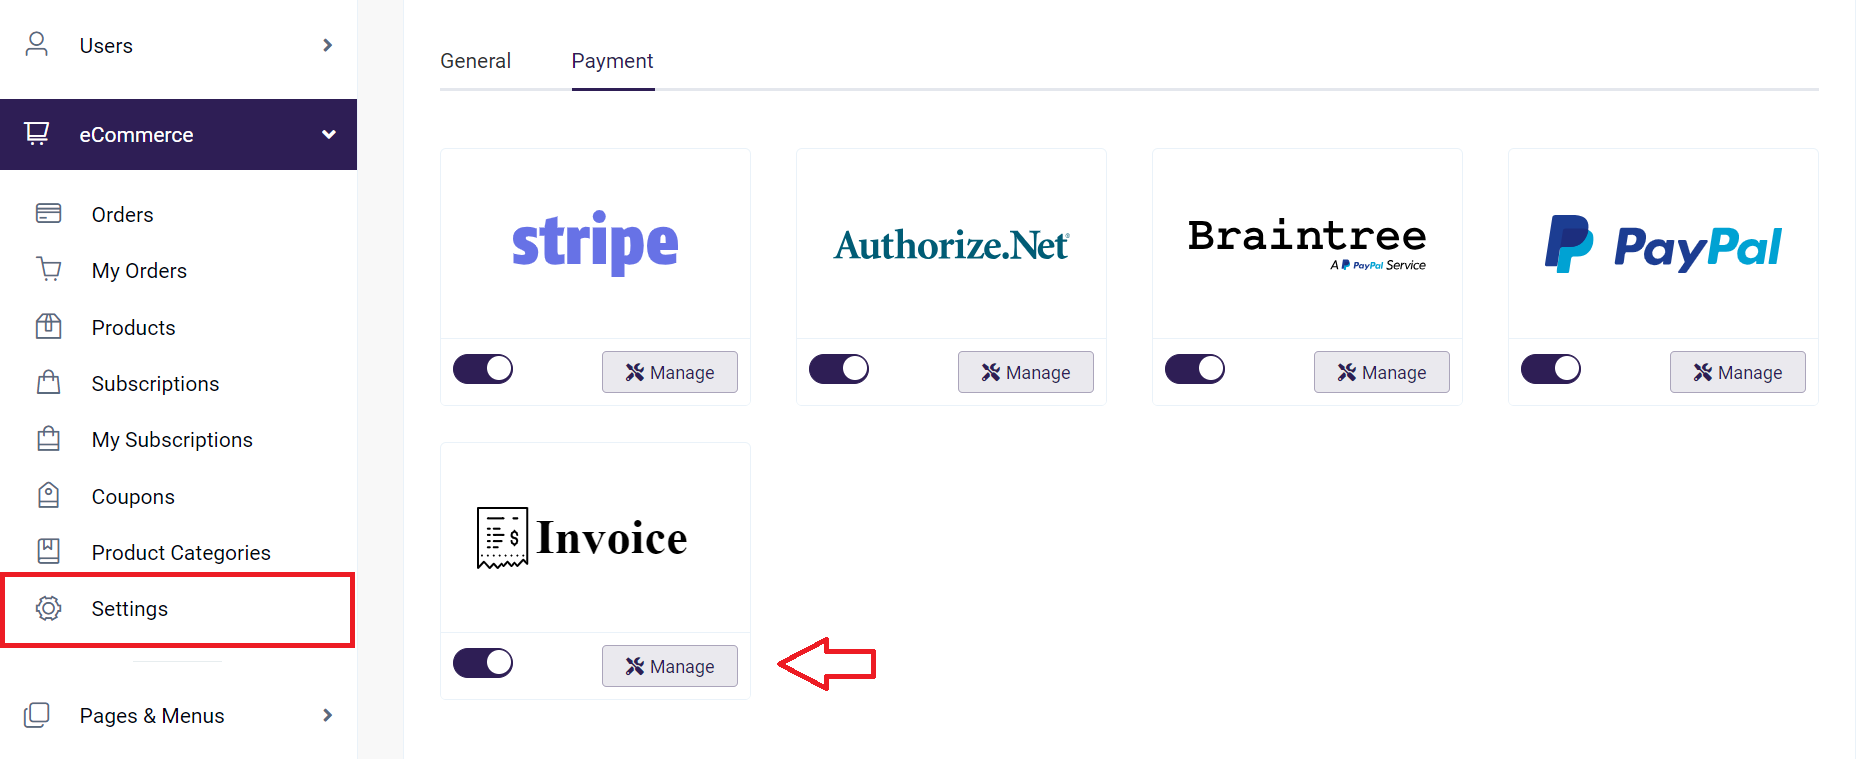
eCommerce -> Settings -> Payment
Managing Pay via Invoice
Once you click the Manage button there are multiple fields that you can modify.
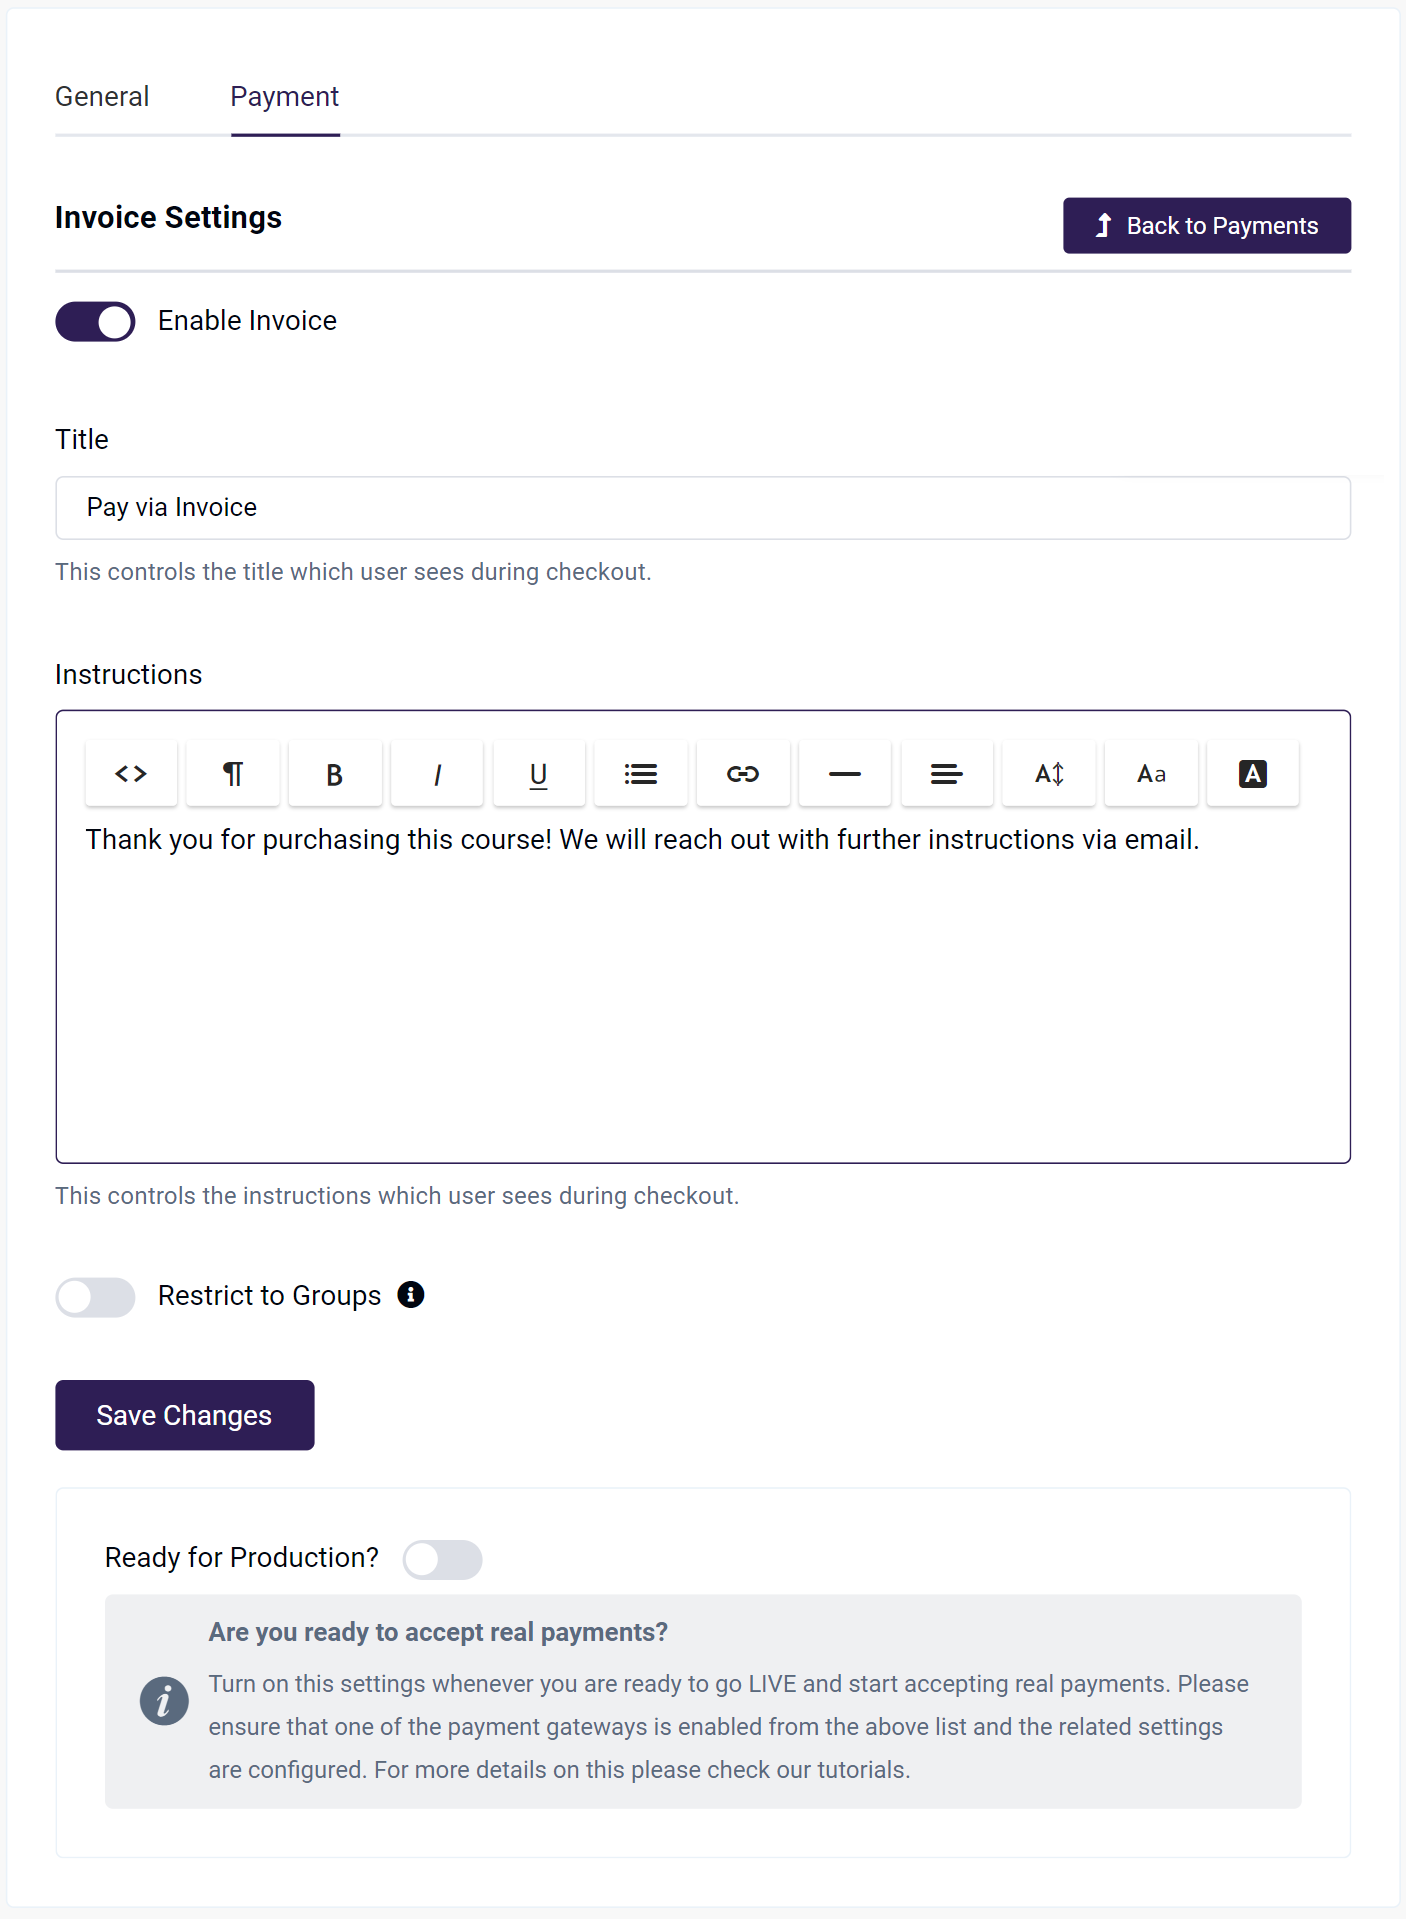
- Enable Invoice has the same functionality as the slider from the Payments tab, and will enable or disable this payment option for your users.

- Title determines what a user will see when selecting the Invoice payment option at checkout.
- Instructions can be used to provide any helpful information you would like to give to your customers. These will appear below the Title during checkout.
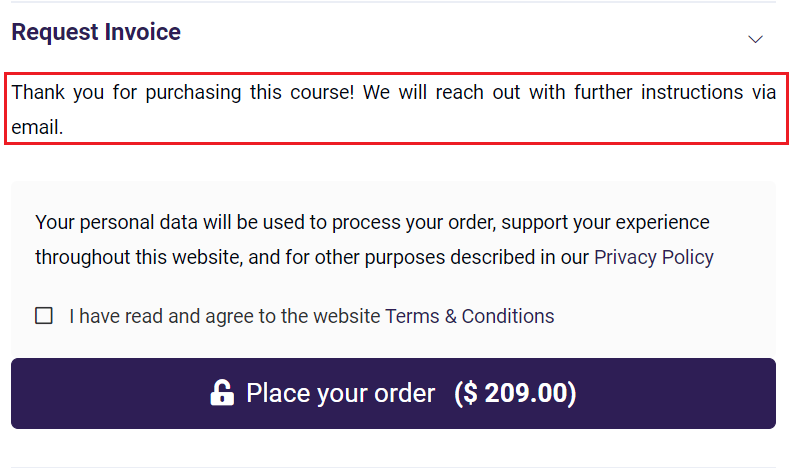
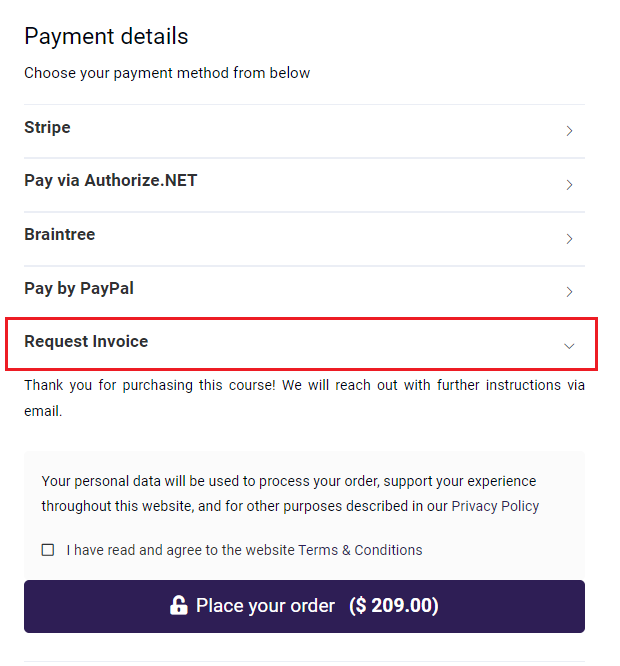
Instructions displayed on the Checkout Page
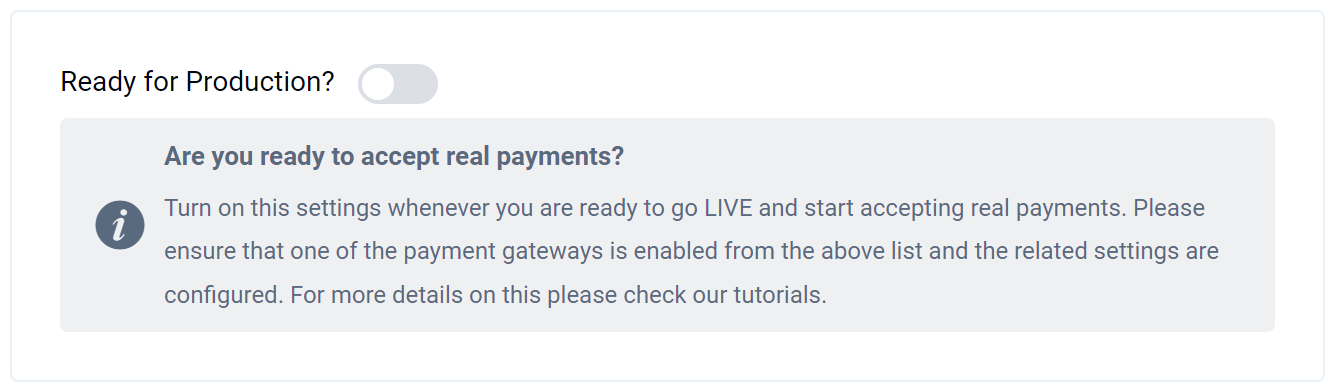
- Ready for Production should only be turned on when you have tested the Pay via Invoice feature and understand how it works. All orders prior to enabling this will be marked Test on your Orders page.
Remember to save any of your changes in the Manage page by clicking on Save Changes.
Managing Invoice Orders
When a customer selects the Pay via Invoice option, they will still have the option to pay through their dashboard with any of your integrated payment services. However, you may have included this option so that you can arrange payment off of your platform. The work flow would be as follows:
-
Customer places order and chooses to pay via invoice
-
Owner and chosen recipients receive automated email of a pending payment.
- Owner or selected staff may also periodically run the Export Orders report to view outstanding Invoice Orders.
-
Customer is contacted off platform to arrange payment.
-
Customer pays for Order off platform.
-
Once payment is confirmed, you can go to eCommerce -> Orders and update the Order Status to "Completed". This will process the order and give the customer access to their courses.
To learn more about managing invoices, you can read Creating & Managing eCommerce Orders/Invoices
If you'd like to know more about the Export Orders report, click here.
User Experience
When a user selects the Pay via Invoice payment option, they will not immediately have access to their courses until they have paid. On the Order Confirmation page, they'll be presented with a link that takes them to their My Orders page in their Dashboard. There they can pay for their order with another payment gateway that you have included, or you can follow up with them once they have placed the order to arrange payment in another way.
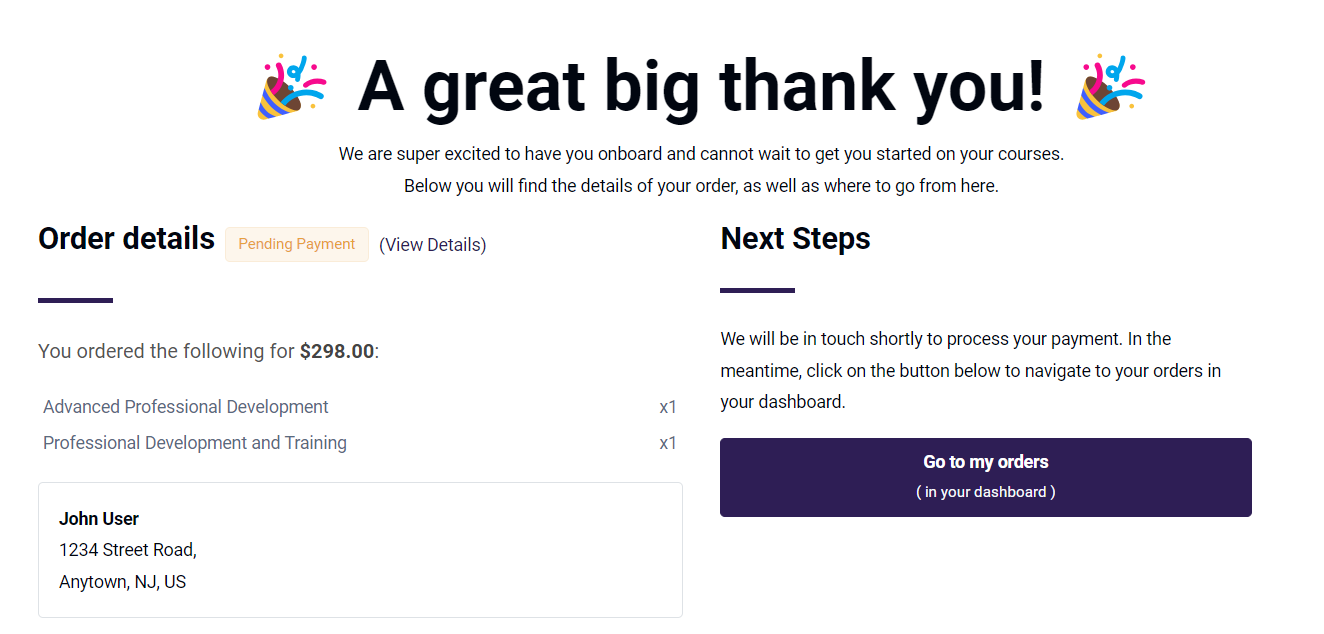
Confirmation page
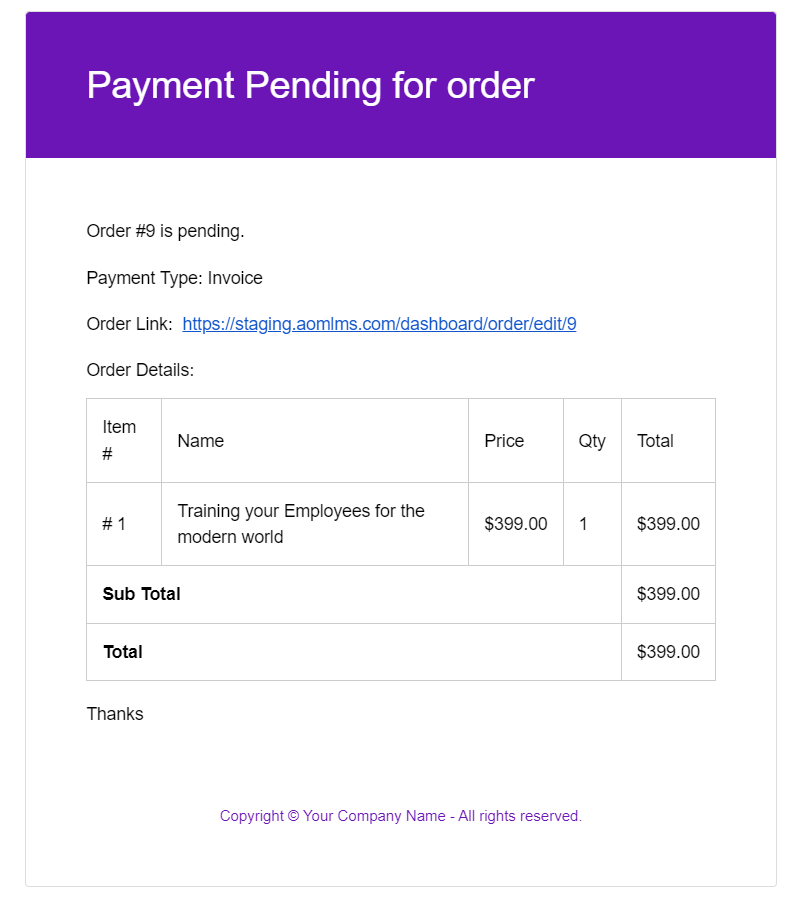
Users will also receive an email informing them they have an order that has a pending payment.
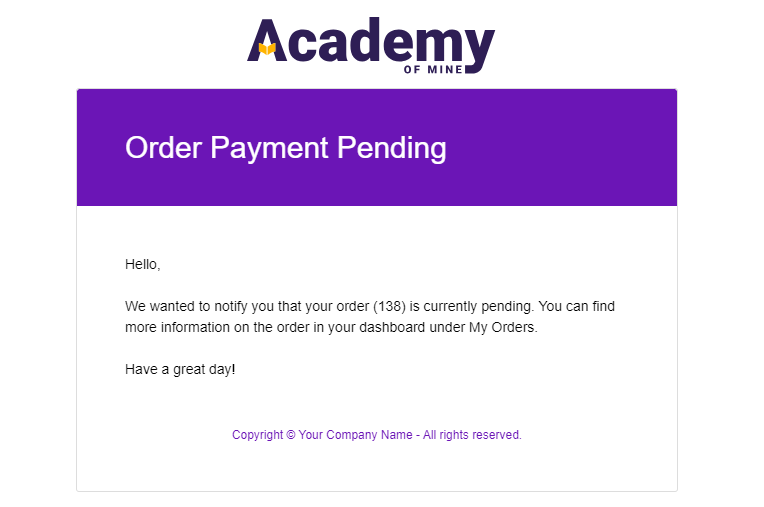
Payment Pending email
Check out this article for more information on the User Experience of Orders.
Pending Payment Email Settings
With the eCommerce email settings you can choose to notify other recipients that an Invoice Order is pending.
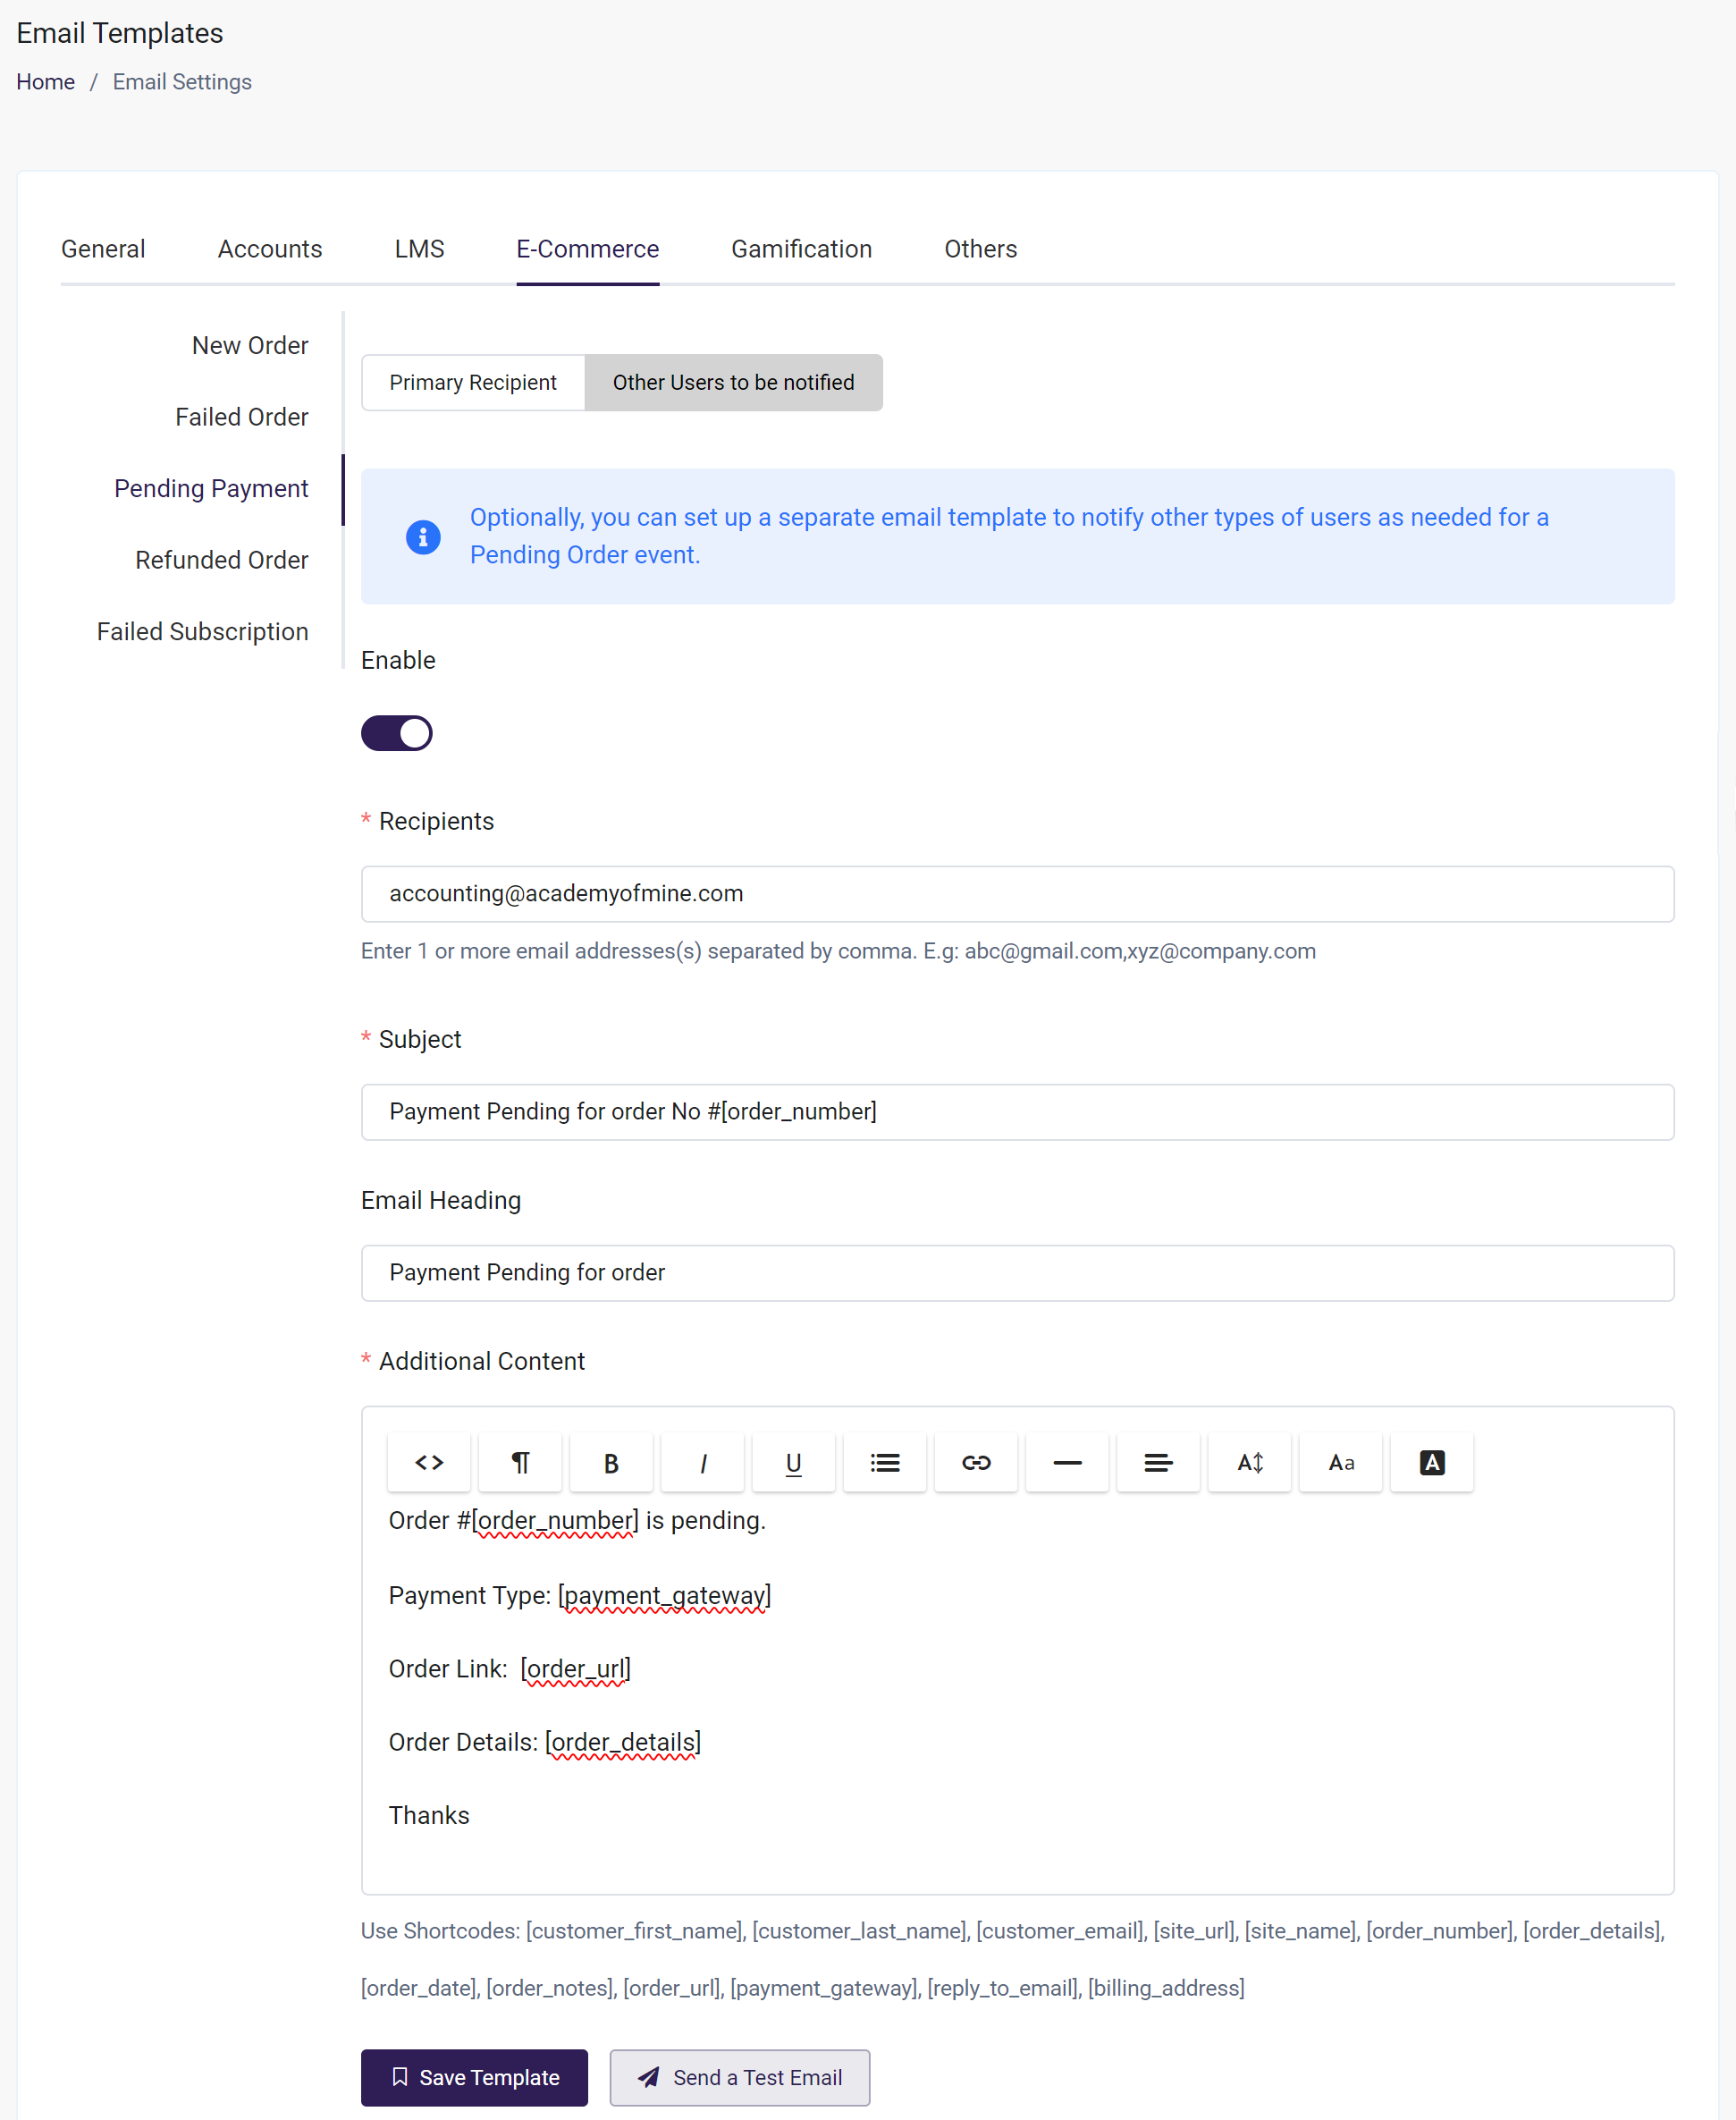
Using our email template shortcodes, you can add information dynamically. Here is an example of an associated email that can be sent out to your Accounting Department at the same time that an automated email is sent to the customer informing them their order payment is pending.
Read more about our Automated eCommerce emails here.