Portal Creation via eCommerce
Public users have the ability to create their own portals through the platform’s eCommerce feature. This process involves purchasing products in bulk, such as multiple seats, licenses, or course bundles.
Note : Portals created from the registration page will have the Content-Based Portal model set by default.
Steps to create Portal via ecommerce
- Go to Course Catalog page
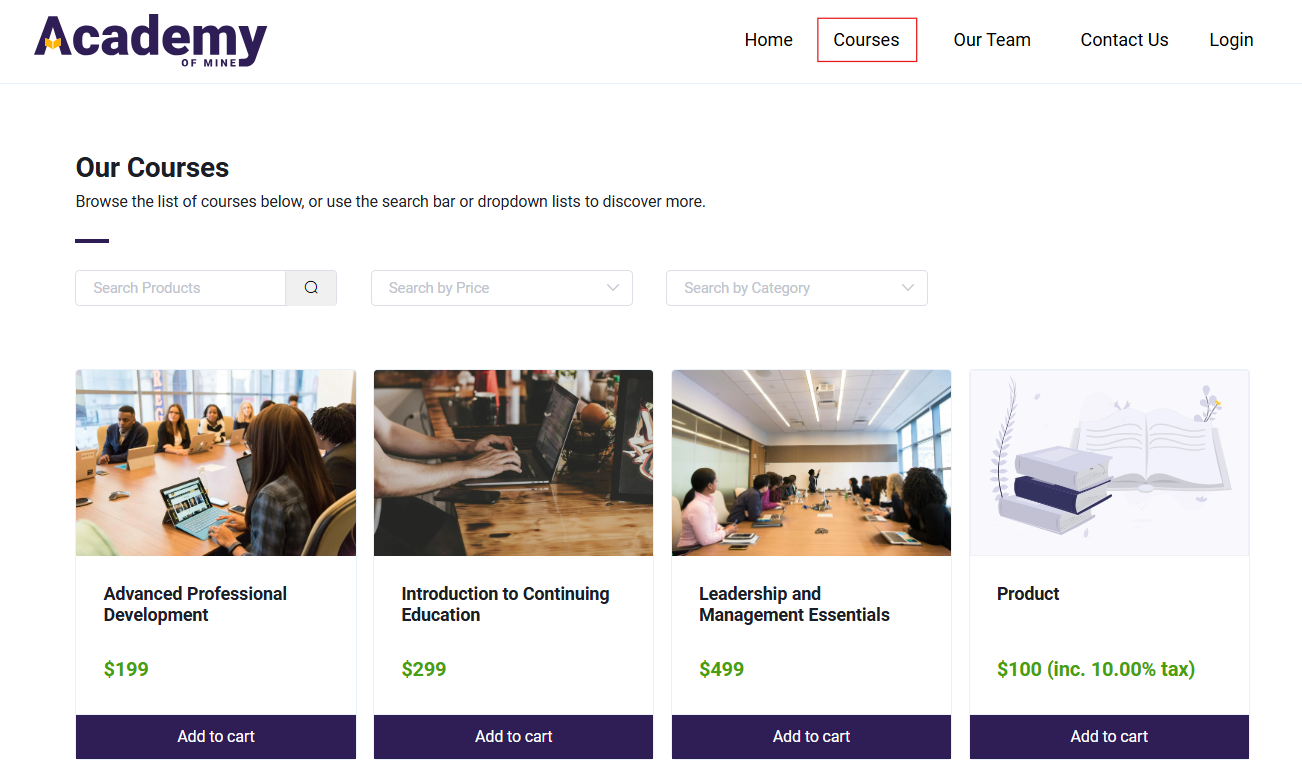
- Choose a product to purchase.
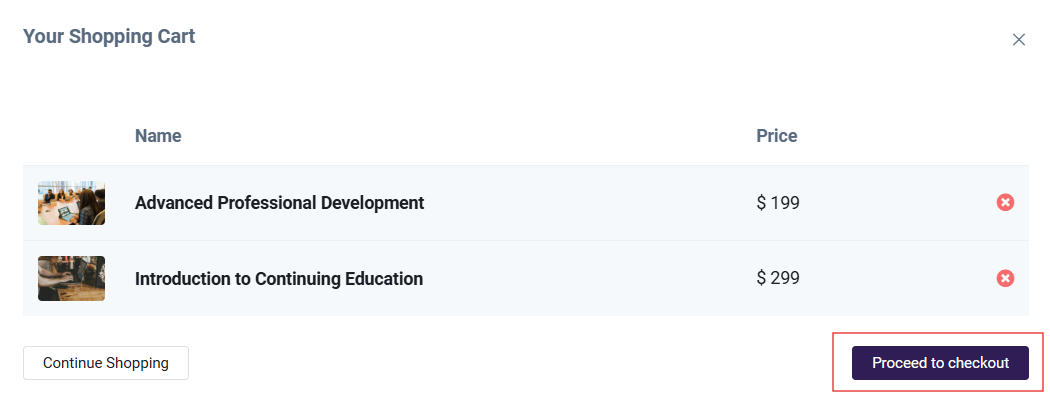
Click on Proceed to checkout button
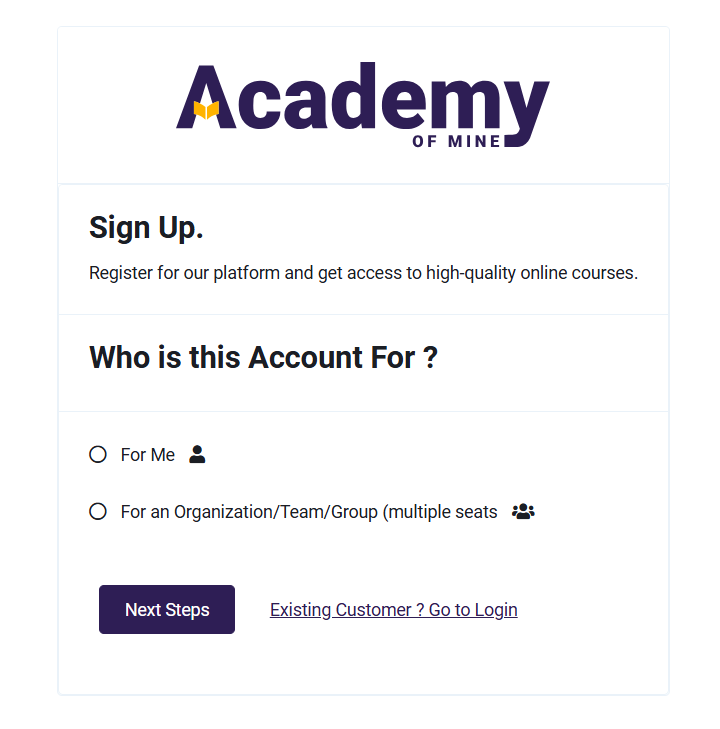
Sign up. Follow these steps to create account:
Who is this Account For?
- For an Organization/Team/Group (multiple seats): Choose this option if user registering on behalf of a Portal, team, or organization that requires multiple seats.
- Click the "Next Steps" button to proceed with the registration process.
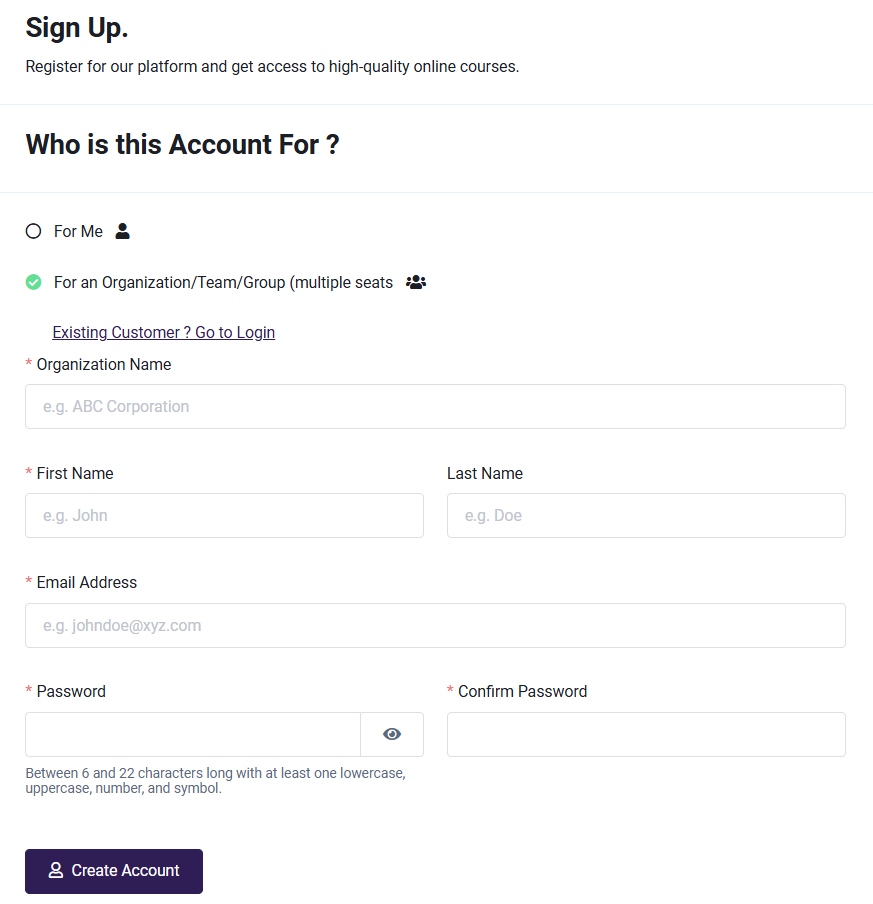
Complete The Registration
Fill out the form below to create account and get started:
- Organization Name: Enter organization name (e.g., Academy of mine).
- First Name: Enter first name (e.g., John).
- Last Name: Enter last name (e.g., Doe).
- Email Address: Provide a valid email address.
- Password: Create a password between 6 and 22 characters, including at least one lowercase letter, uppercase letter, number, and symbol.
- Confirm Password: Re-enter password to confirm it.
Once all fields are completed, click the "Create Account" button to finish registration.
After registration, the portal is automatically configured to use the Content-Based Seat model by default.
In this model, the Portal Admin purchases seats that are tied to specific pieces of content—for example, individual courses, learning paths, membership. Each seat purchased is valid only for the particular content it is associated with.
Once seats are purchased for a specific content item, that many users can be enrolled in that course or content. The seat count is managed separately for each content item instead of as a single total for the entire portal.
A key advantage of this model is flexibility:
- The portal itself can have unlimited registered users.
- However, only users who have been allocated a seat for a given piece of content will have access to it.
- Other users in the portal can still be added, but they won’t be able to access that specific content unless assigned a seat.
This approach helps organizations precisely manage who can access which resources, avoid unused seats, and optimize costs by purchasing only the number of seats needed for each content item.
Checkout
For organization accounts, users have the flexibility to adjust the number of seats during checkout. The number of seats purchased determines how many users can be enrolled to that particular content.
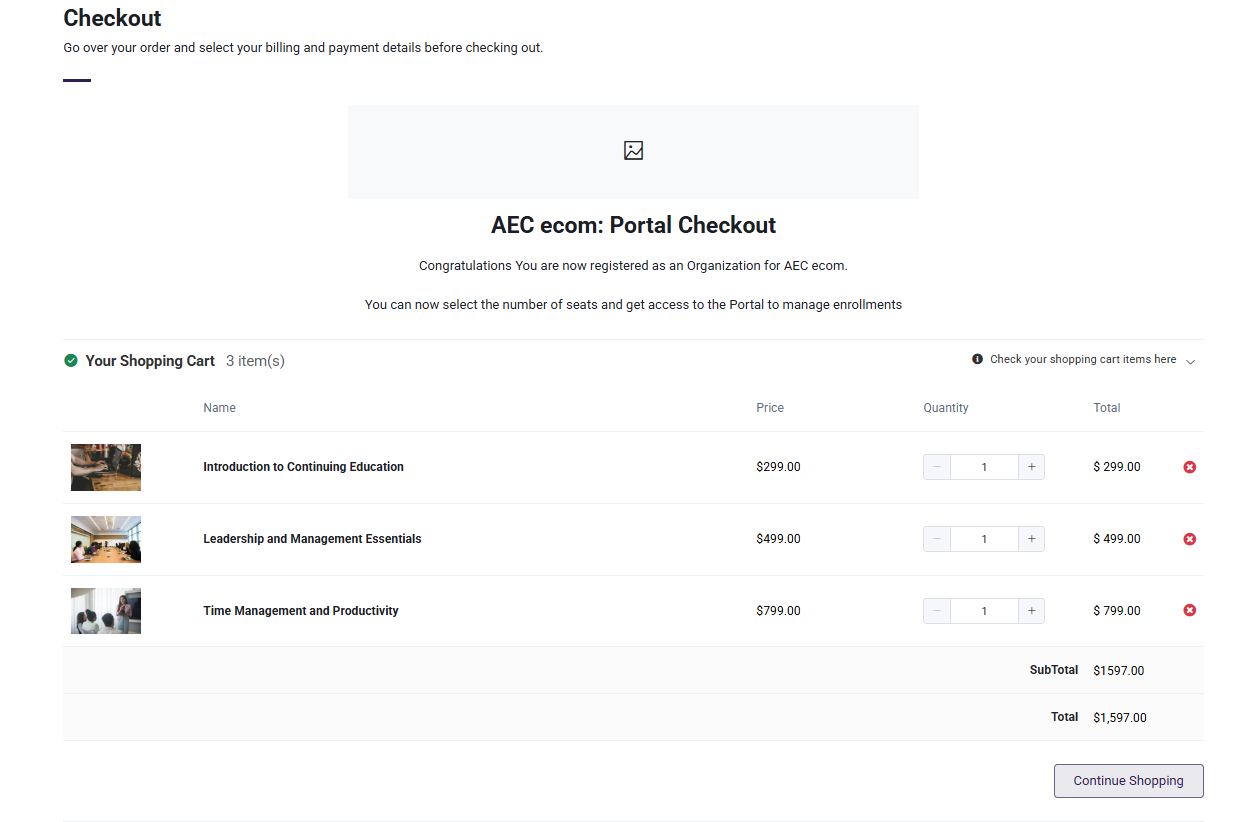
Complete the purchase by reviewing shopping cart, providing billing information, and selecting a payment method.
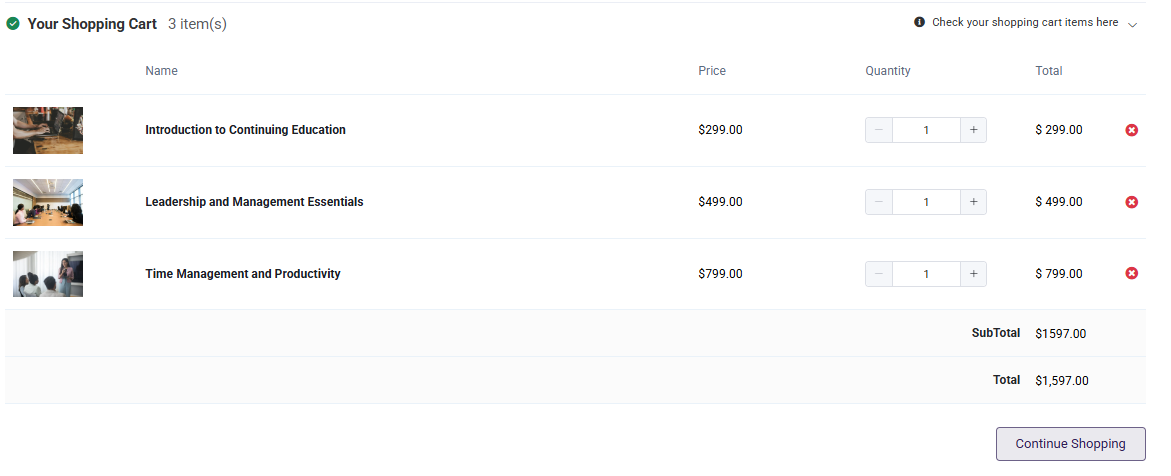
1. Your Shopping Cart
- Review the items in cart before proceeding.
- If want to make changes, click the “Continue Shopping” button to modify your cart.
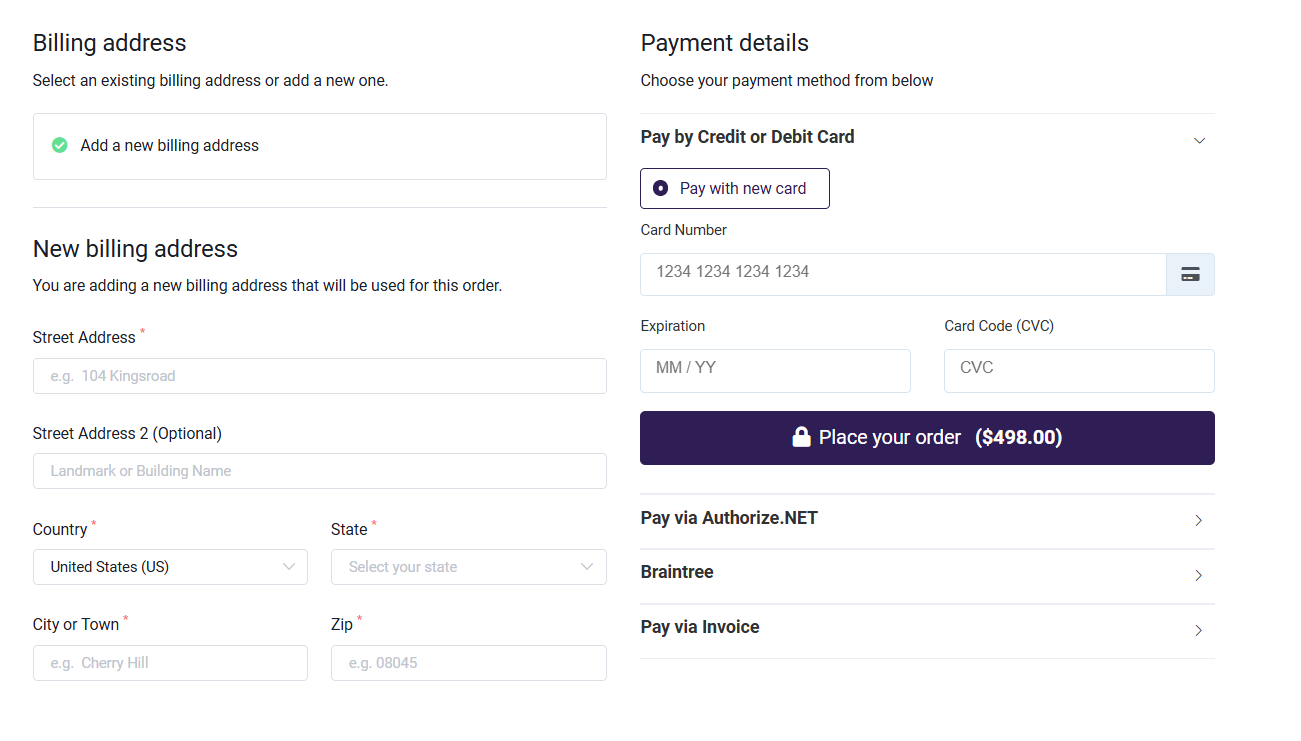
2. Billing Address
Choose billing address:
- Organization Name(Optional) : Add organization name
- Organization Vat Id(Optional) : Add organization vat id
- Street Address: Provide the primary address (e.g., 104 Kingston).
- Street Address 2(Optional): Add any landmarks or building names.
- Country and State: Select the appropriate options from the dropdown menus.
- City or Town: Enter city name (e.g., Cherry Hill).
- ZIP Code: Enter the postal code for billing address.
3. Payment Details
Select preferred payment method:
Pay by Credit or Debit Card:
Enter card details, including:
- Card Number
- Expiration Date (MM/YY)
- CVC (Card Code)
- Click “Place Your Order” to finalize the purchase.
Other Payment Options:
- Authorize.NET
- Braintree
- Pay via Invoice
After completing the checkout, the user will be redirected to the Portal's Thank You page, which will display the order details.
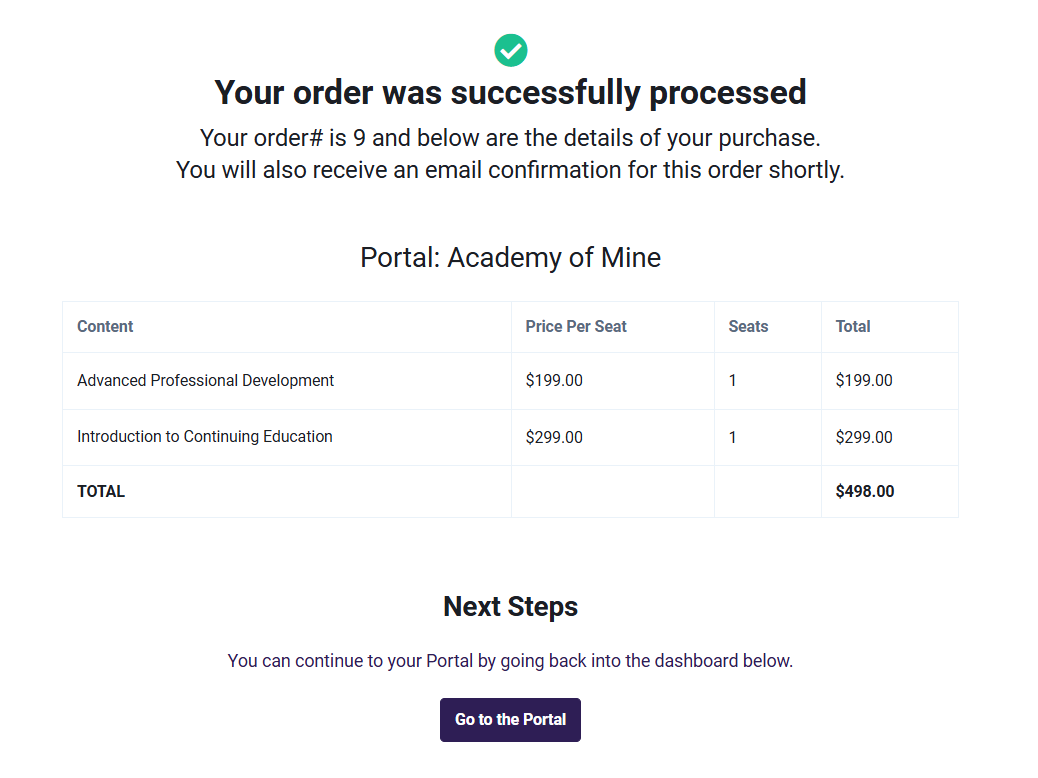
Go to your portal and continue exploring the available options and resources within your Portal.