Portal Admin Dashboard
Portal Admins are the primary owners of each Portal. This allow a Portal Admin to fully manage their own Portal including Sub-Portals, management of courses, their learners, ability to run reporting and other permissions.
Dashboard
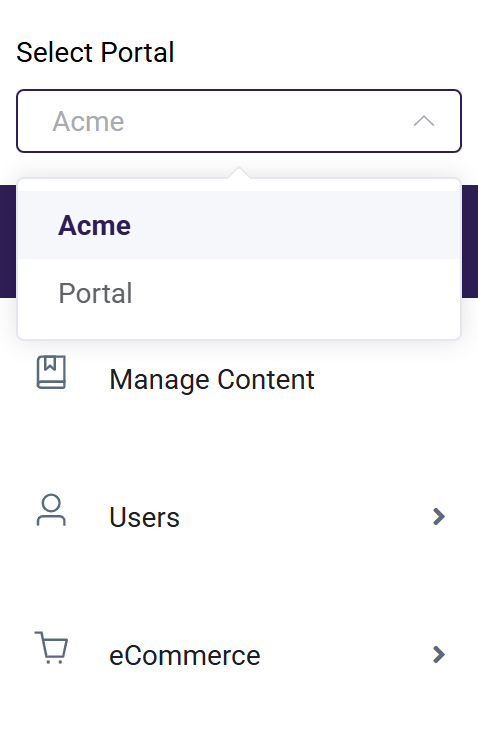
The initial view shows key portal information and features. Use the Select Portal dropdown to navigate between accessible portals. The dropdown also displays portals in which the learner is enrolled.
Select the Dashboard option to view a summary of key metrics including total seats, remaining seats, and content access within the portal.
Portal Dashboard Differences for Seat Models
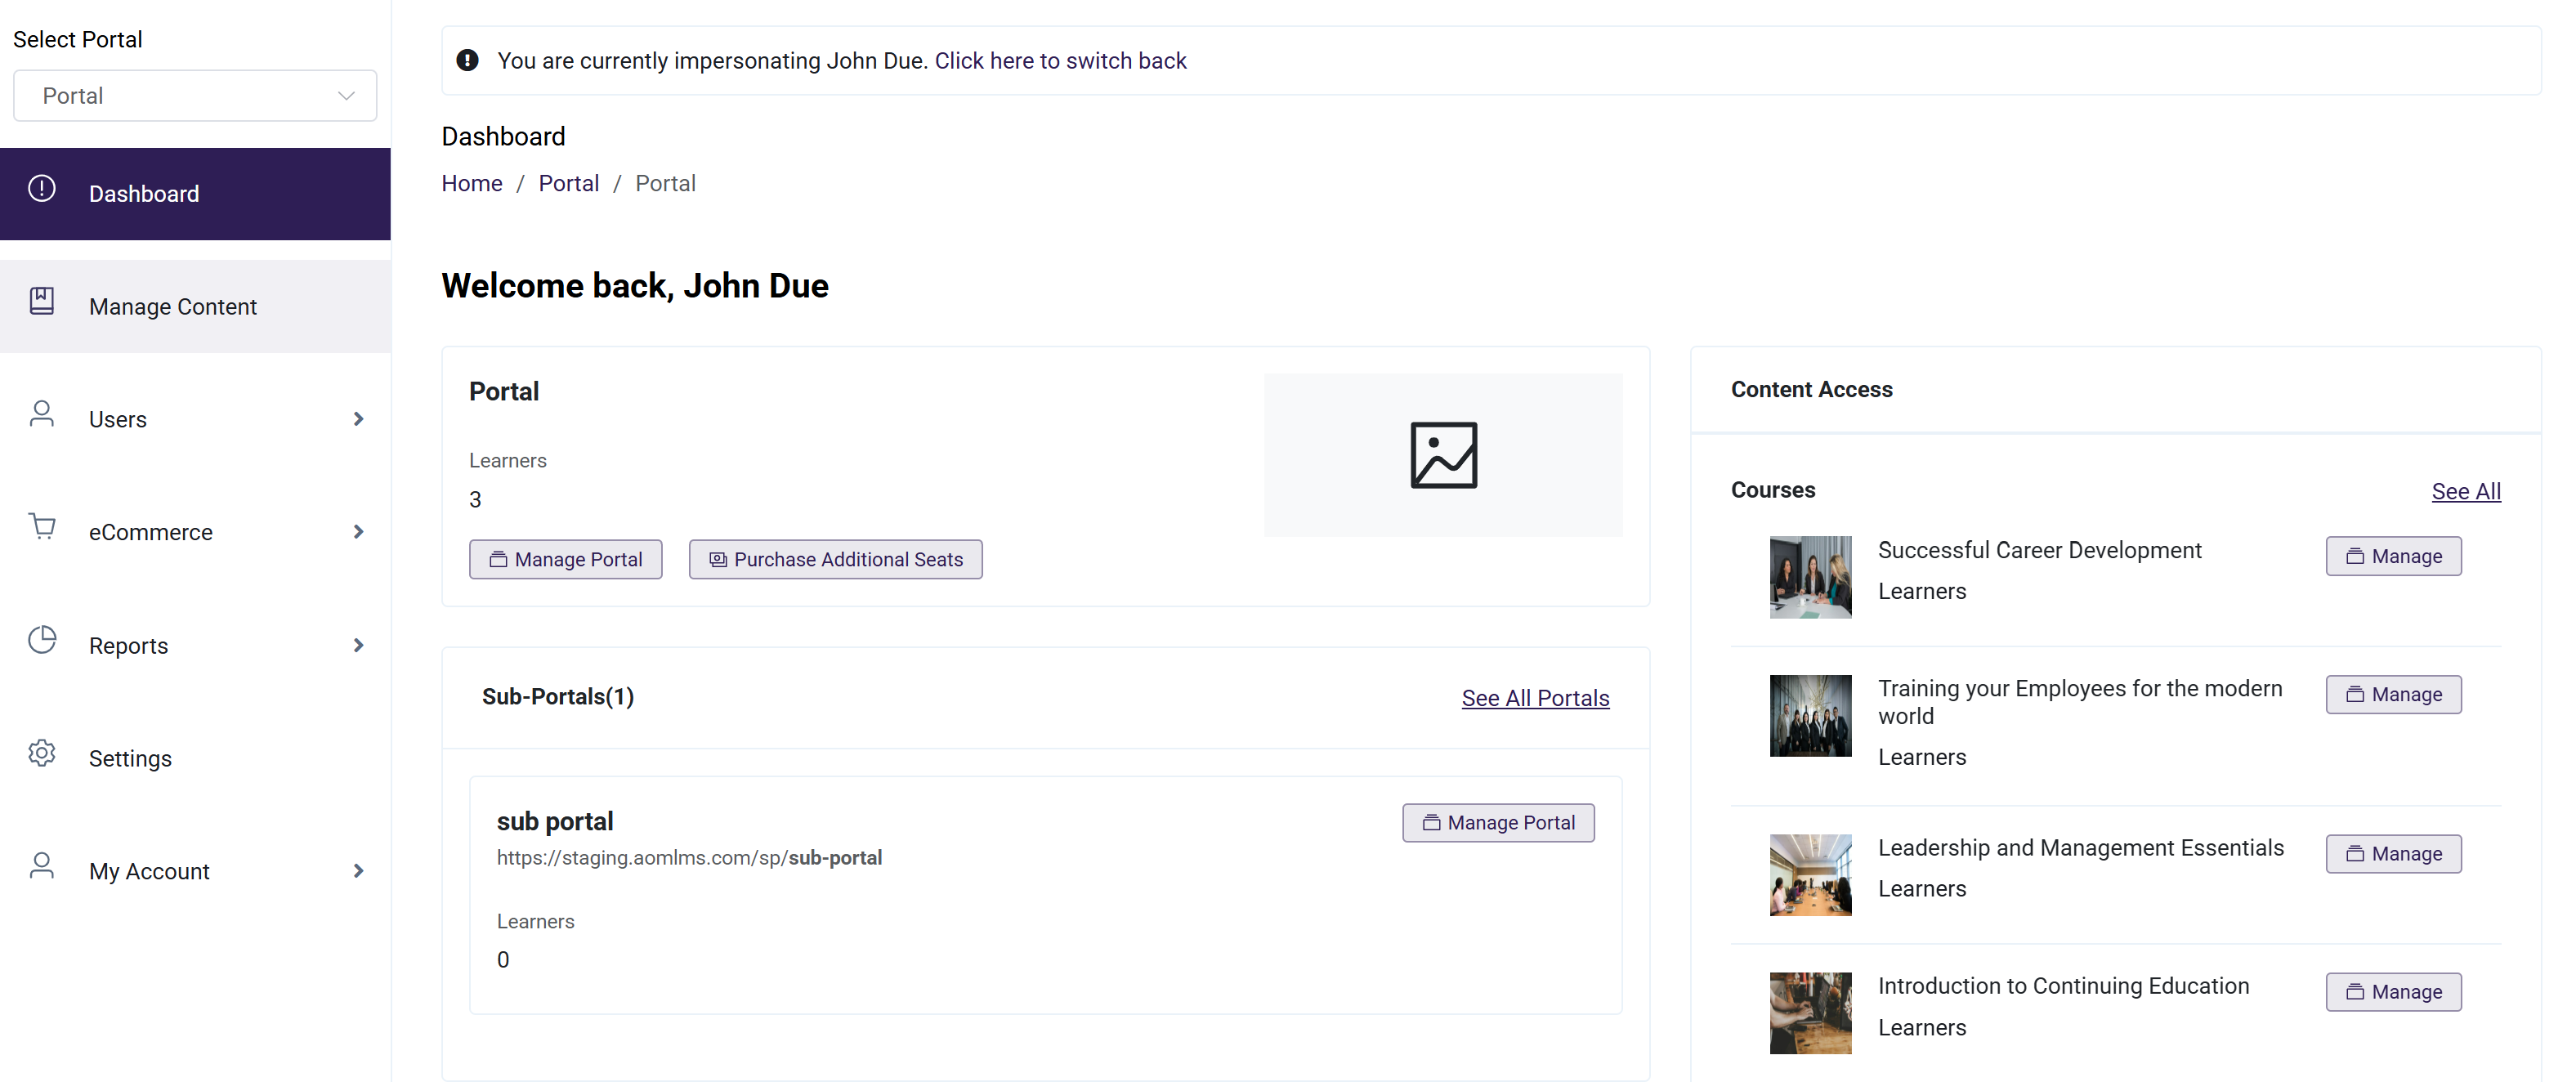
The Portal Dashboard layout and options vary based on the selected seat model—Portal-Based Seats or Content-Based Seats.
For Content-Based Seat Portals:
The dashboard includes a "Purchase Additional Seats" option. This allows the Portal Admin to buy additional seats for specific content. When content seats are purchased, they are added to the total seat count for that particular content within the portal.
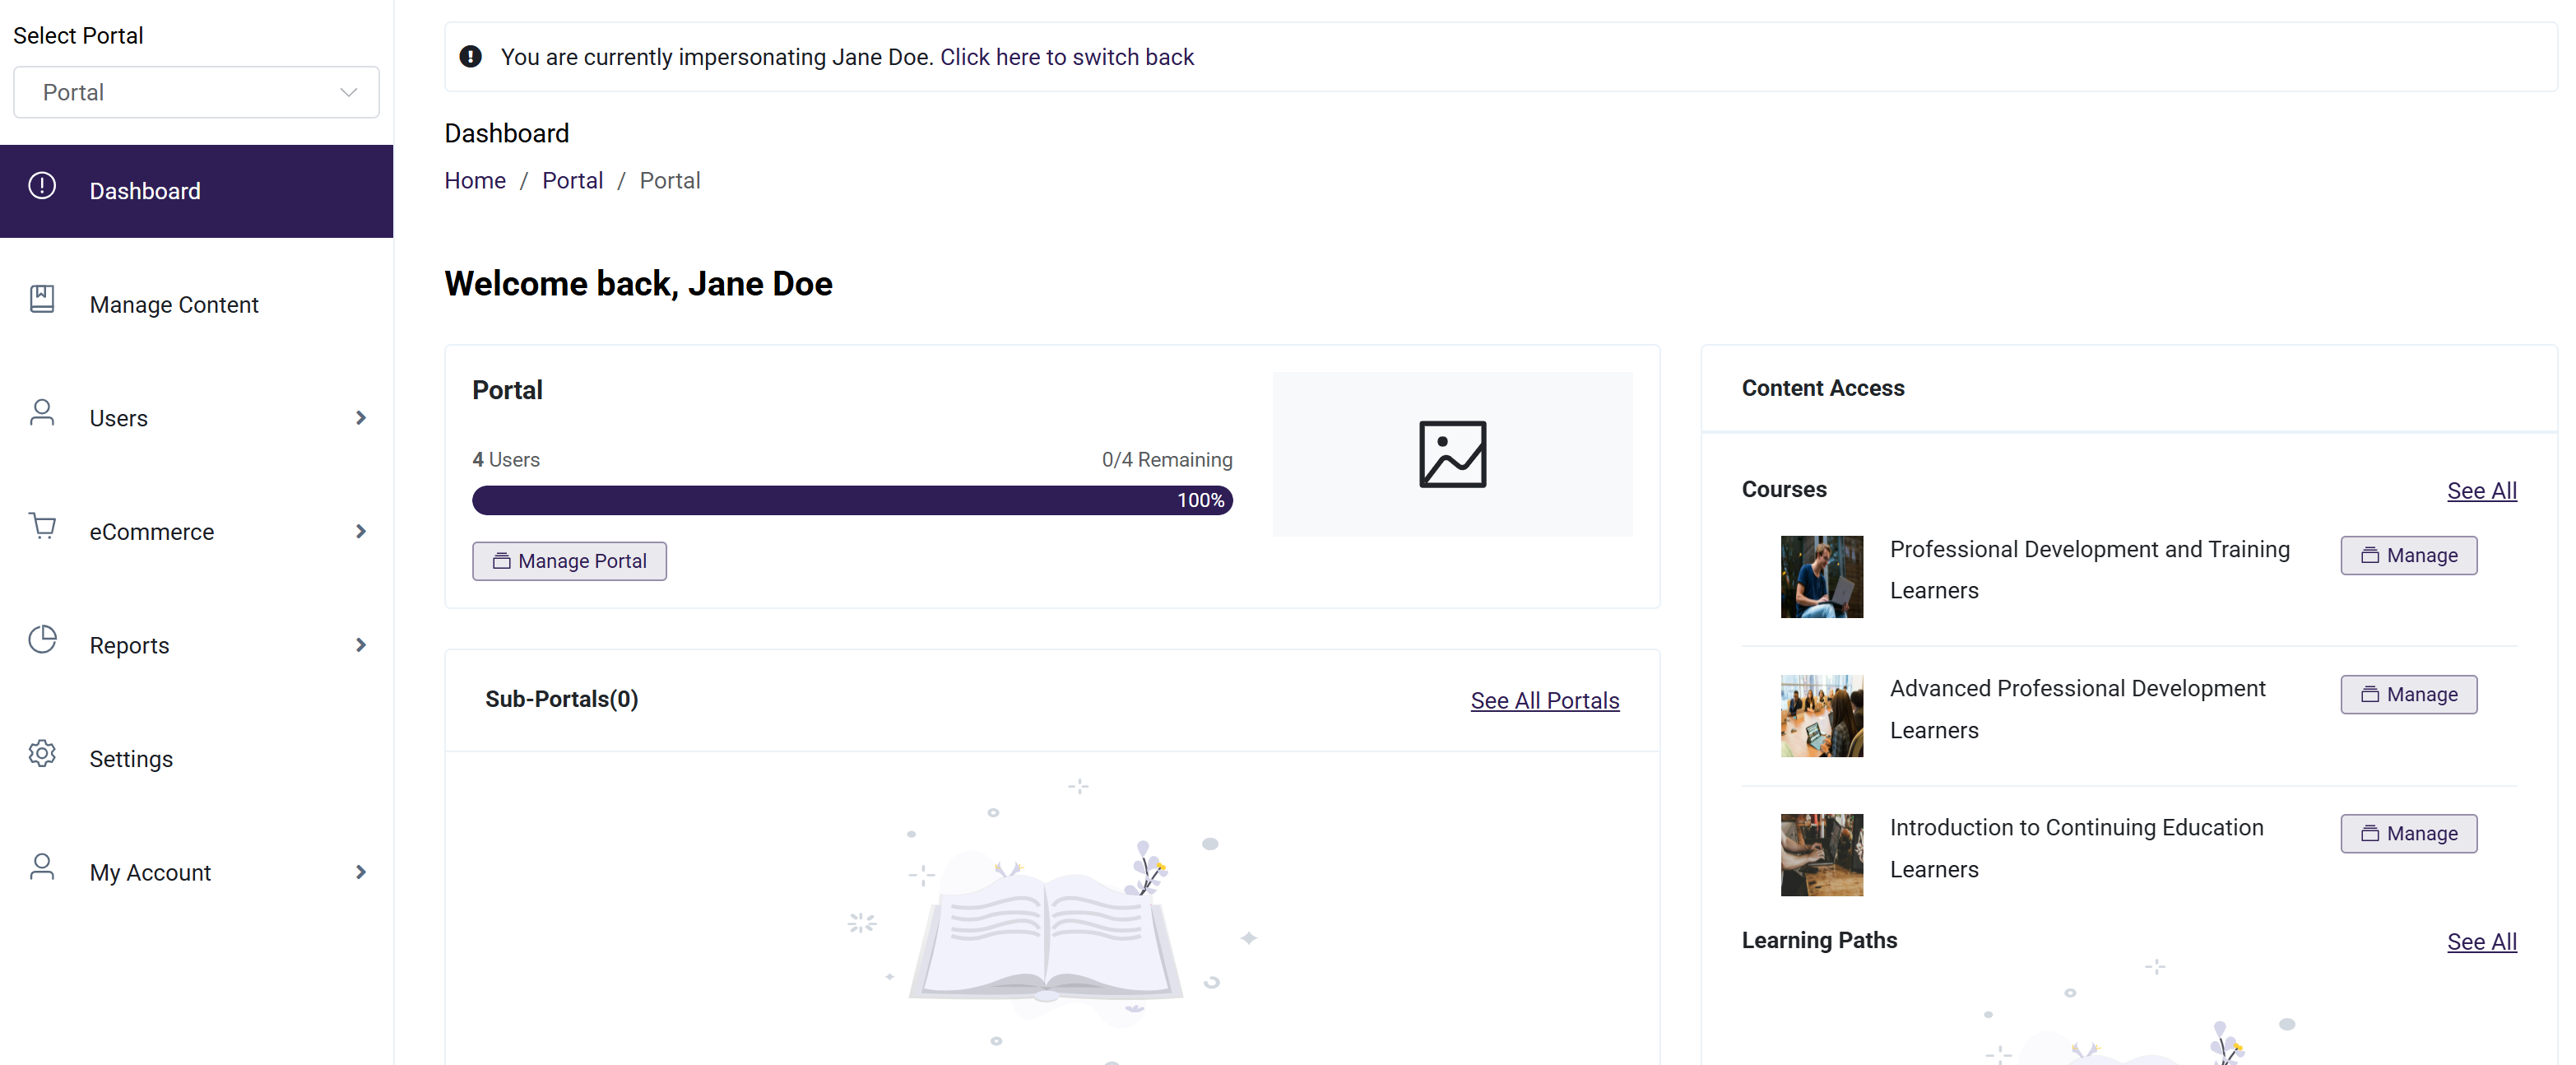
For Portal-Based Seat Portals:
The "Purchase Additional Seats" option is not available in the dashboard. In this model, the Portal Admin cannot purchase additional content-specific seats. Instead, the seat count is tied to the overall number of users allowed in the portal.
To add more learners, the admin must increase the total number of users allocated to the portal. Once the user limit is increased, the portal admin can assign additional learners accordingly.
Manage Content: The Manage Content page allows administrators to view and manage all portal content, including Courses, Learning Paths, and Memberships.

To manage a specific course:
- Navigate to Manage Content from the left menu.
- Locate the course in the content list.
- Click the three dots (...) under the Actions column.
- Select Manage Course from the dropdown menu.
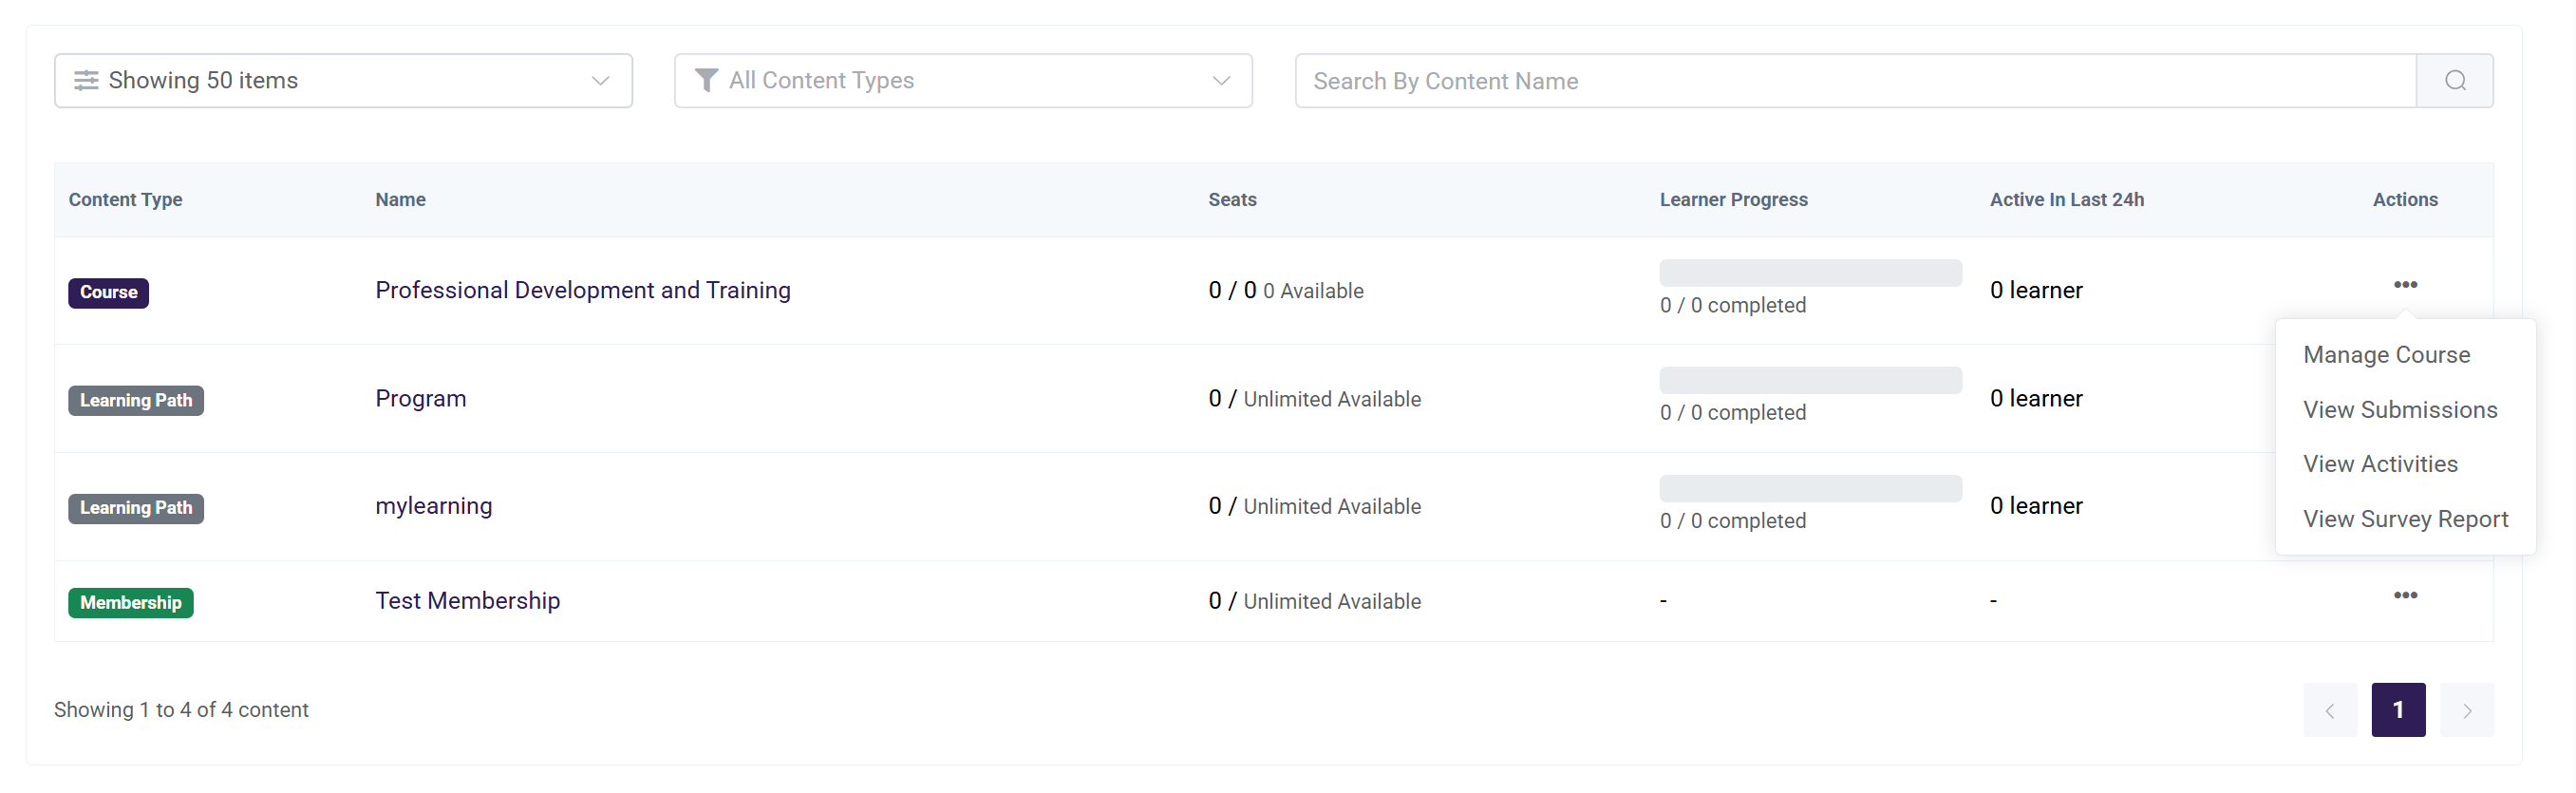
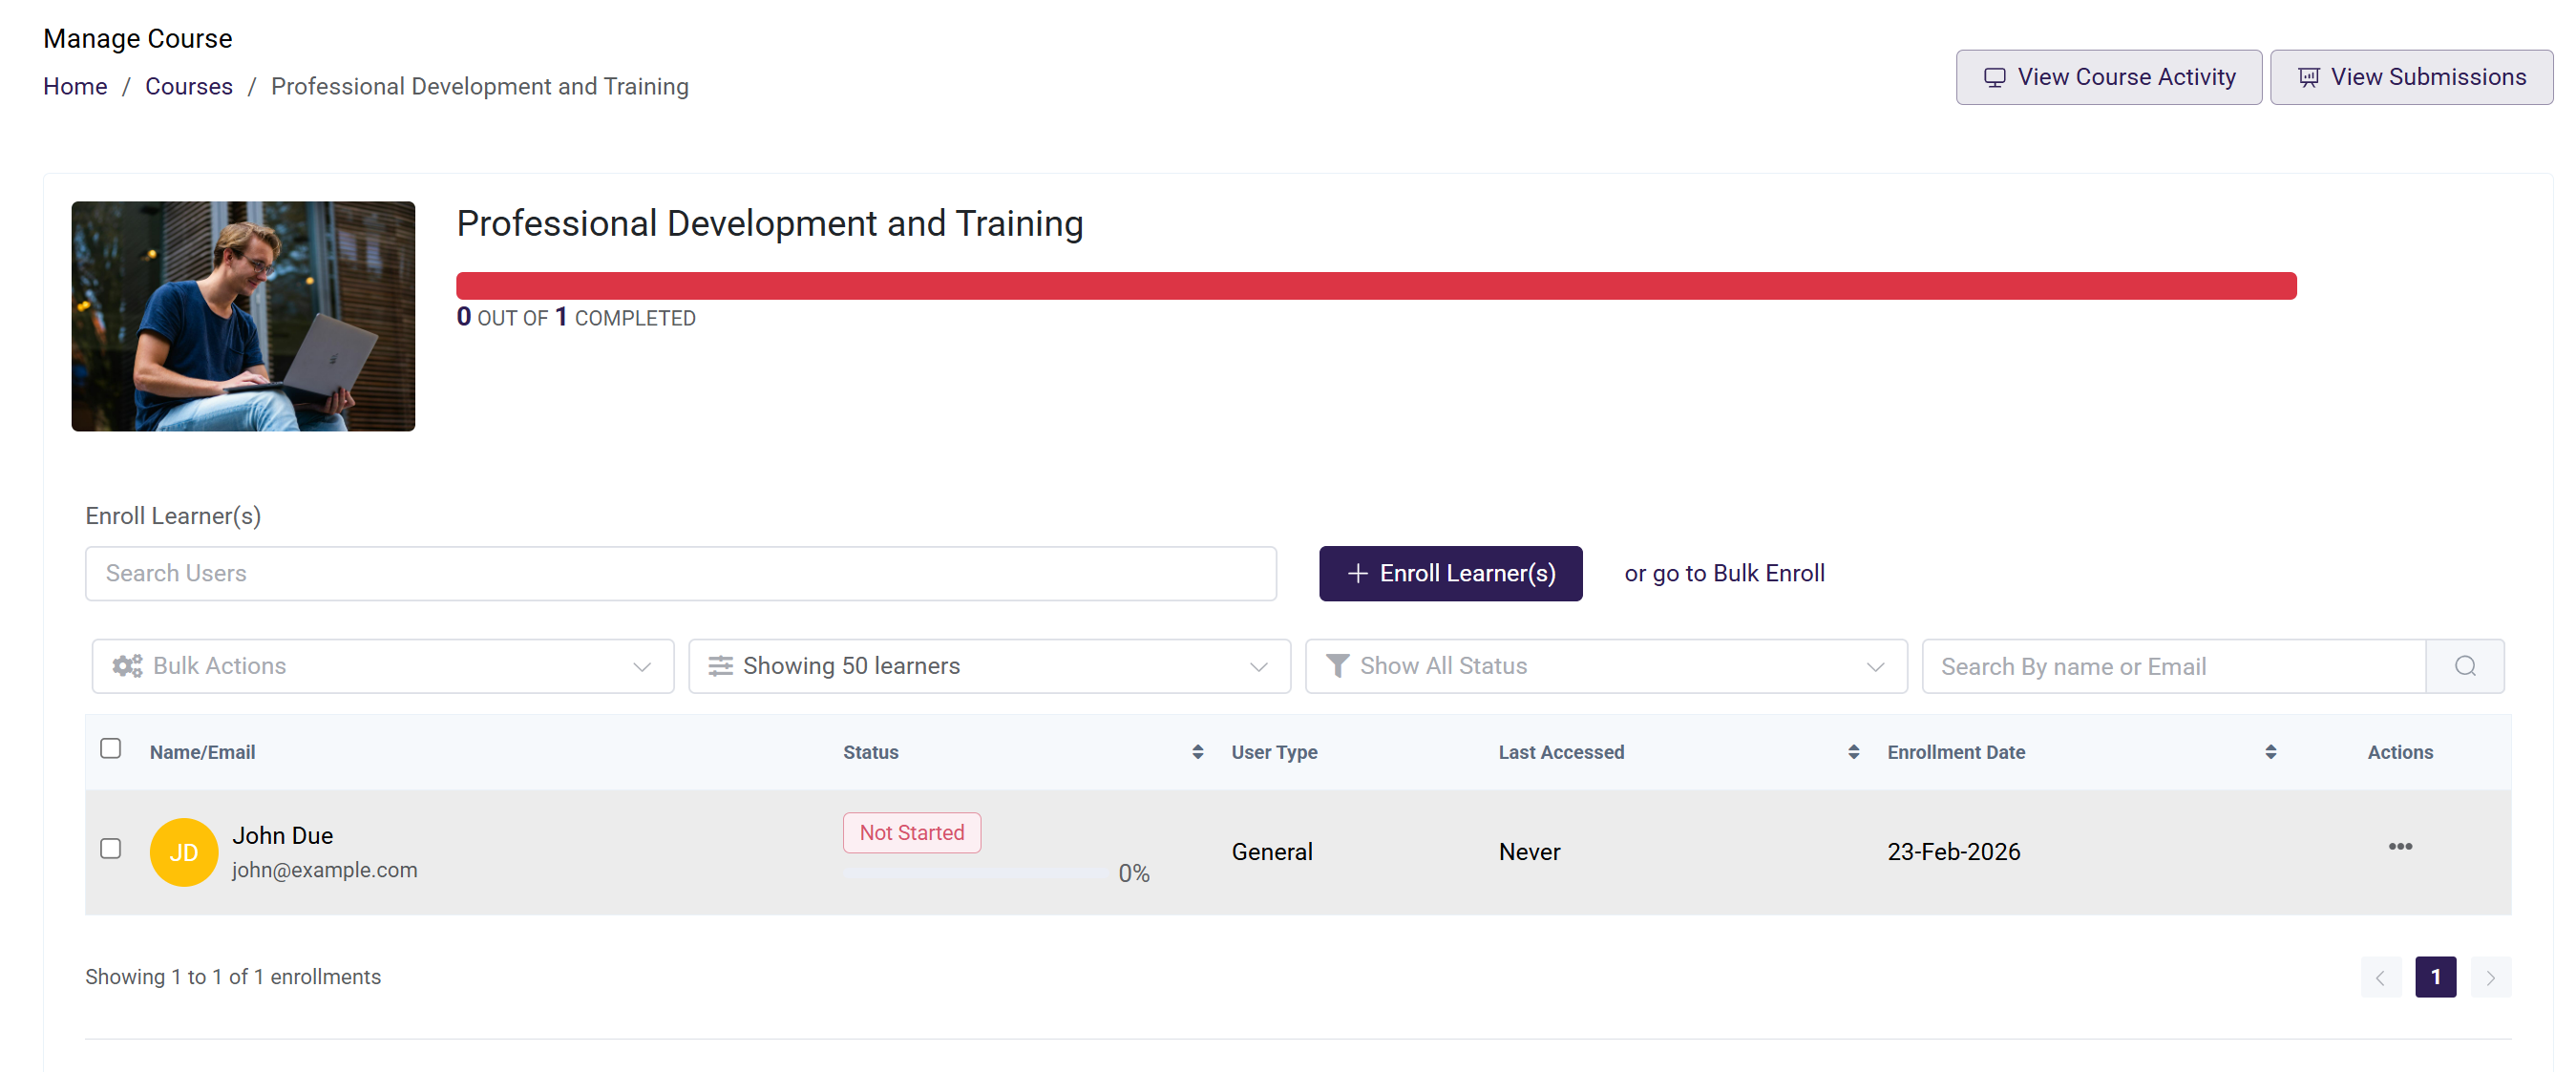
Course Action Options: From the Actions menu, administrators can:
- Manage Course – Click on Manage Course to manage course details. This page allows enrolling learners into the course, and key information about enrolled users such as their Name, their Status, User Type, Last Accessed details, Enrollment Date, and an Actions button for additional management options.
- View Submissions – Review learner submissions related to assignments or discussion within the course.
- View Activities – View detailed learner engagement and course activity history, including enrollments, access, and progress actions.
- View Survey Report – Access course feedback and survey responses (if applicable).
2. Managing a Learning Path:
- Navigate to Manage Content from the left menu.
- Locate the learning path in the content list.
- Click the three dots (...) under the Actions column.
- Select Manage from the dropdown menu.
Learning Path Action Options: From the Actions menu, administrators can:
- Manage – Click on Manage to manage learning path details. This page allows you to enroll learners into the learning path and manage enrollments. It also displays key information about enrolled users, including their Name, Status, User Type, Last Accessed details, Enrollment Date, and an Actions button for additional management options.
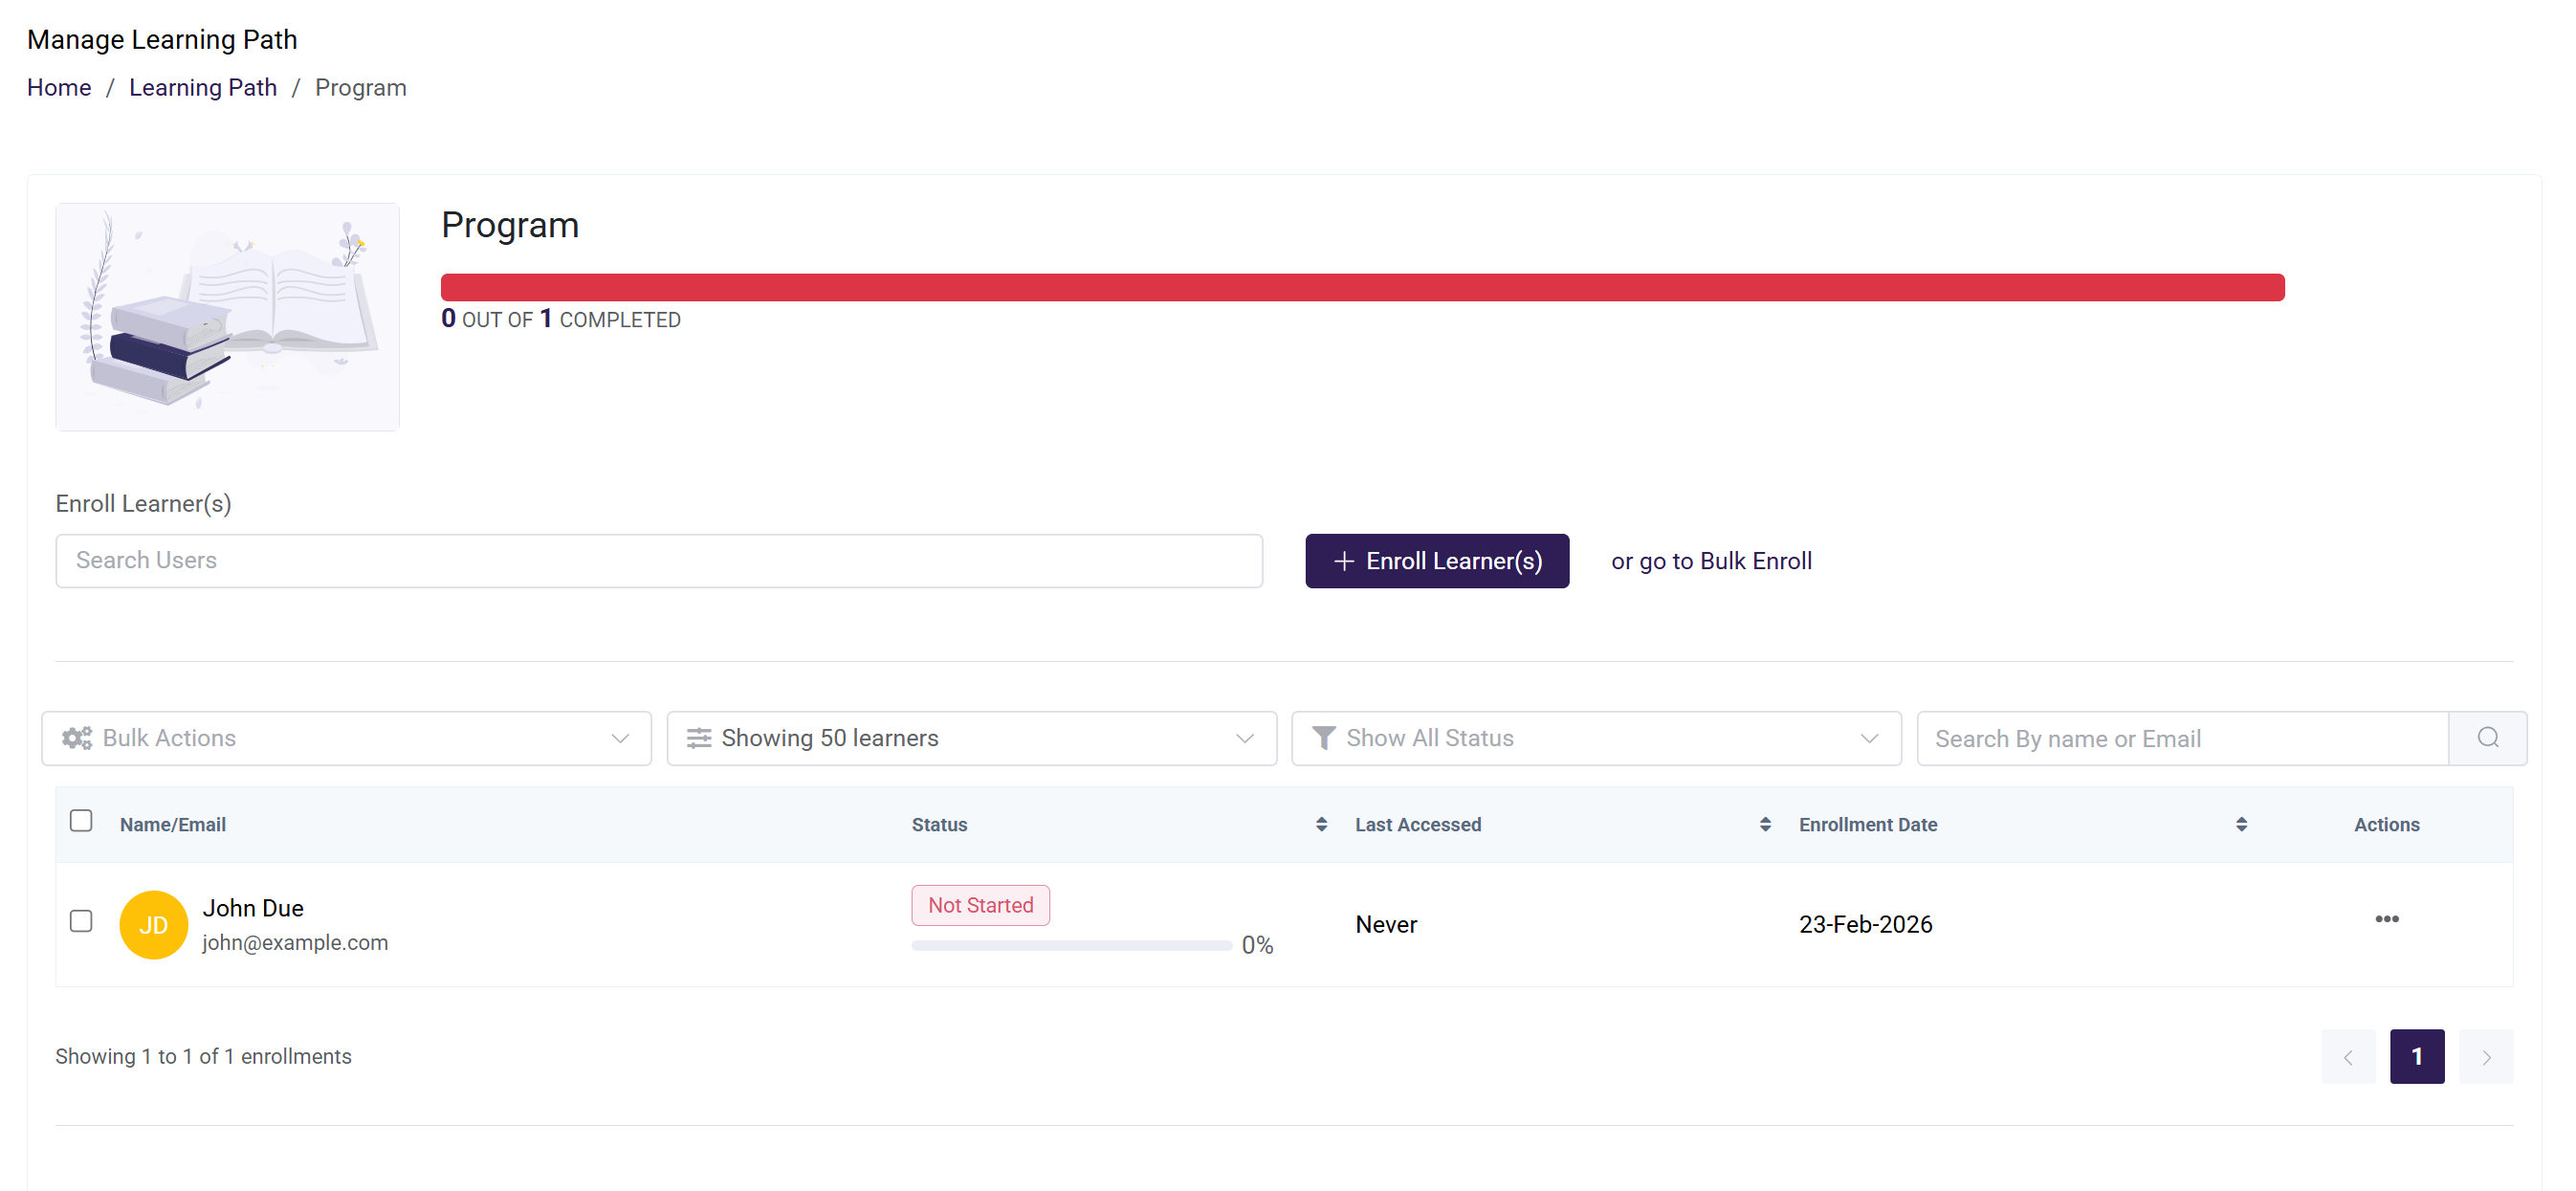
View Activities – View detailed learner engagement and learning path activity history, including enrollments, access, and progress actions.
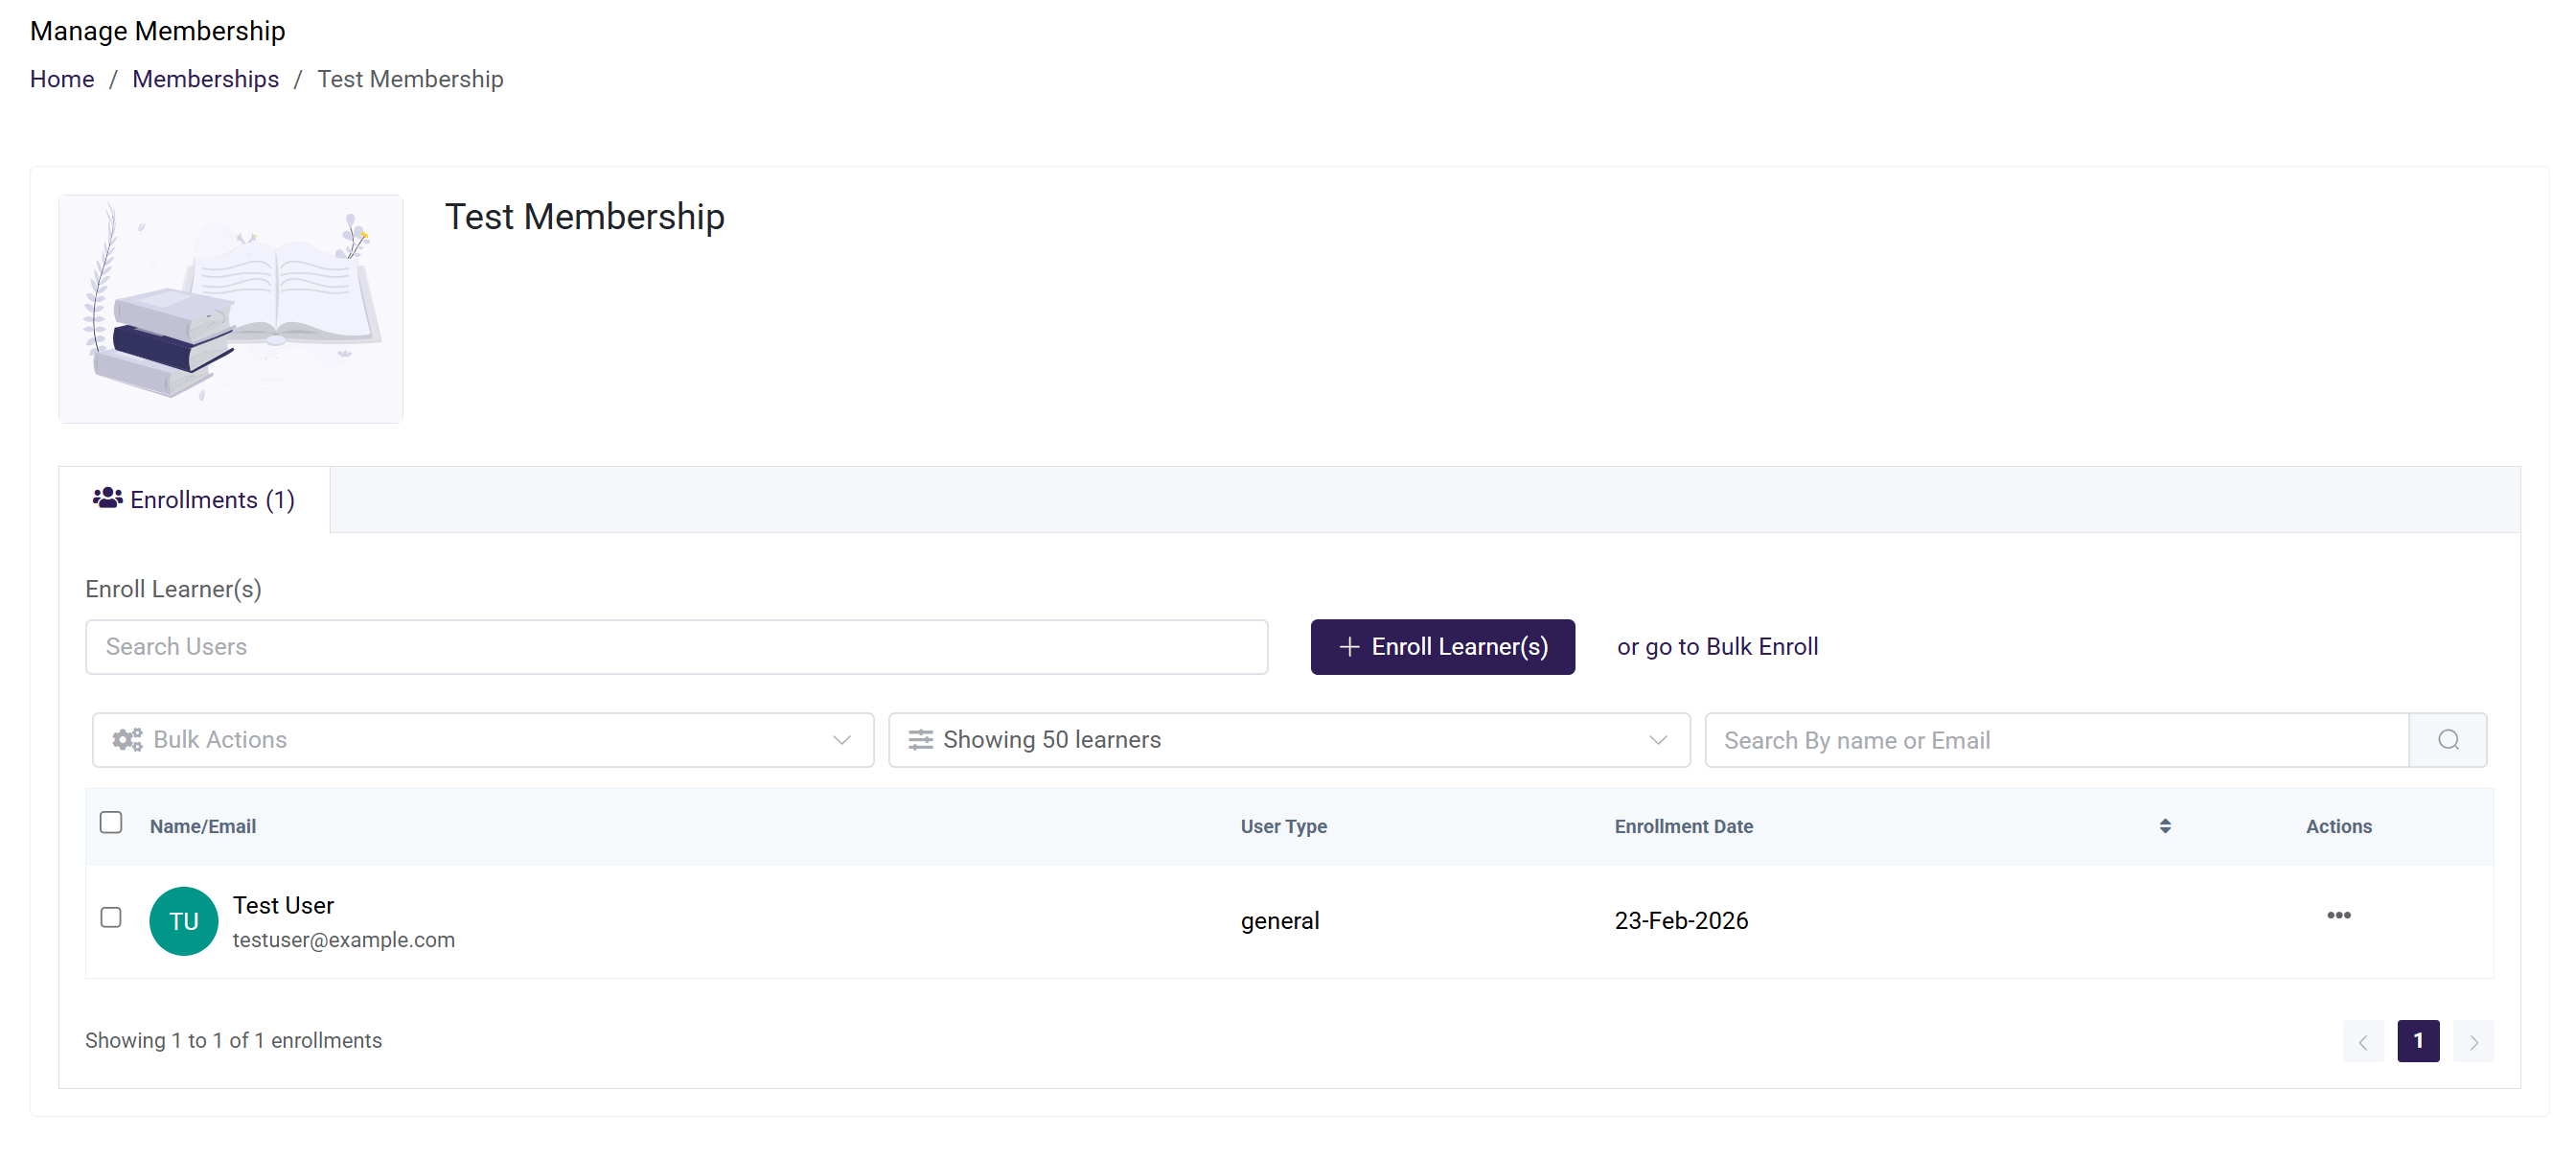
3. Managing a Membership:
- Navigate to Manage Content from the left menu.
- Locate the membership in the content list.
- Click the three dots (...) under the Actions column.
- Select Manage Membership from the dropdown menu.
Membership Action Options: From the Actions menu, administrators can:
- Manage Membership – Click on Manage Membership to manage membership details. This page allows you to enroll learners into the membership and remove existing learners. It also displays key information about enrolled users, including their Name, User Type, Enrollment Date and an Actions button for additional management options.
Users
All Users: This option allows to manually create individual users or learners. It is ideal for scenarios where only a few users need to be added.
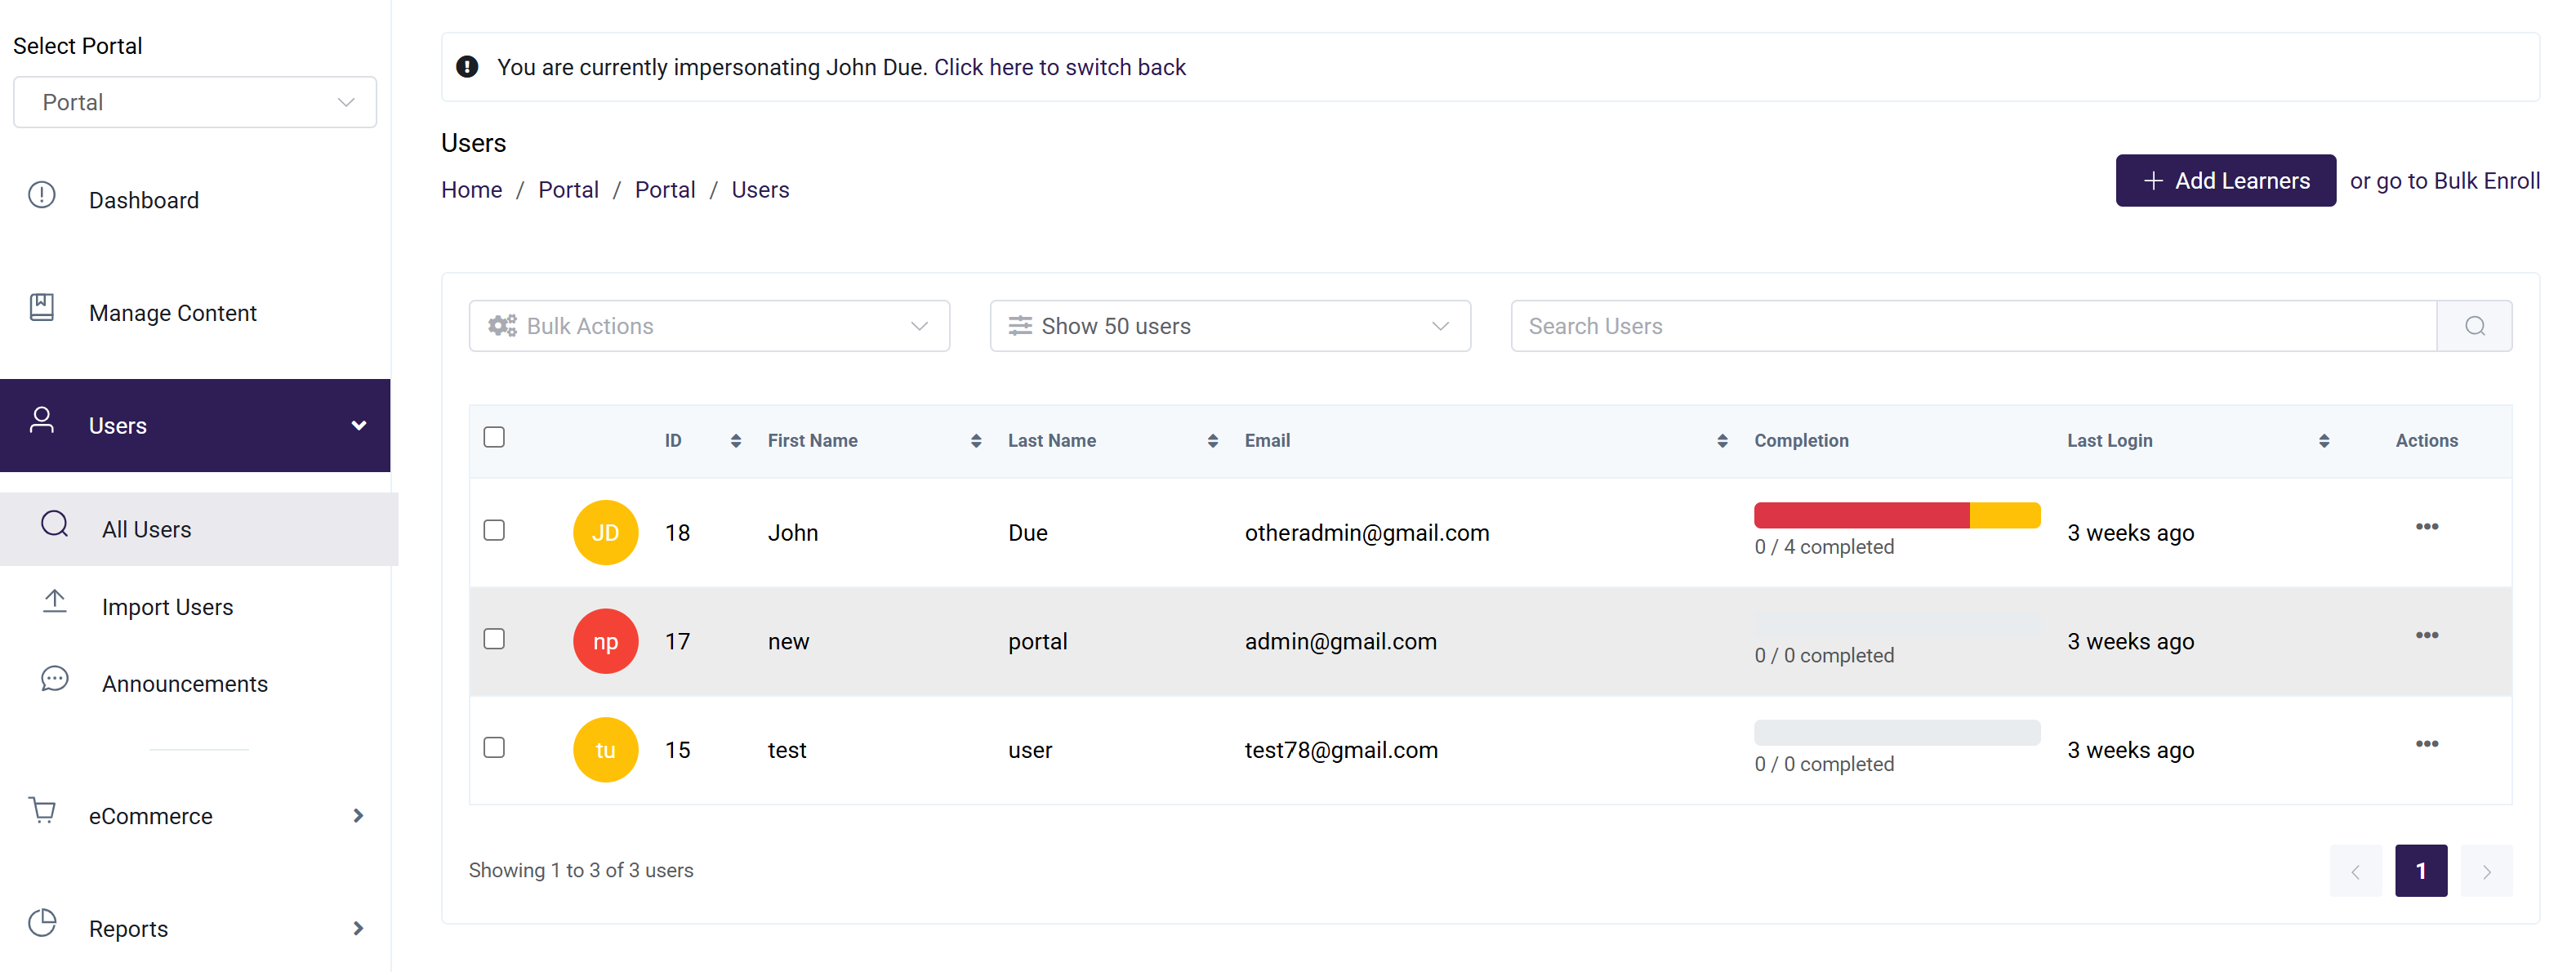
Add Users
- Either by clicking on '+ Add Learners' adding individual users and providing them access to courses. To know more on adding Learners click here.
Choose from the following options:
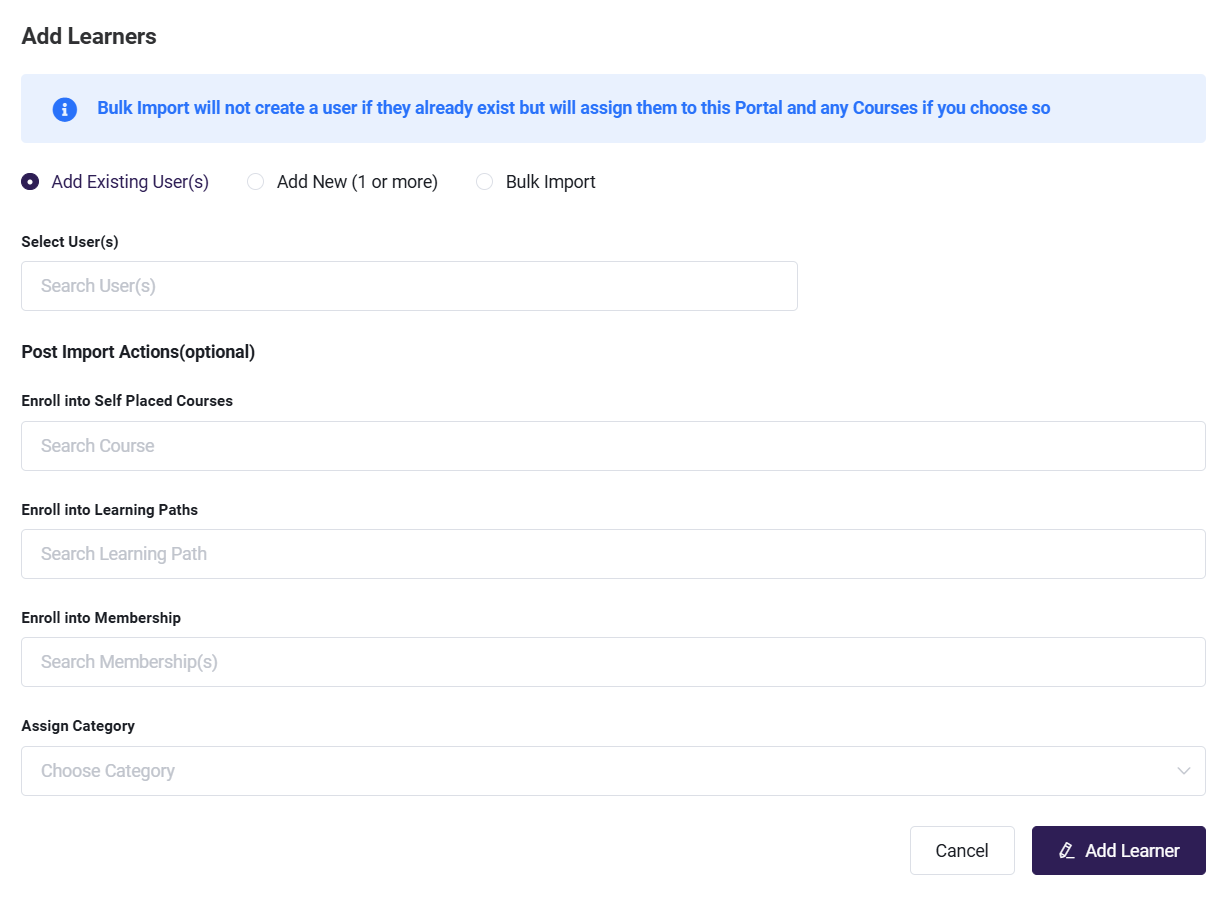
A. Add Existing User(s)
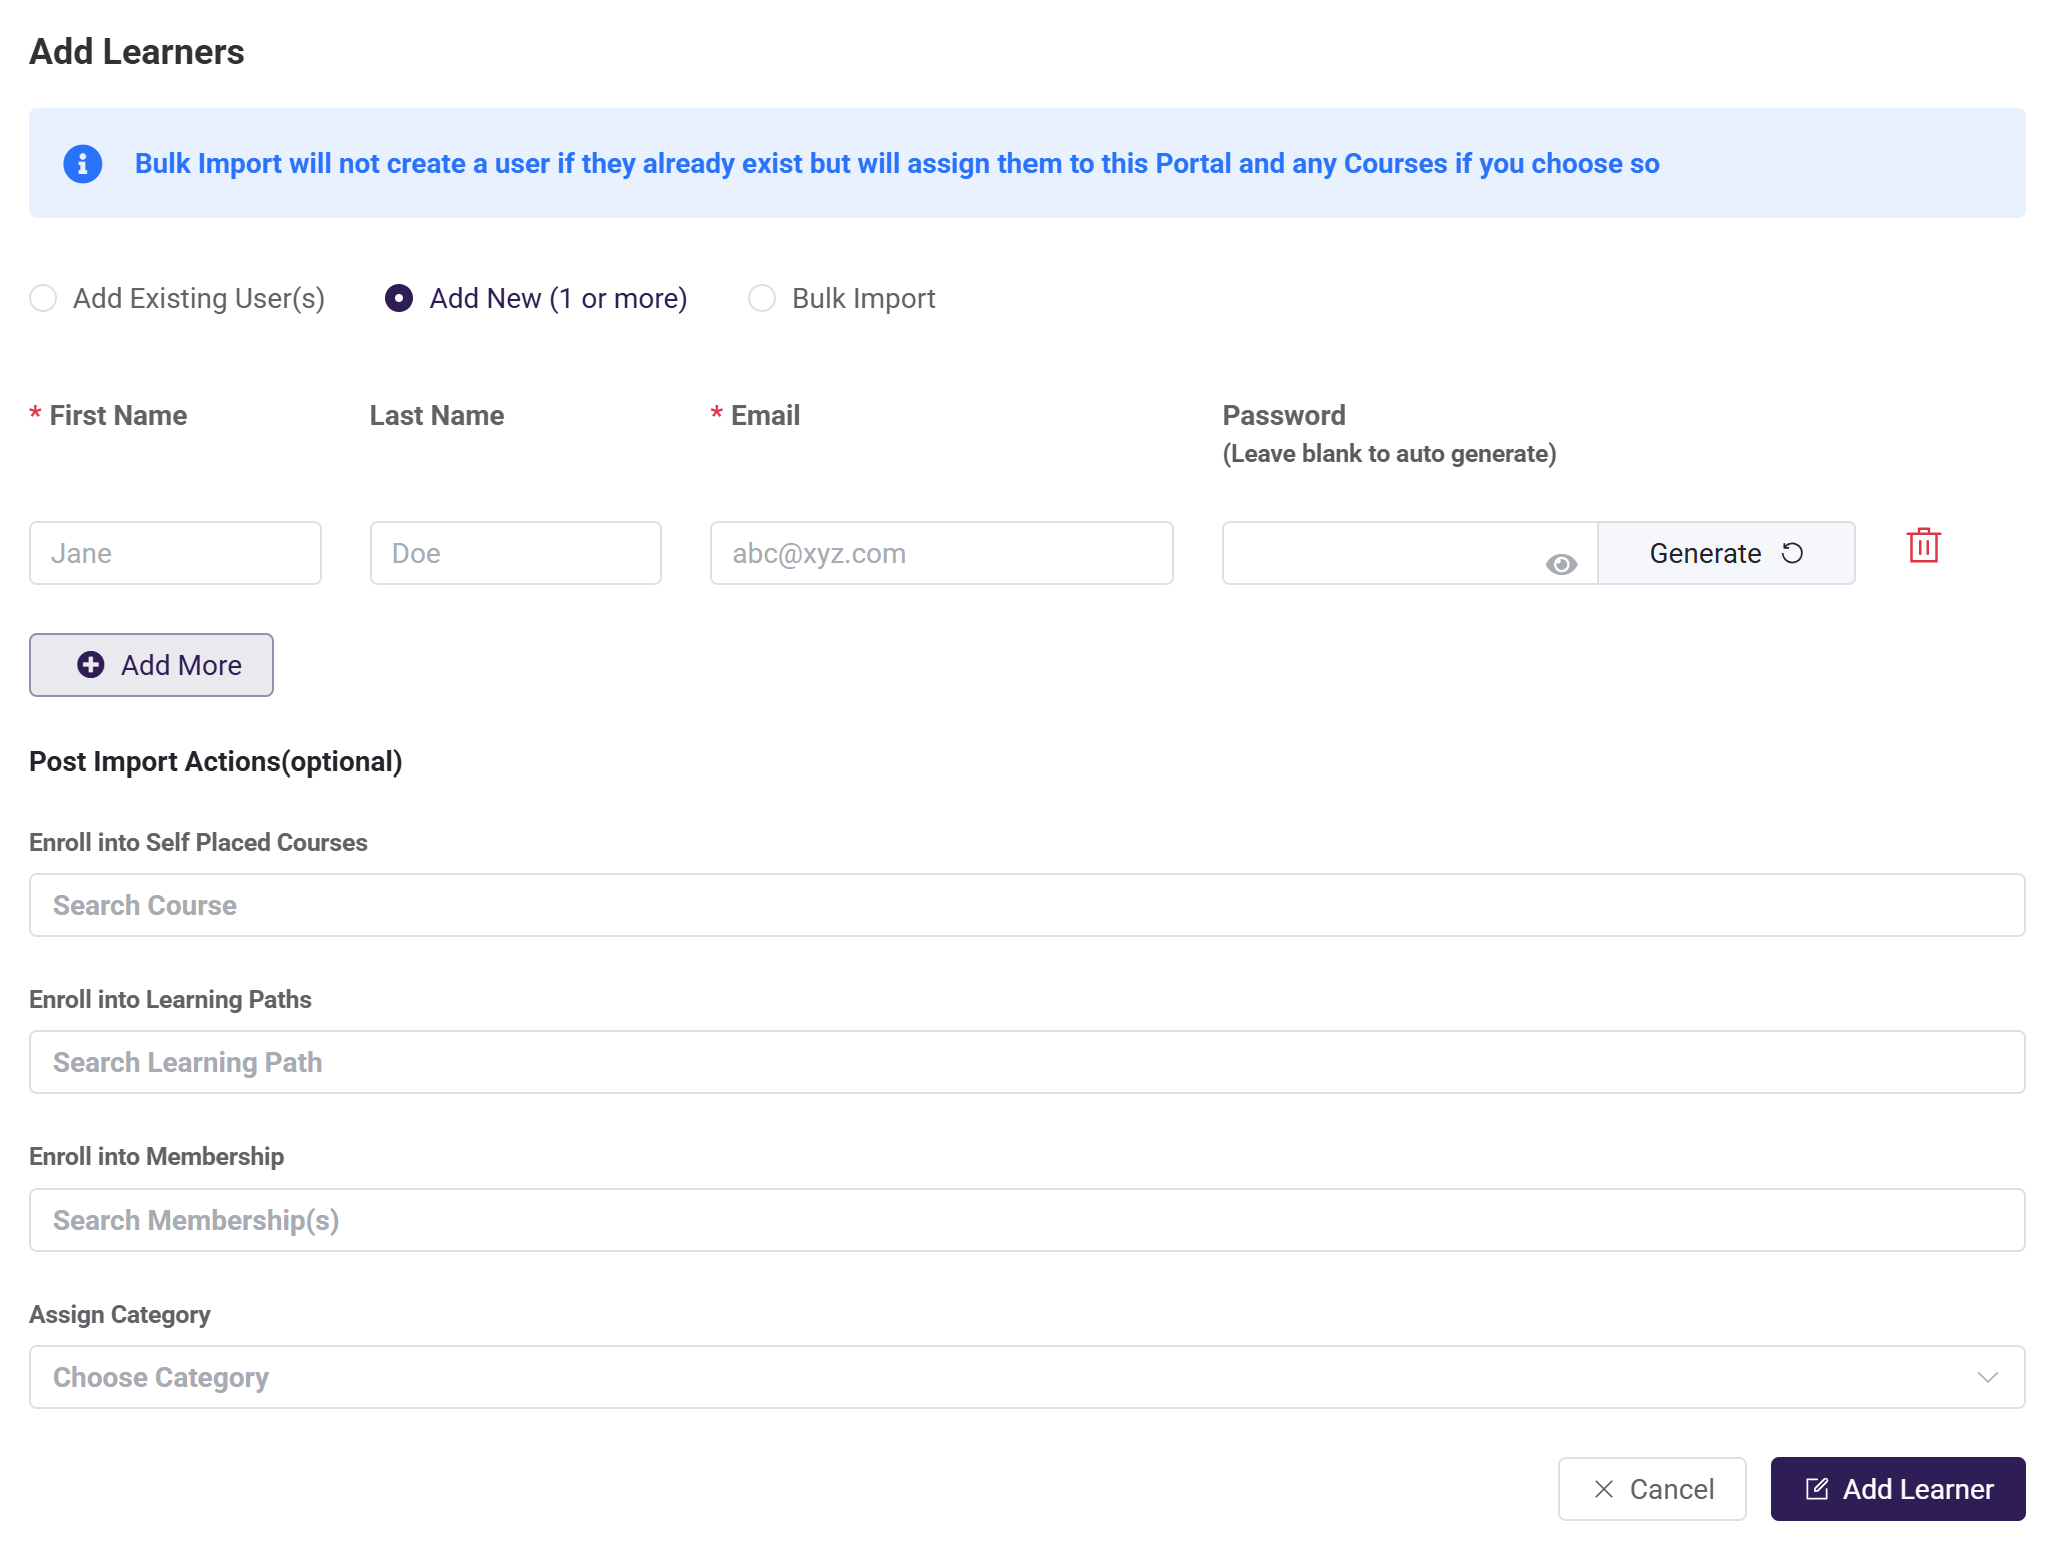
B. Add New (1 or more)
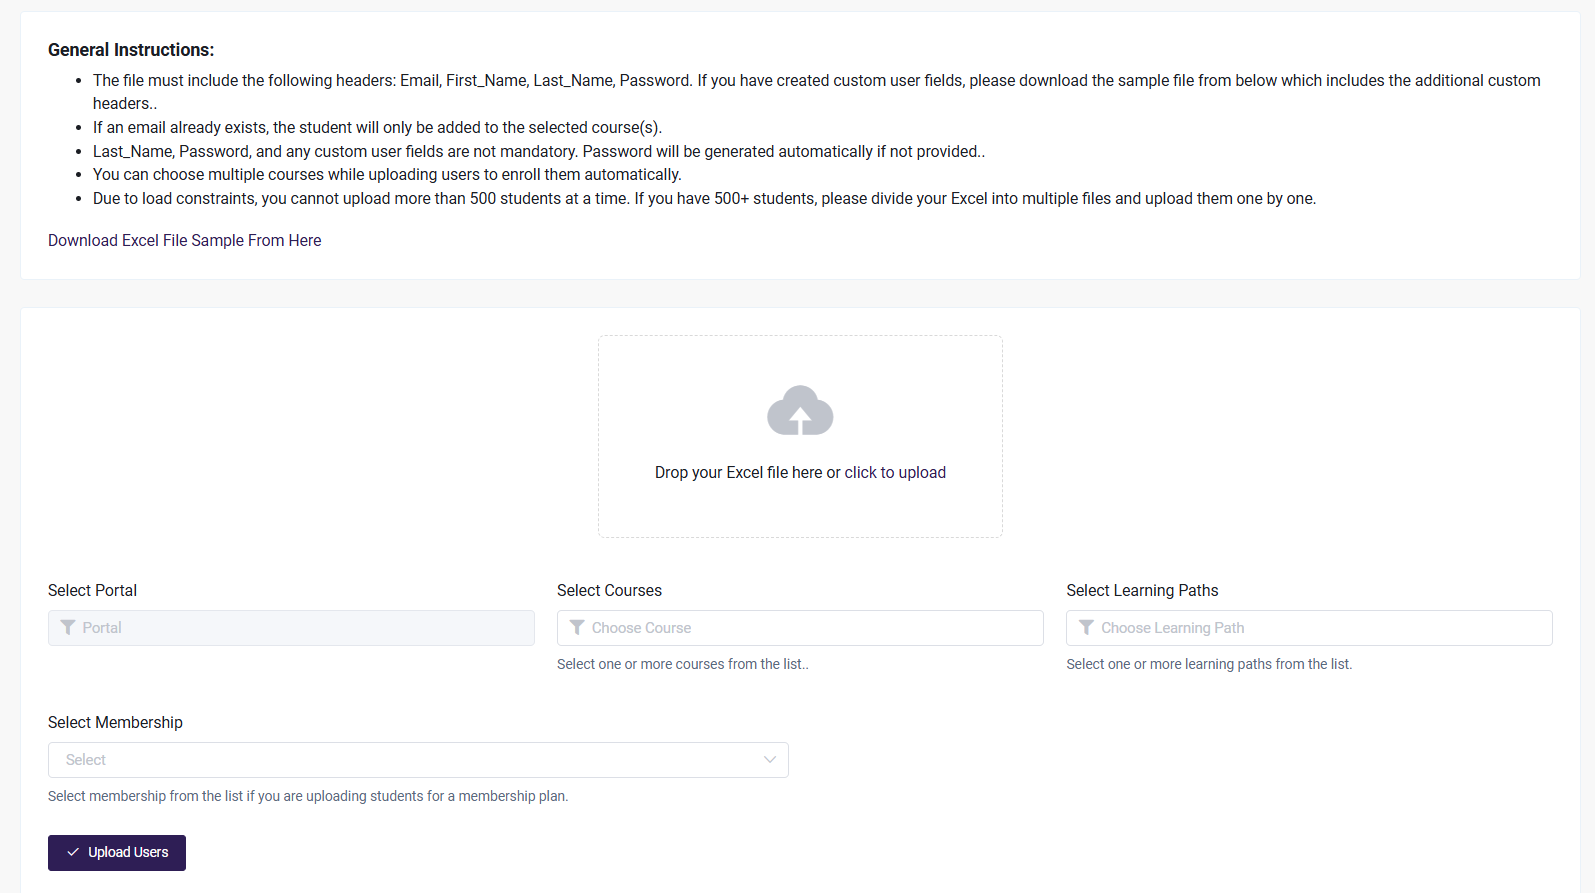
C. Or, click on or go to Bulk Import
The screen shown below will appear. Select the excel file and select the required parameters and click on Upload Users
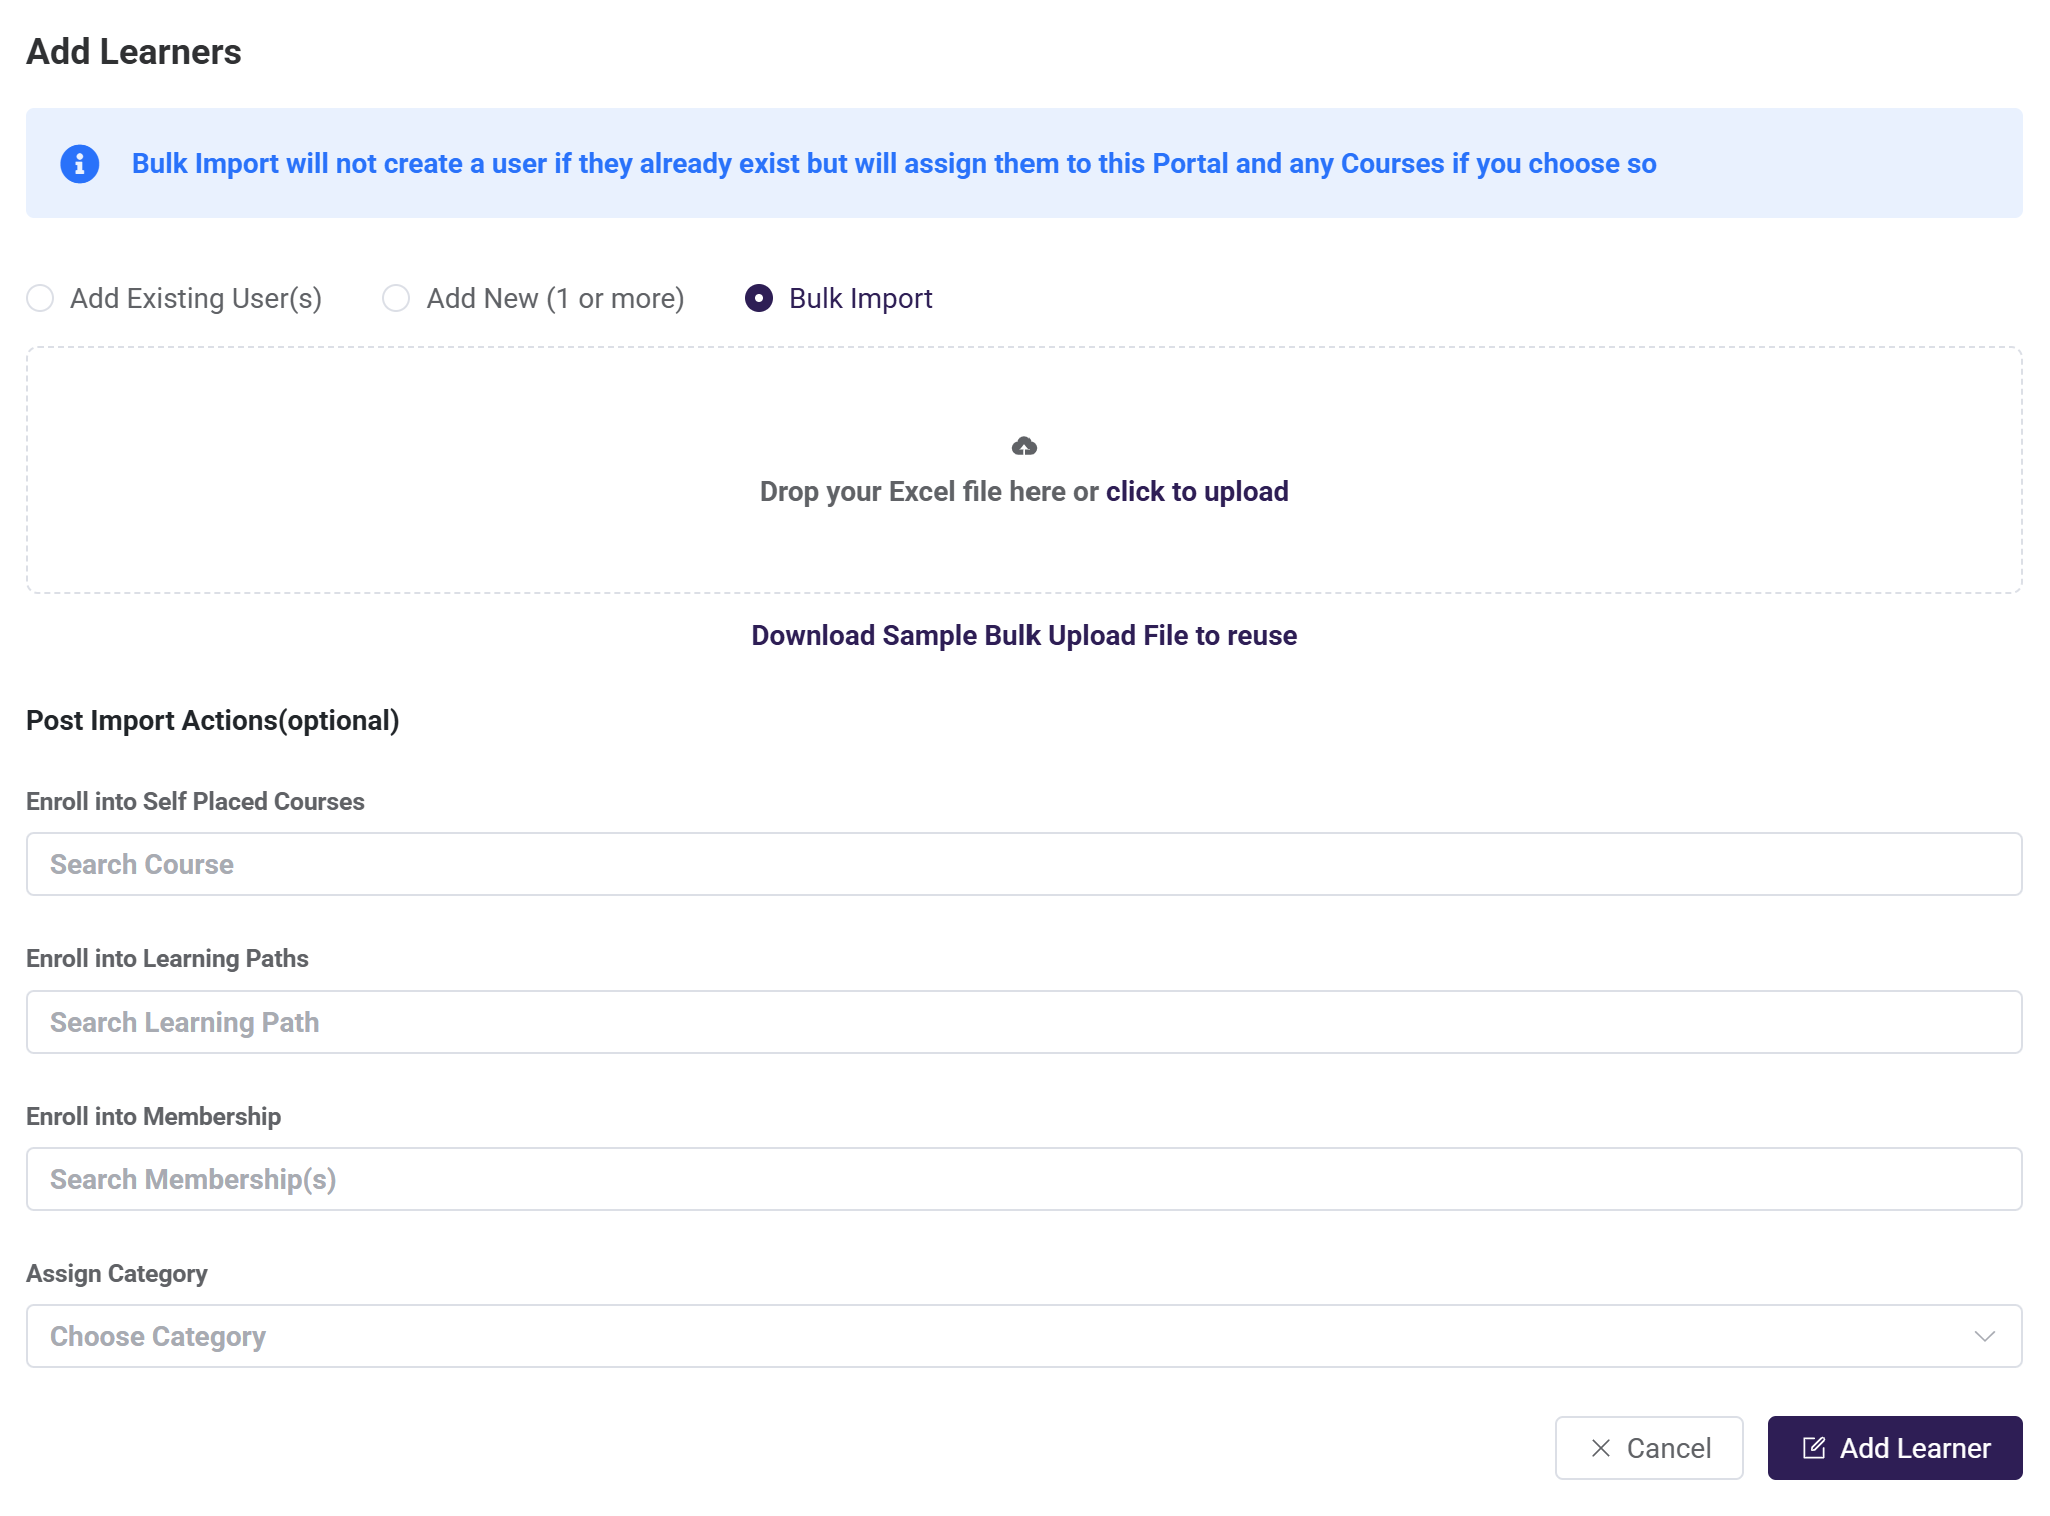
- Import Users: To add multiple users at once, use the Bulk Upload feature. This is particularly useful for onboarding a large number of learners or users quickly.
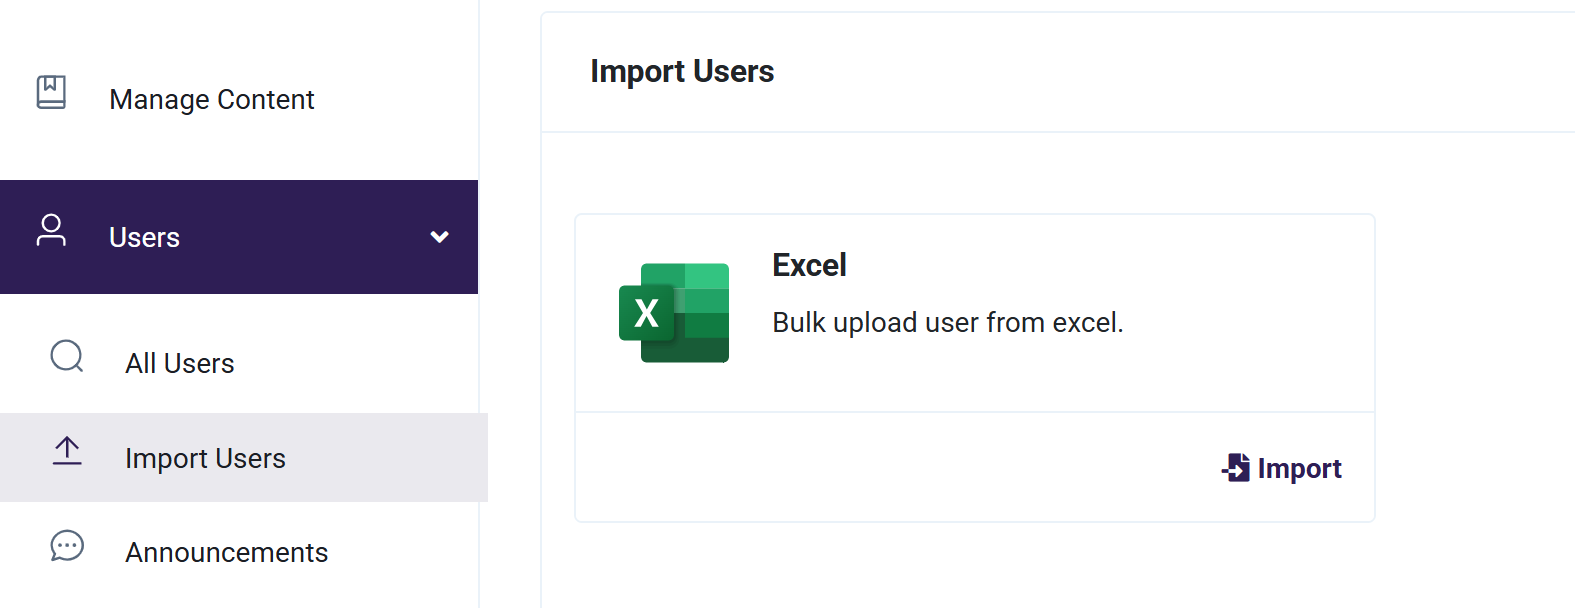
click on Import
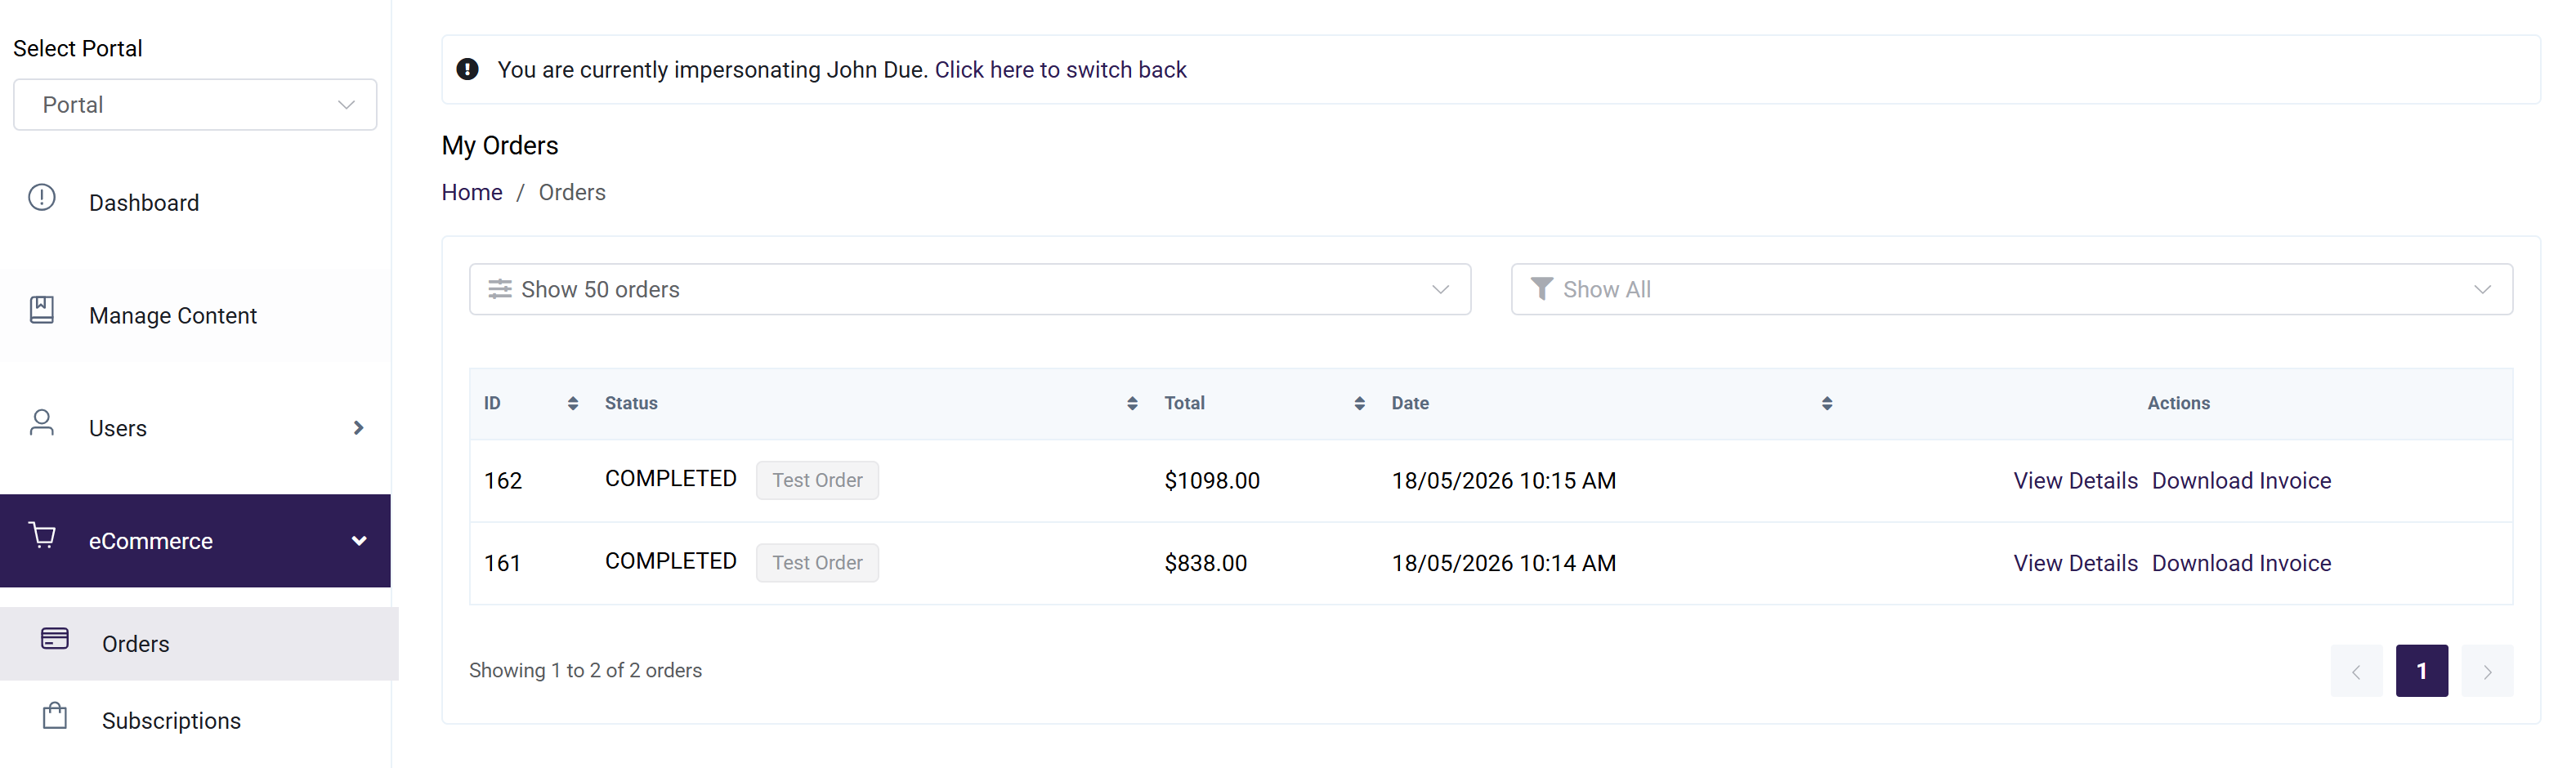
eCommerce
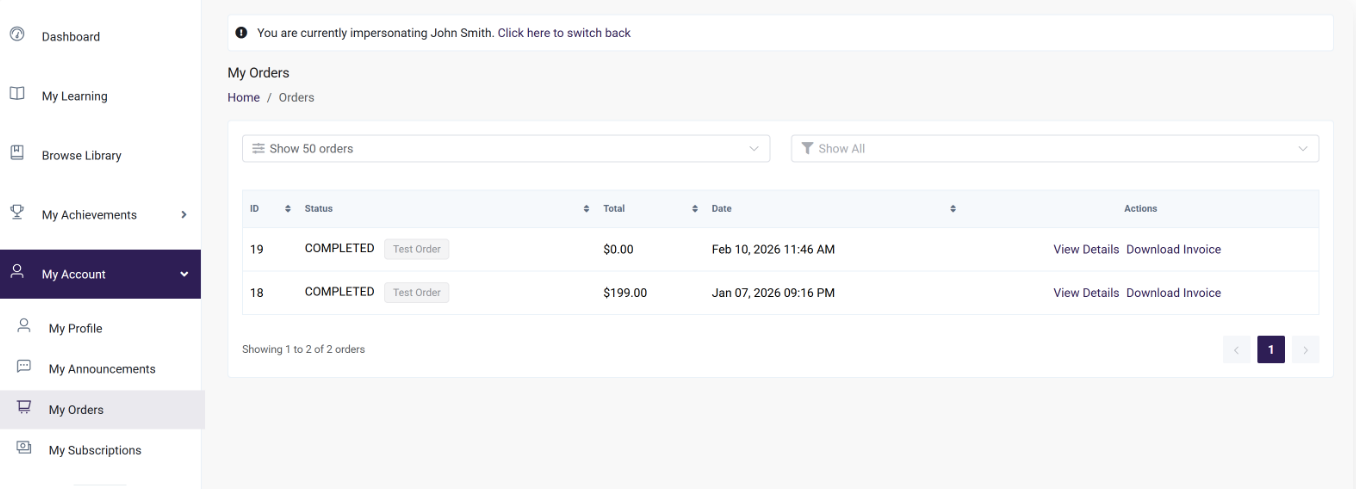
Displays a list of orders placed, along with their Status, Total Amount, and Date of Purchase.
- To view Invoice Click on Actions > View Details
- To download Invoice click on Actions > Download invoice
Reports
This menu offers multiple reports available for the Portal Admin.
- Site Audit Log report: This is a general audit log report where it logs all actions made by Portal Admin
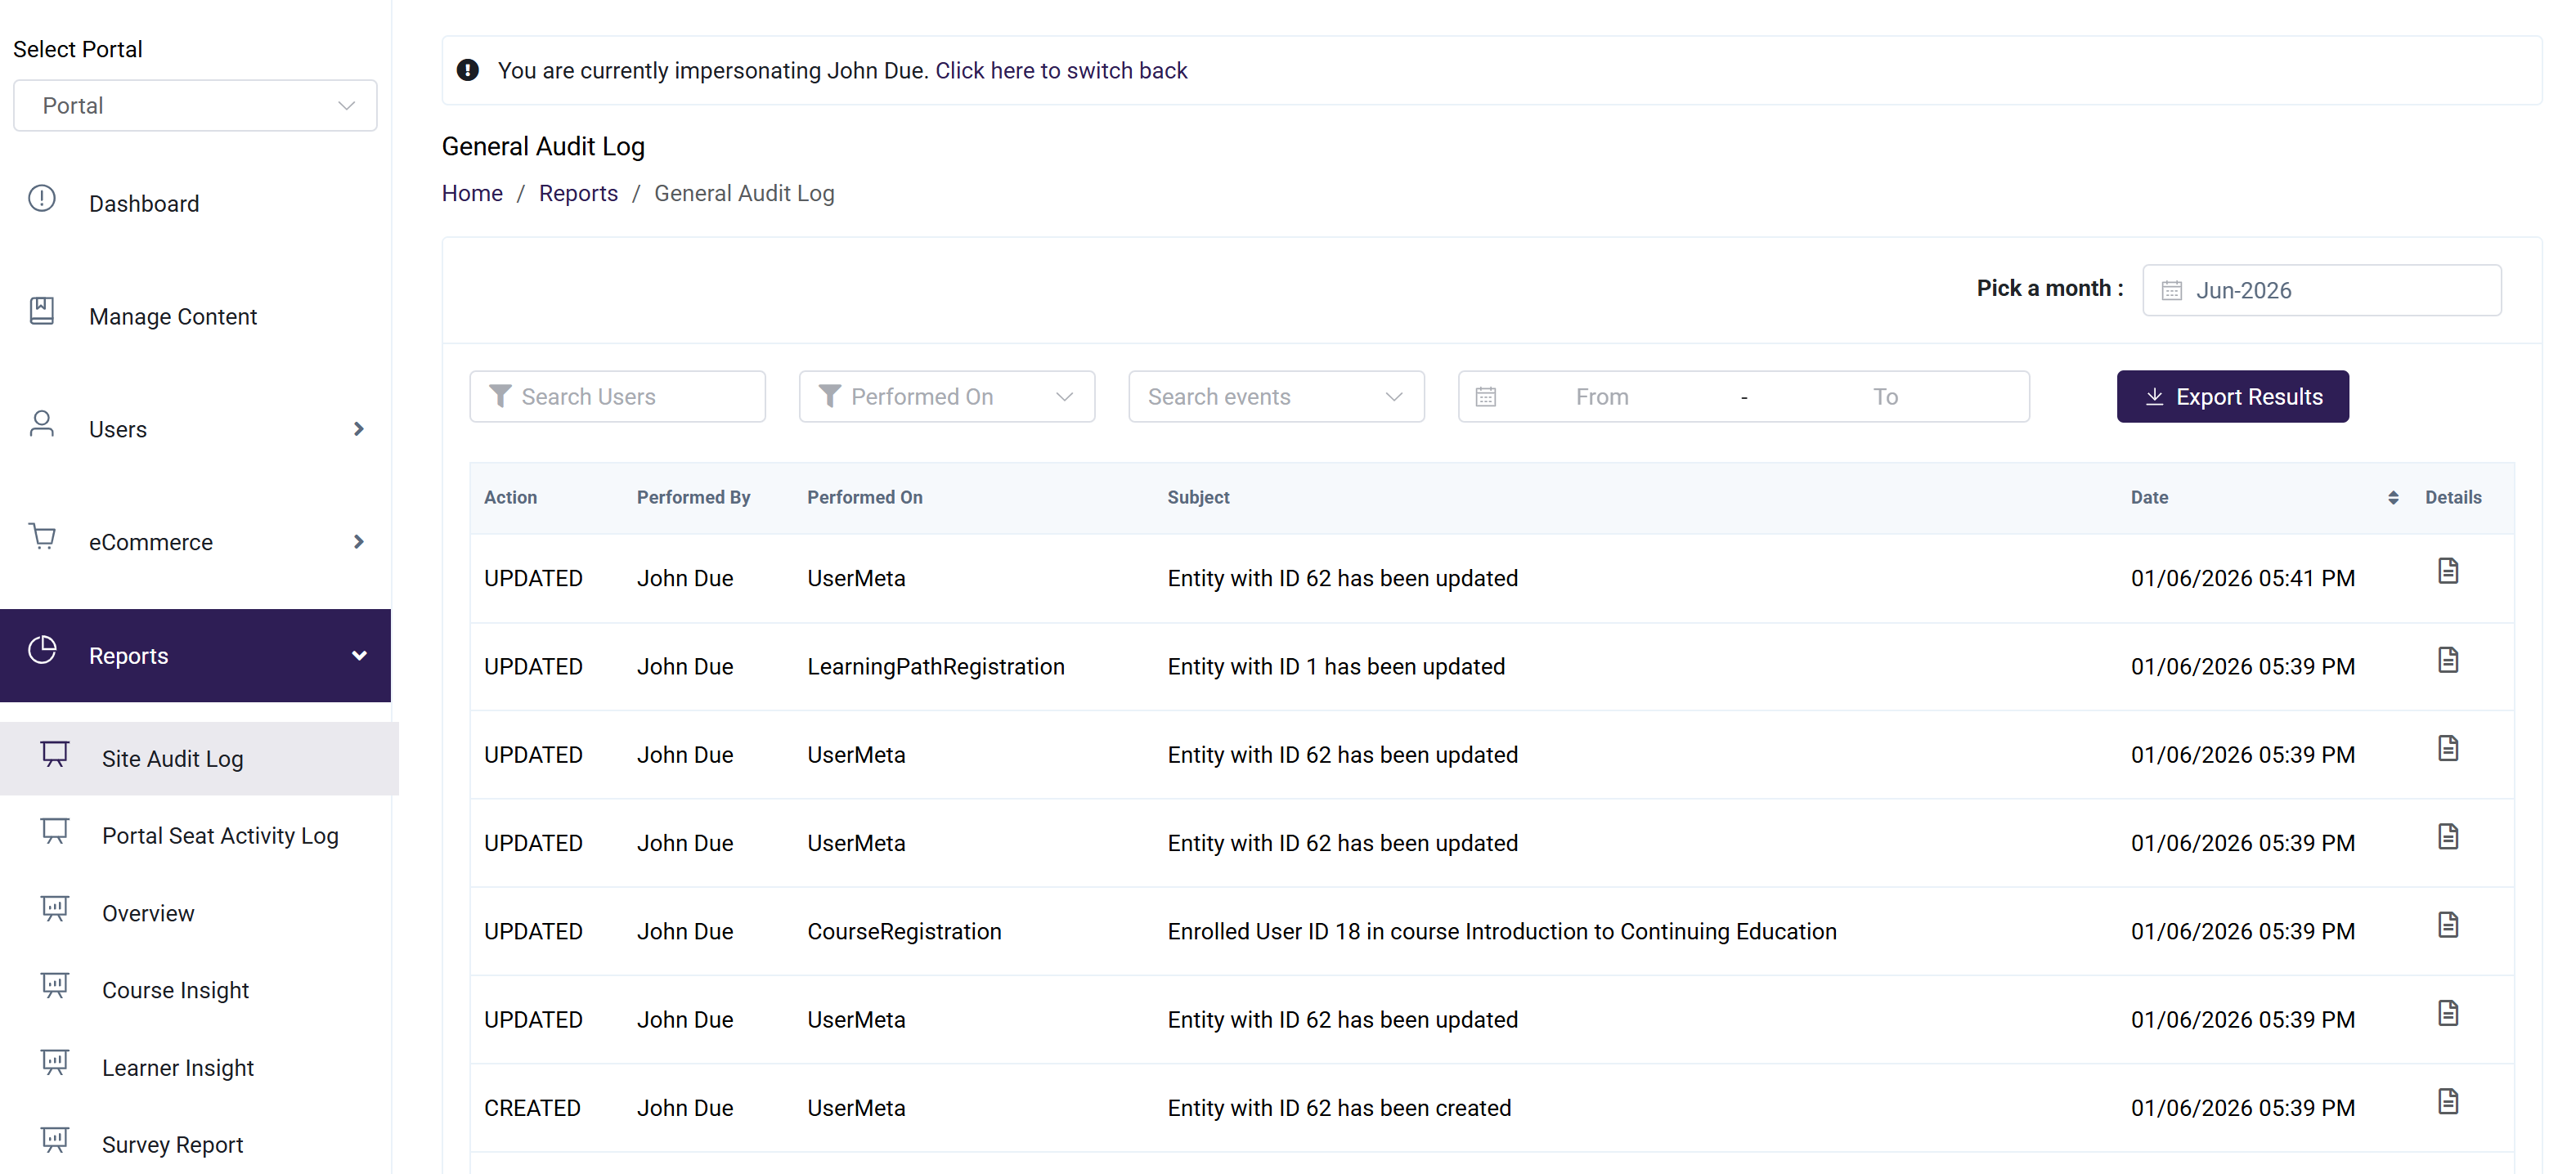
- Portal Seat Activity Log: Displays a detailed record of seat allocation activities within the portal, including seat assignments, enrollments, removals, and related administrative actions.

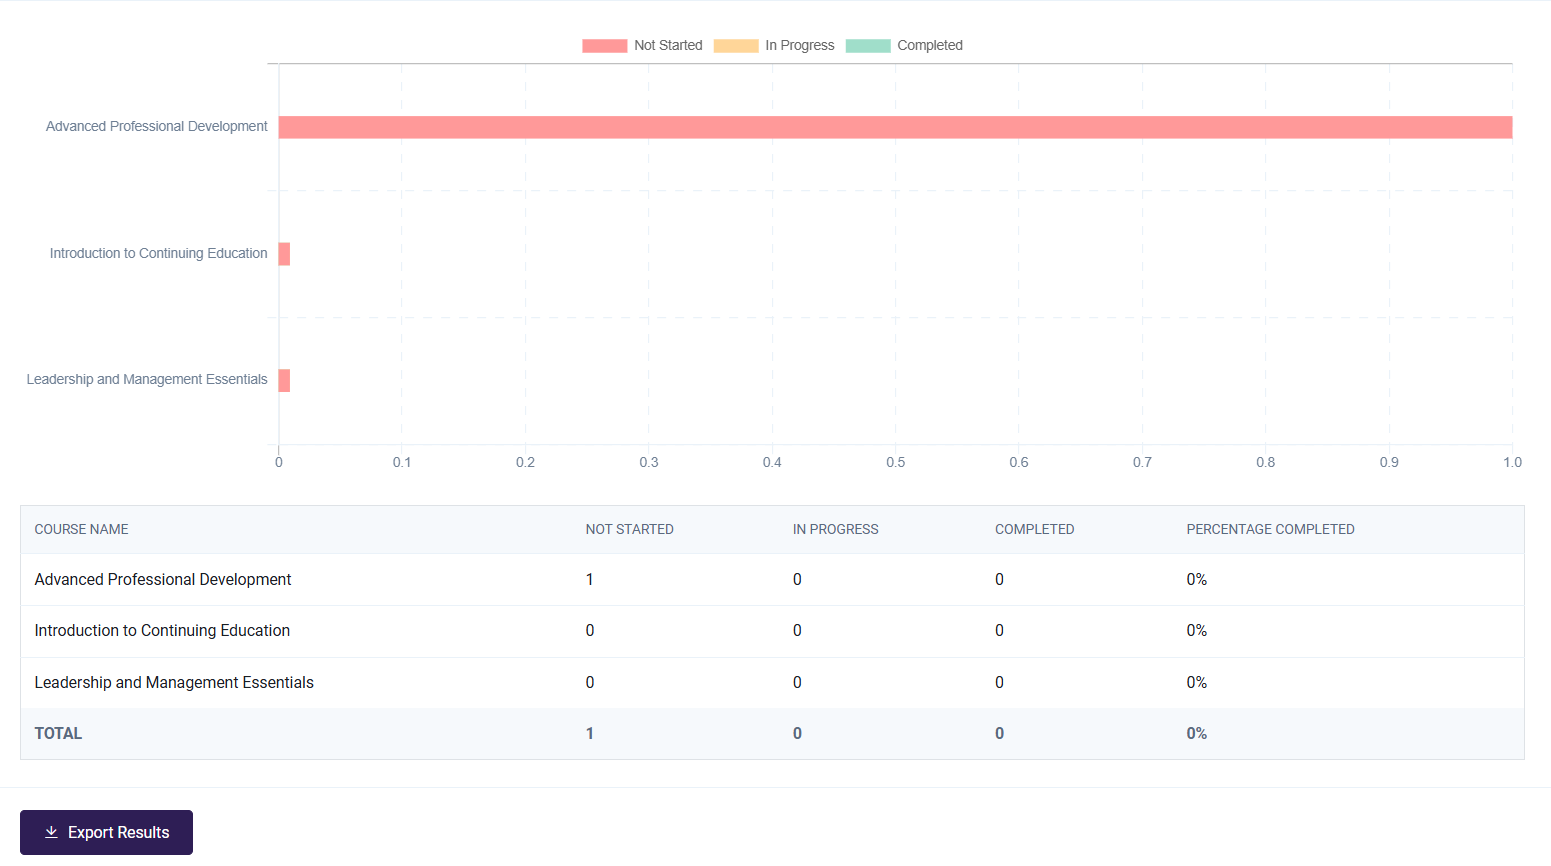
- Overview: This provides a summary overview of all course progress for portal users.
-
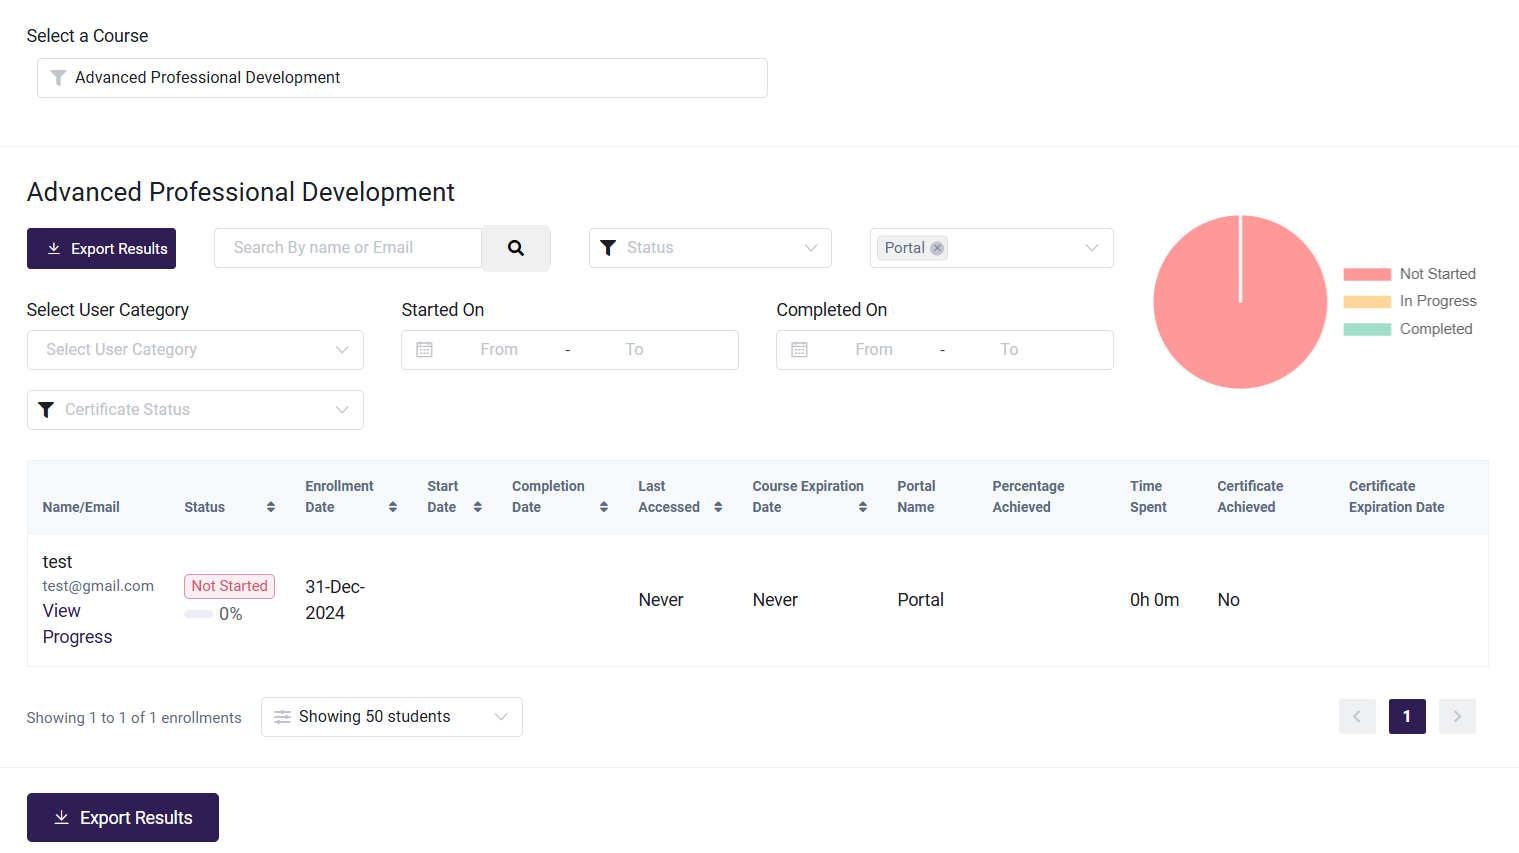
Course Insight : Detailed report for a particular course. Here can select the course from dropdown and display complete details of the course such as,
- Name/Email of the Student
- Status of the course of the students
- Enrollment date
- Start Date
- Completion Date
- Last Accessed Date
- Expiration Date
- Portal Name
- Percentage Achieved
- Time spent
- Certificate Achieved
The report can be exported into excel.
-
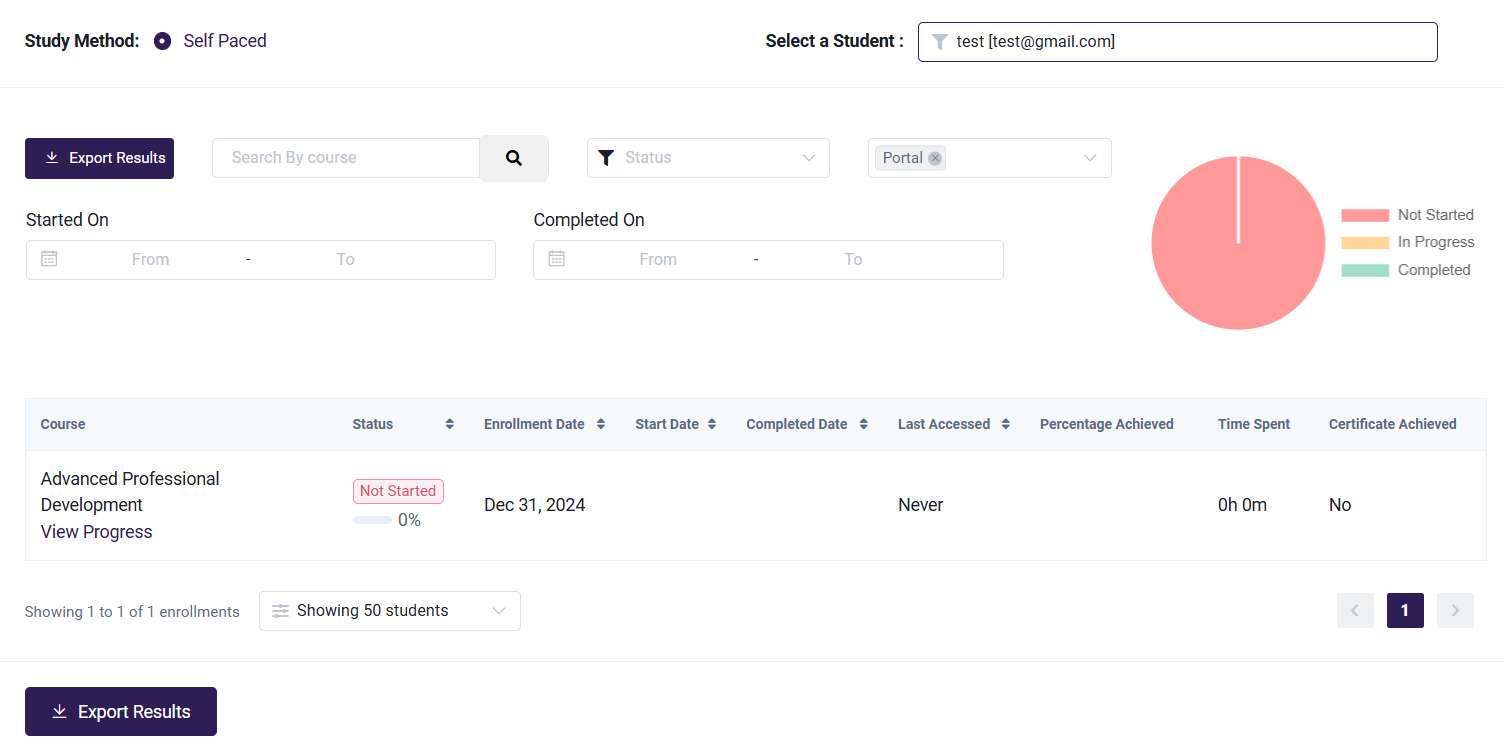
Student Insight : Detailed report for a particular Student. Here can select the Student from the dropdown and display complete details of the Student such as,
- Courses enrolled of the Student
- Status of the course of the students
- Enrollment date
- Start Date
- Completion Date
- Last Accessed Date
- Percentage Achieved
- Time spent
- Certificate Achieved
Report can be exported into excel which displays complete Student details of all courses for that student.
- Survey Report : This report shows feedback of the course given by the learners.
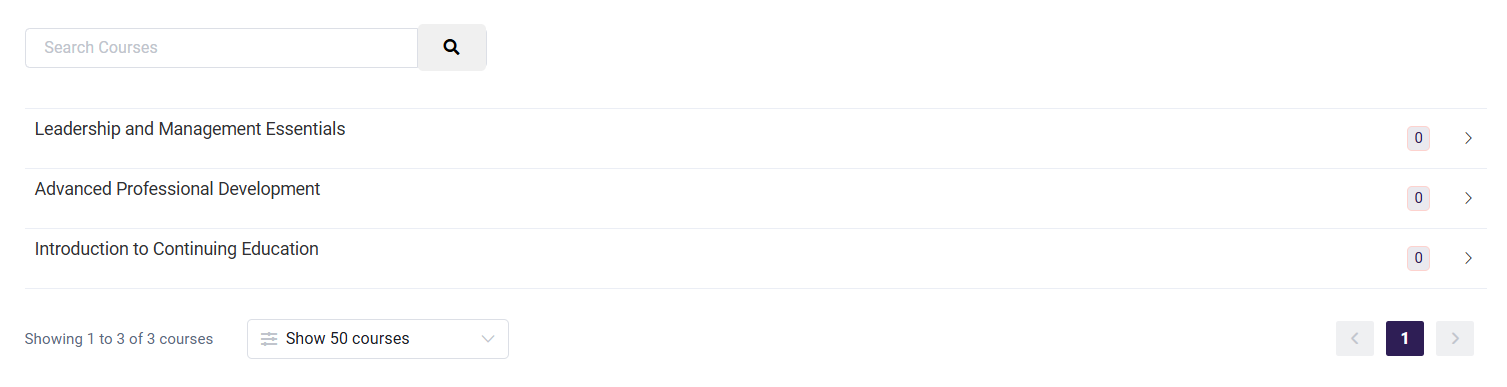
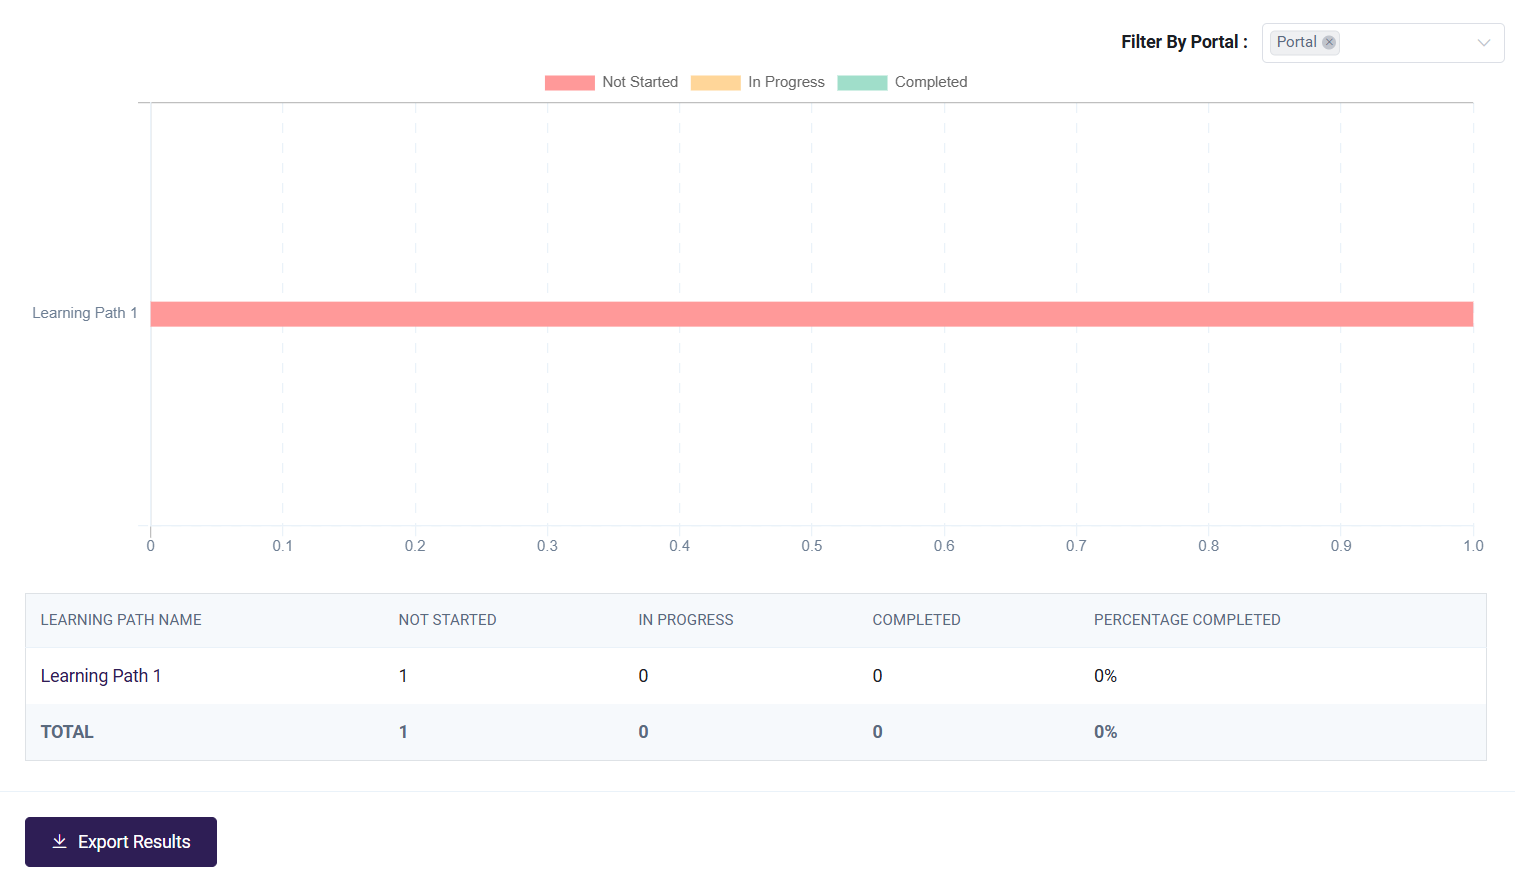
- Learning path Overview: This report gives overview of Portal Learning path along with its Statuses. The result display can be exported as well by clicking on the Export Results button.
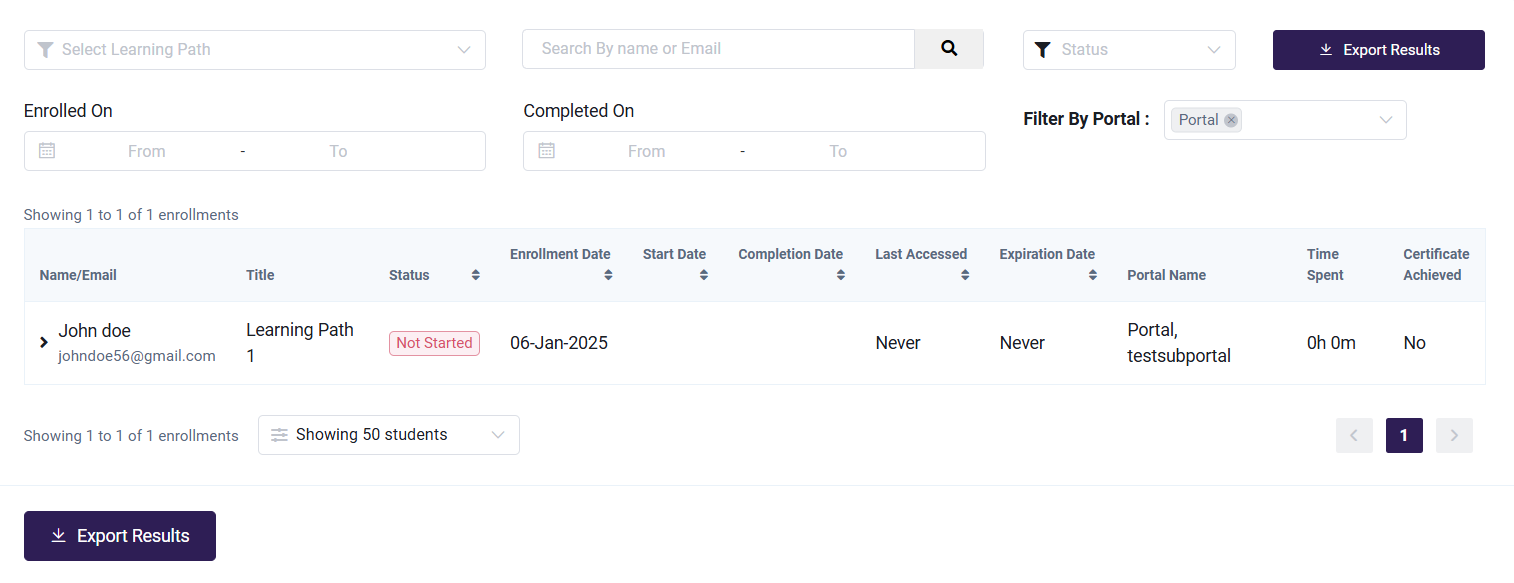
- Learning Path Insight: This report gives detailed Learning Path report. It will display the list of students with their learning path Title, Status, Enrollment date, Start Date, Completion Date, Last Accessed , Expiration Date, Time spent and Certificate Achieved. This report can exported to excel.
Settings
Navigate to Settings to send an announcement and manage other Portal-Related configurations.
- General: Portal Admins have the ability to modify Brand settings, Add Admins, Enroll Learners.
Portal General Settings – Based on Seat Model
The Portal General Settings differ depending on whether the portal is using a Portal-Based Seat model or a Content-Based Seat model.
For Content-Based Seat Portals:
All associated content is listed along with Total Seats and Used Seats.
The Total Seat count is fixed and not editable, as it reflects the number of content seats purchased.
This view helps the admin track seat usage per content item.
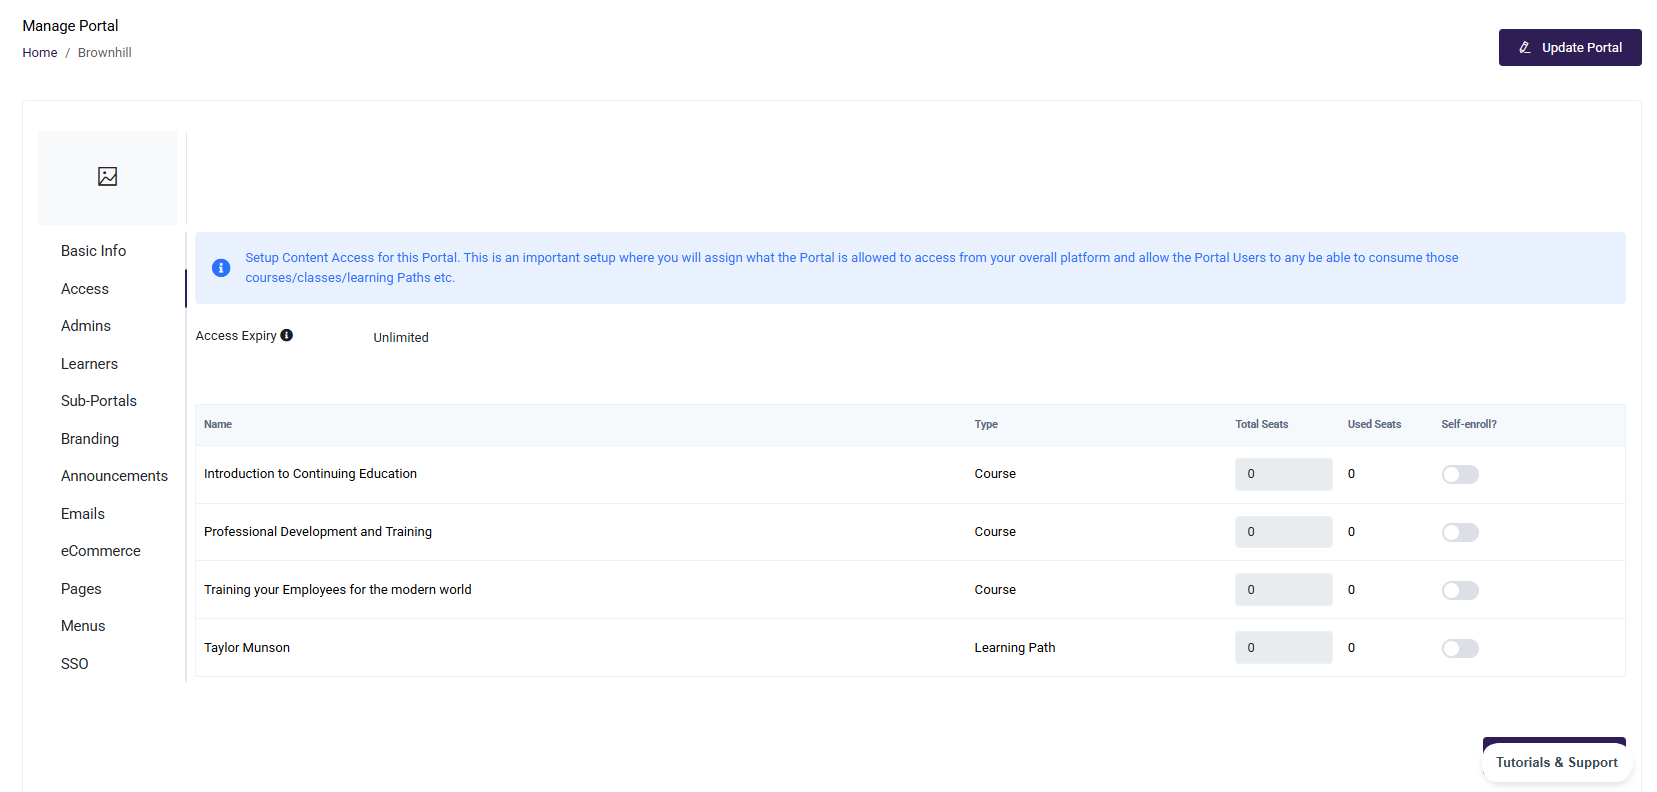
For Portal-Based Seat Portals:
All content is listed, but instead of seat counts, each content item includes a Self-Enroll toggle.
When enabled, learners can self-enroll in that content.
Since the model is based on total portal seats (not per content), no seat count is shown.
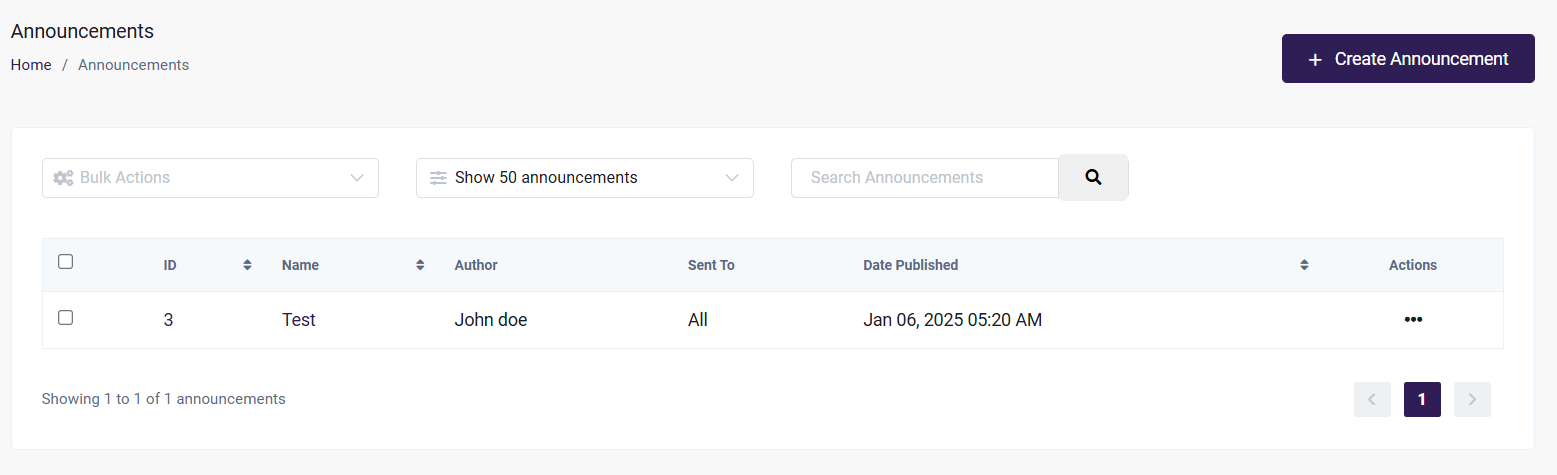
- Announcement: An Announcement sub-menu is available for creating Announcements. On click of it , a list of announcements will be displayed specific to the selected Portal.
Create Announcement
-
Click on 'Create Announcement'
-
Fill in all the details to create Portal level Announcement
- Heading.
- Content.
- Active Until (set expiry of the announcement).
- Send To? : select to whom this announcement should be sent from the available options.
- Click on 'Save Announcement' to save.
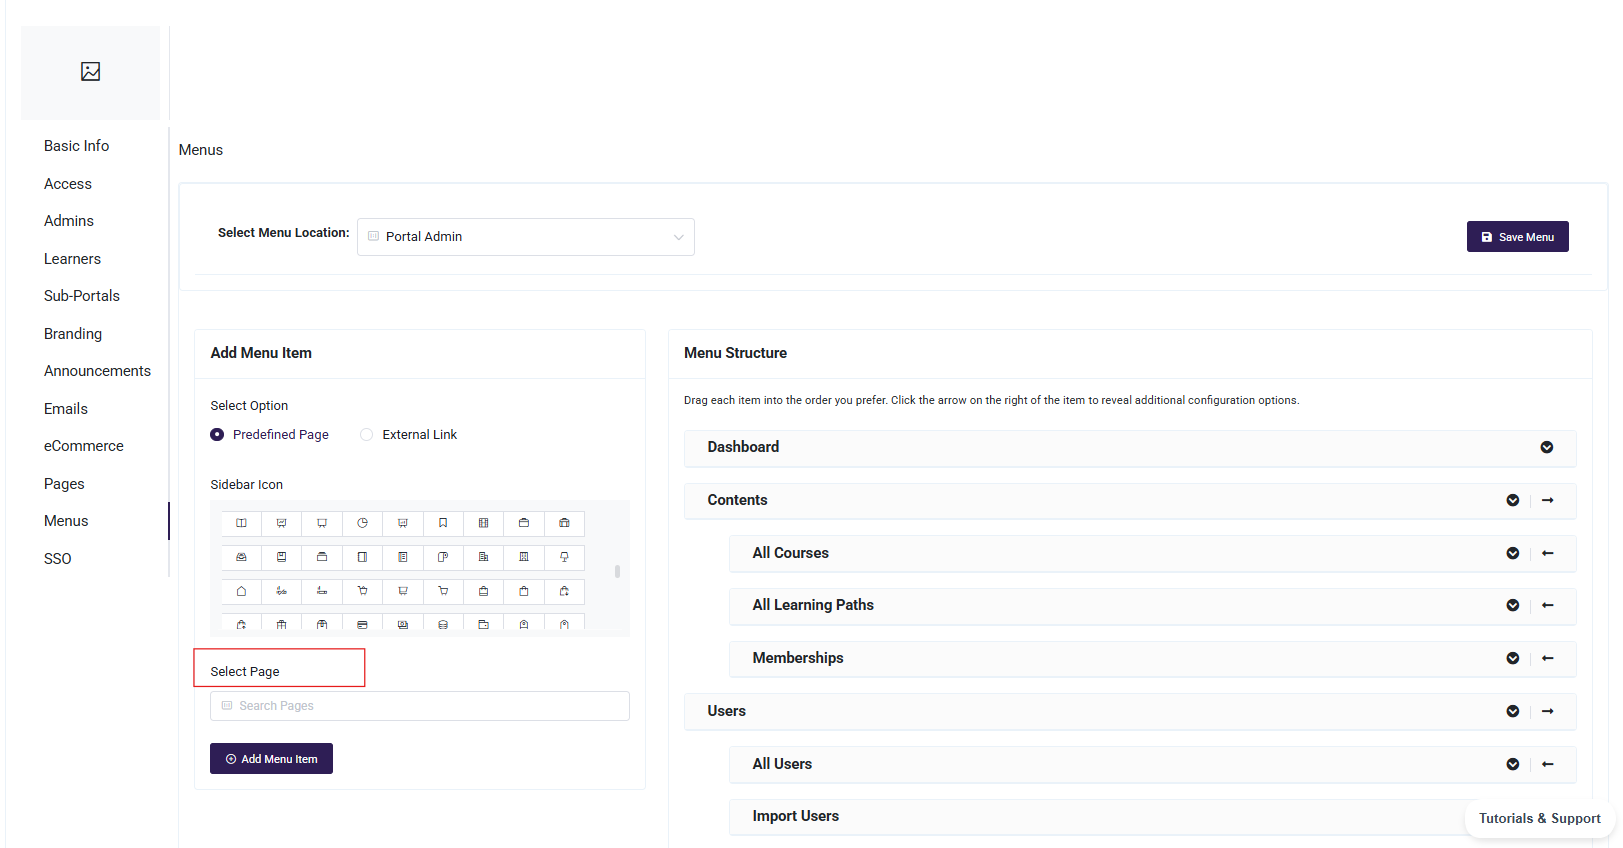
Menus :
Portal admins can only select and manage portal pages. Menu items that were created for site(global) pages cannot be modified by portal admins.
My Account
The My Account section allows users to manage their personal information, learning activity, and account-related details. It provides quick access to learning progress, certificates, subscriptions, and profile settings.
A Portal Admin can be a learner as well.
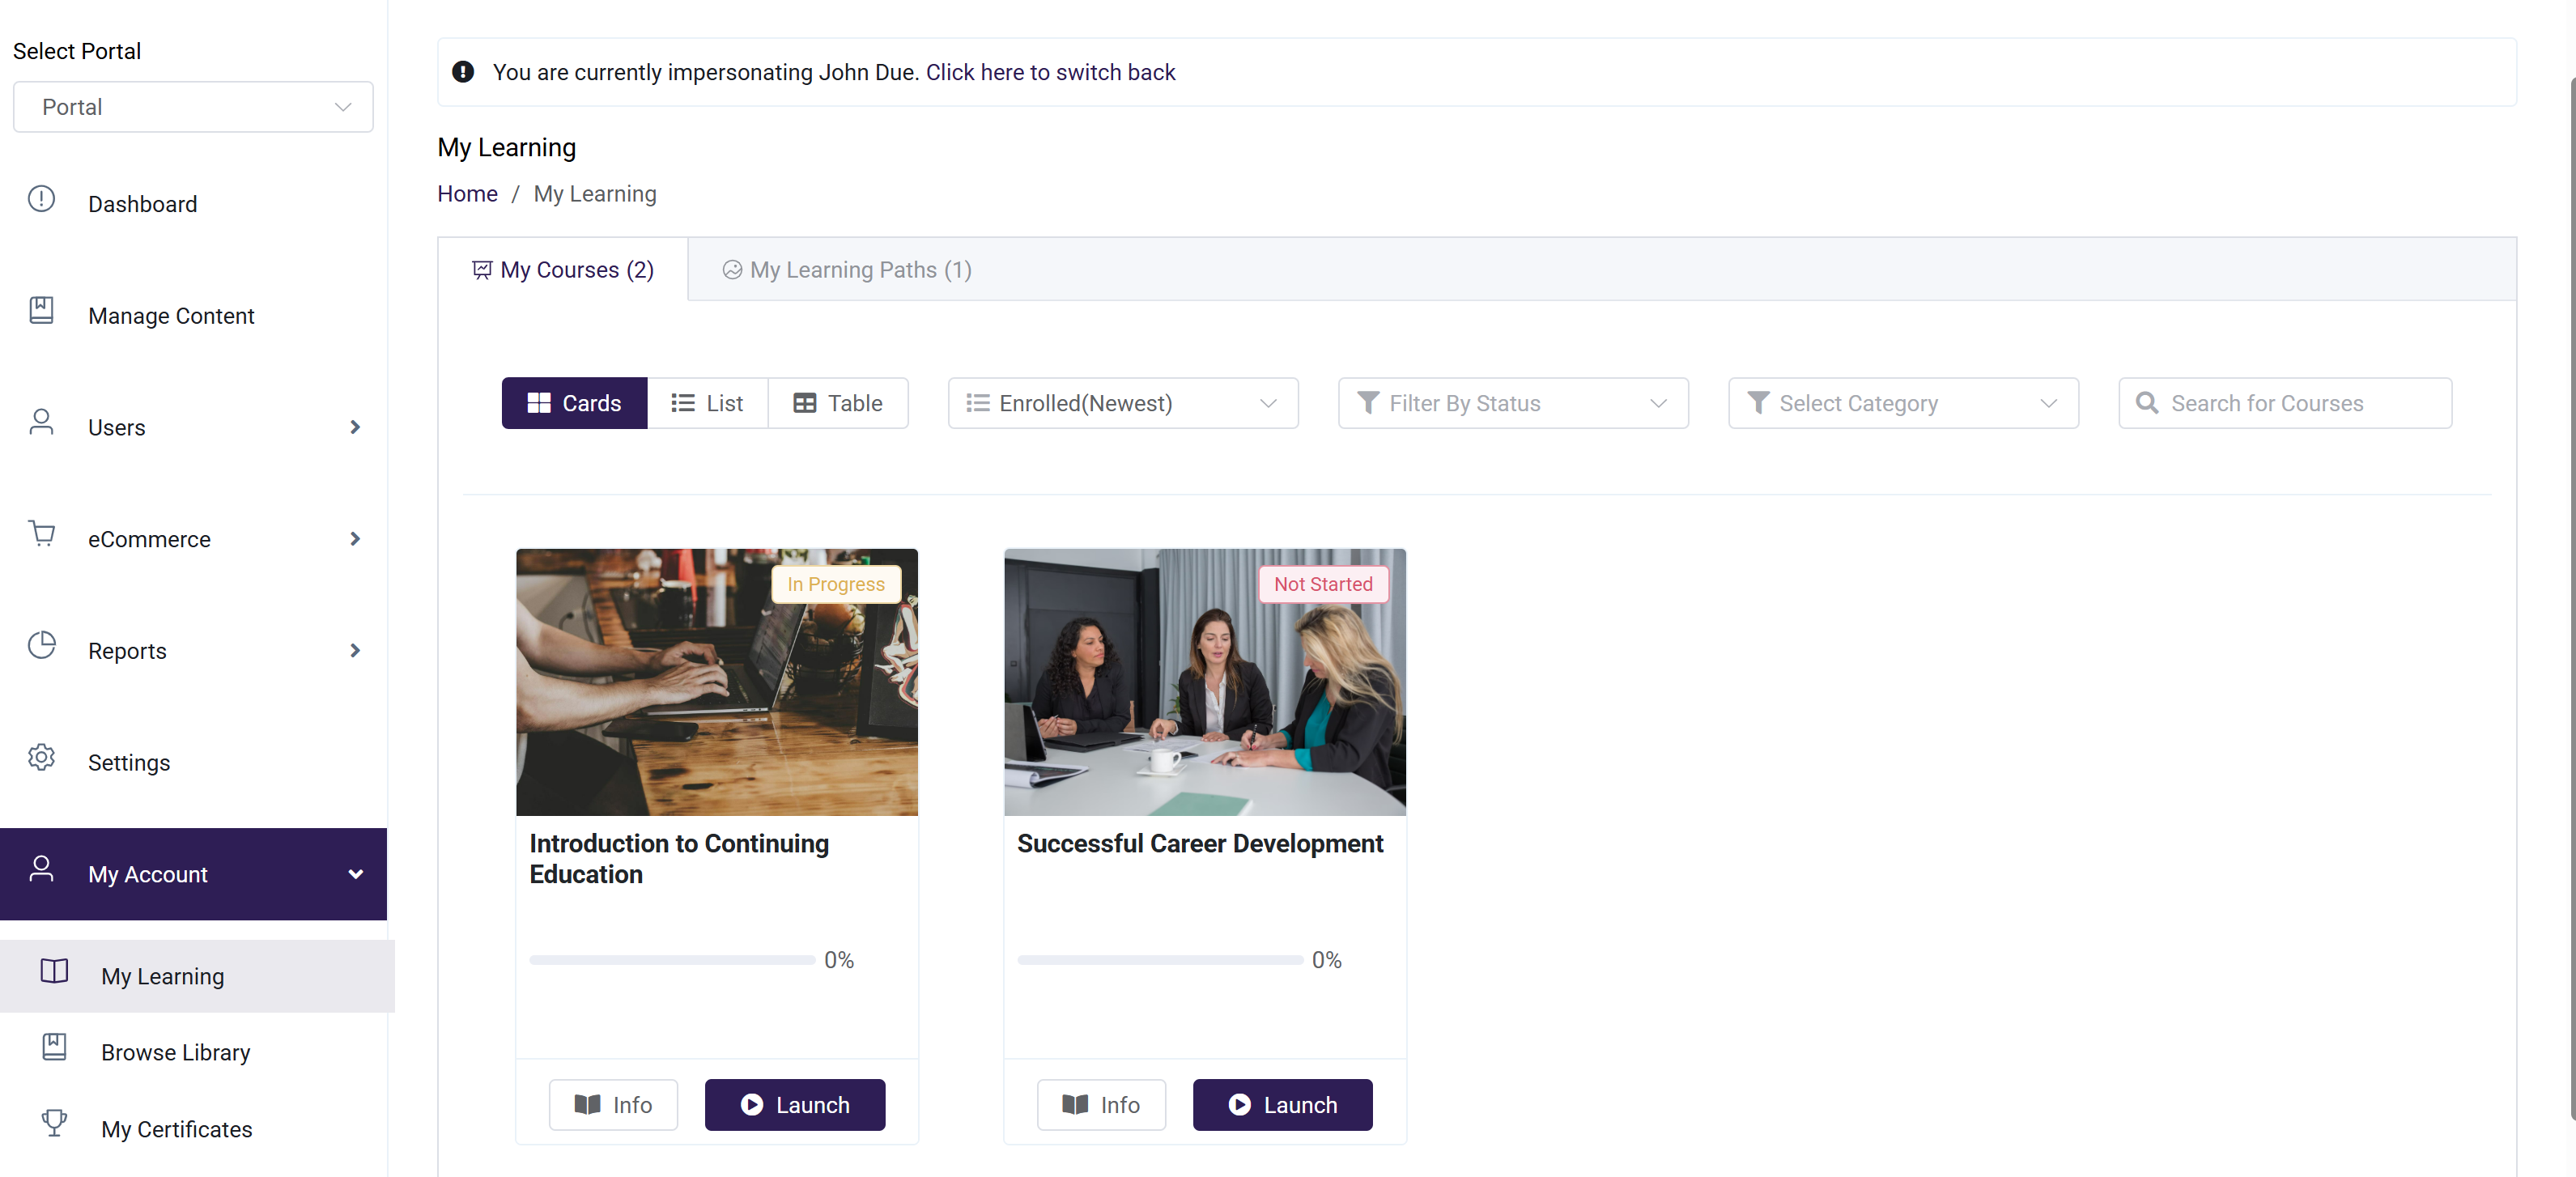
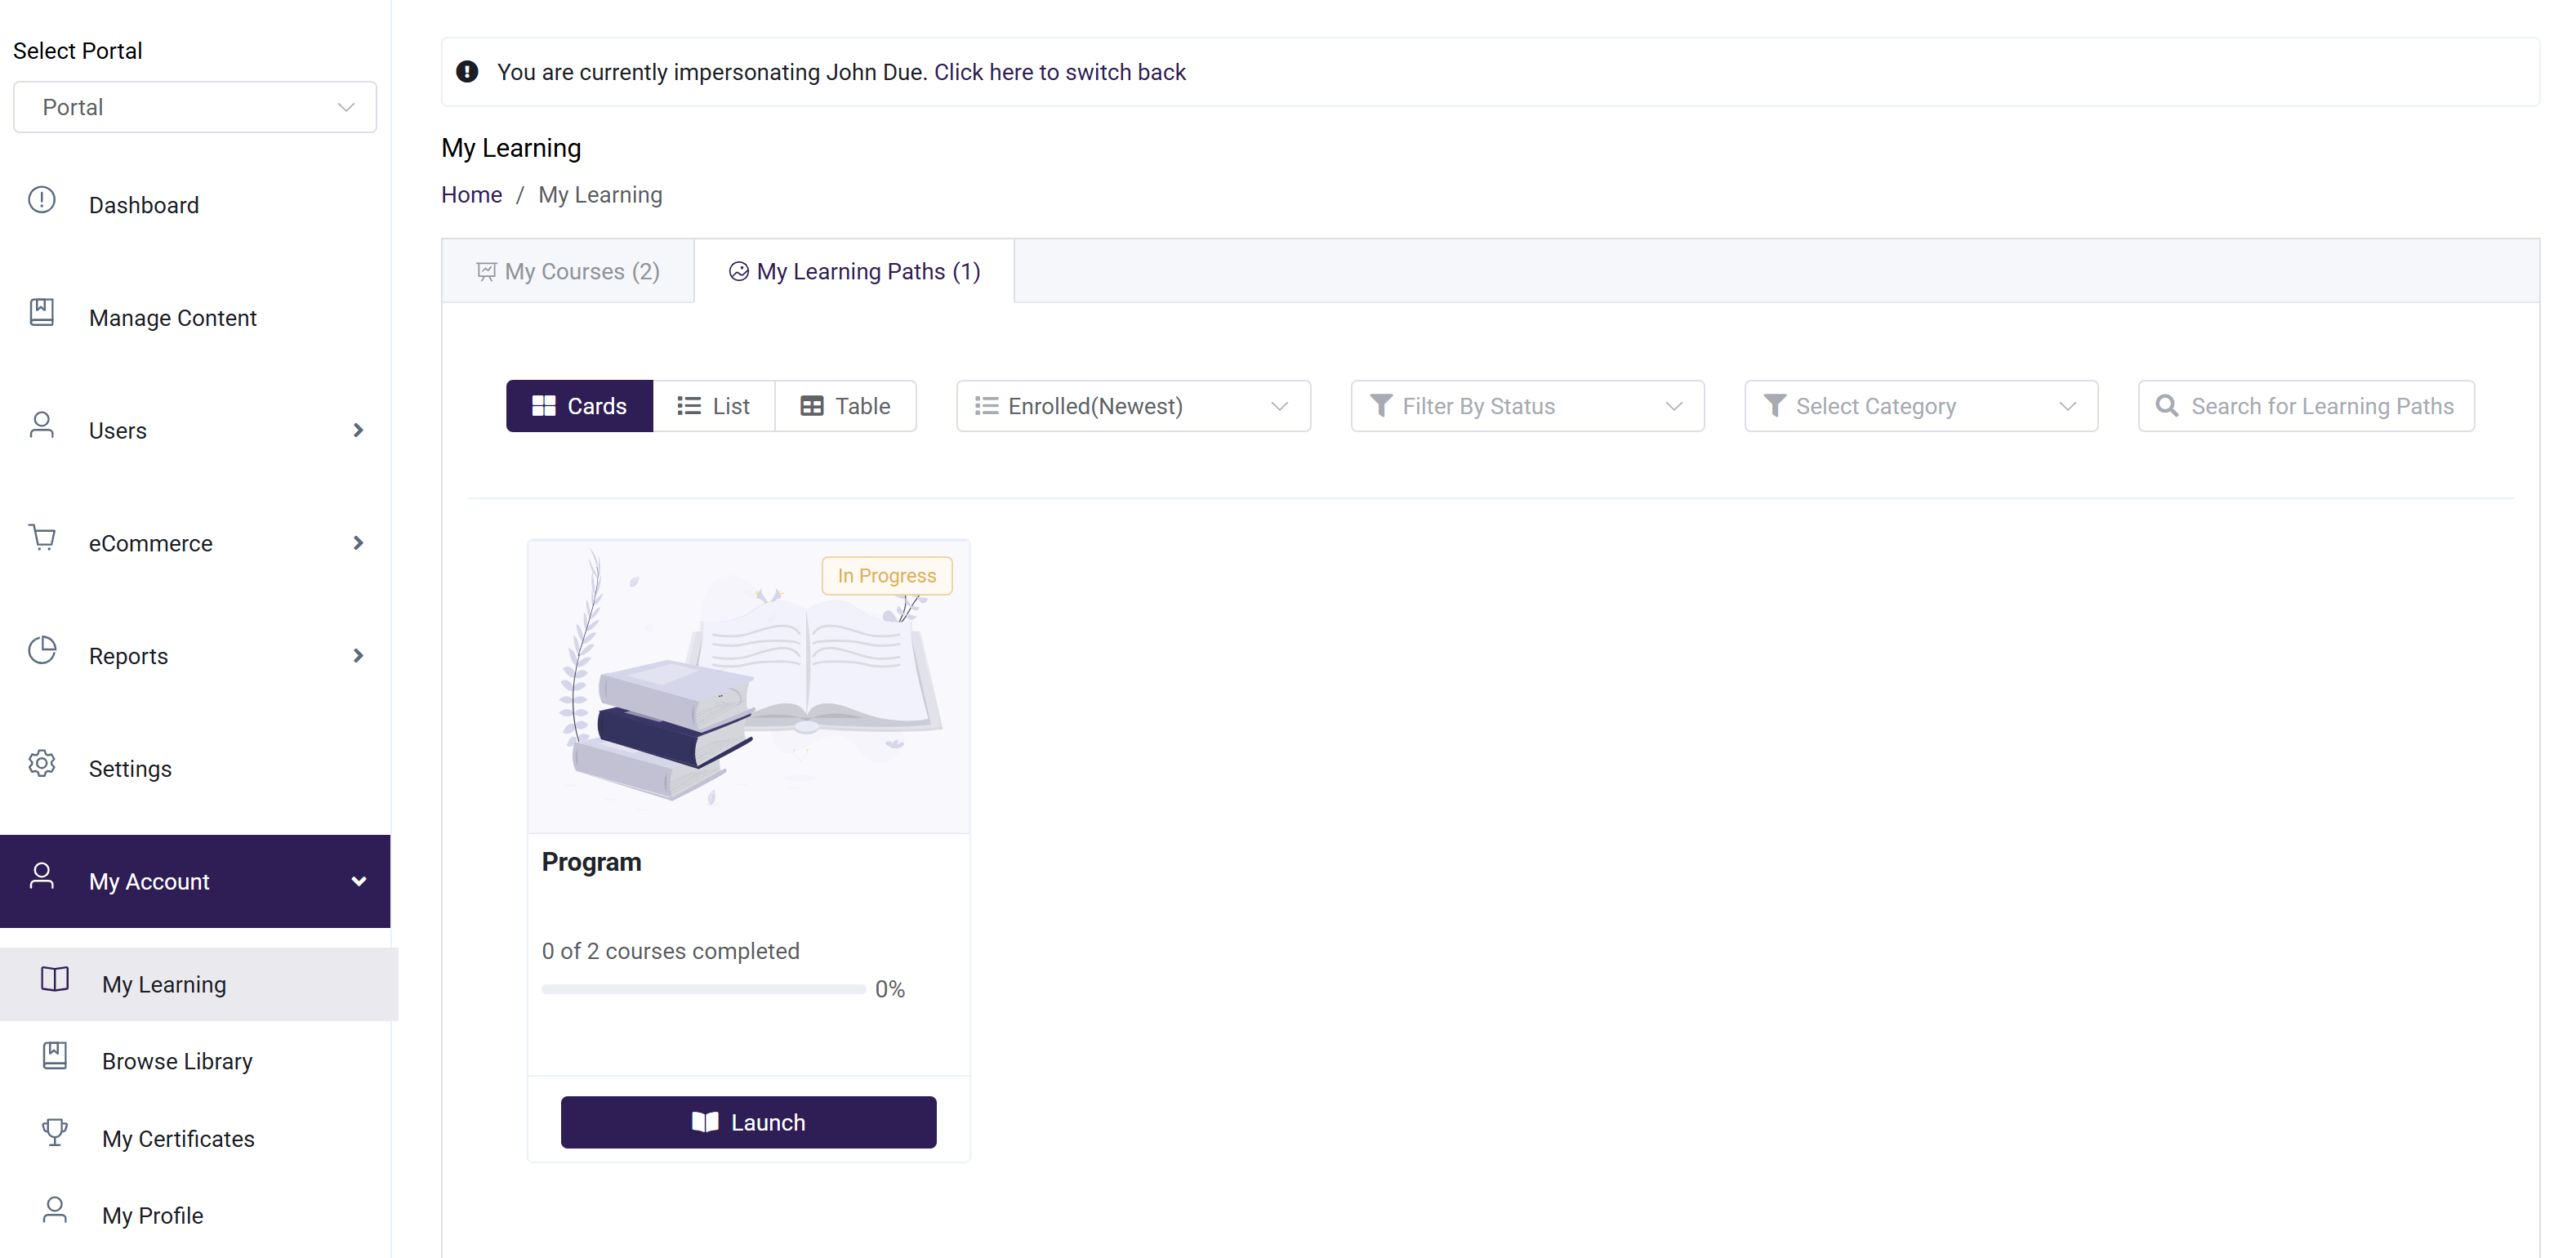
- My Learning: The My Learning tab in the sidebar provides access to all learning content the user is enrolled in. It includes two sections: My Courses and My Learning Paths, allowing users to easily view and continue their assigned training.
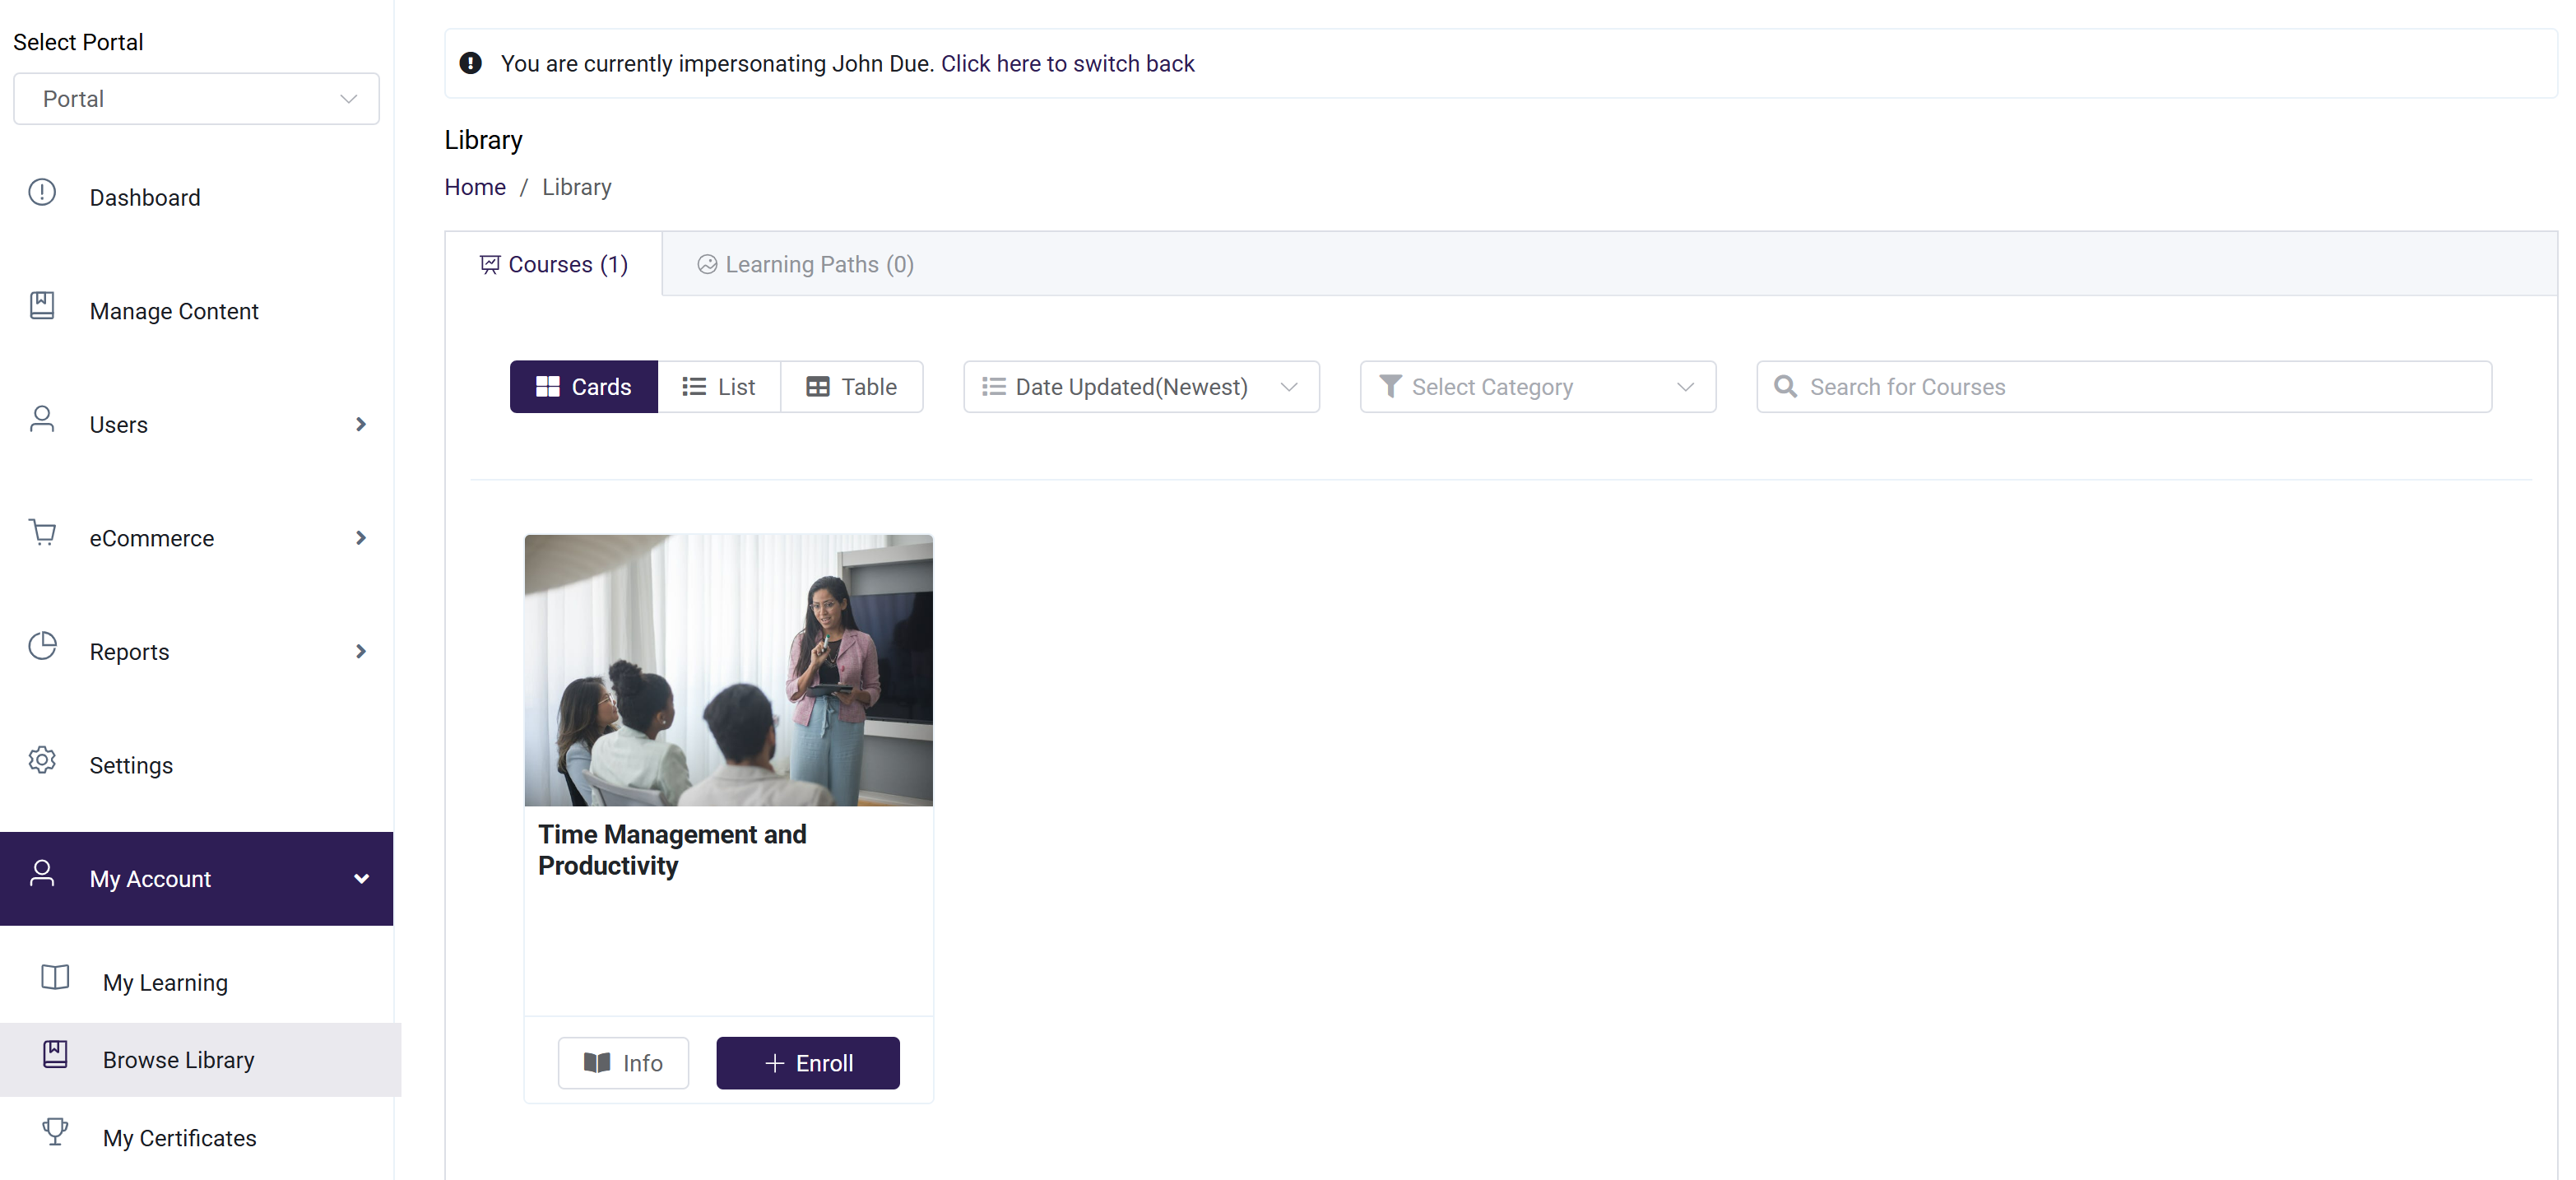
- Browse Library: The Browse Library tab in the sidebar provides access to all available learning content. It list all the membership courses and learning paths available for self enrollment, along with portal self-enrolled courses and learning paths, allowing users to browse and enroll in additional training as needed.
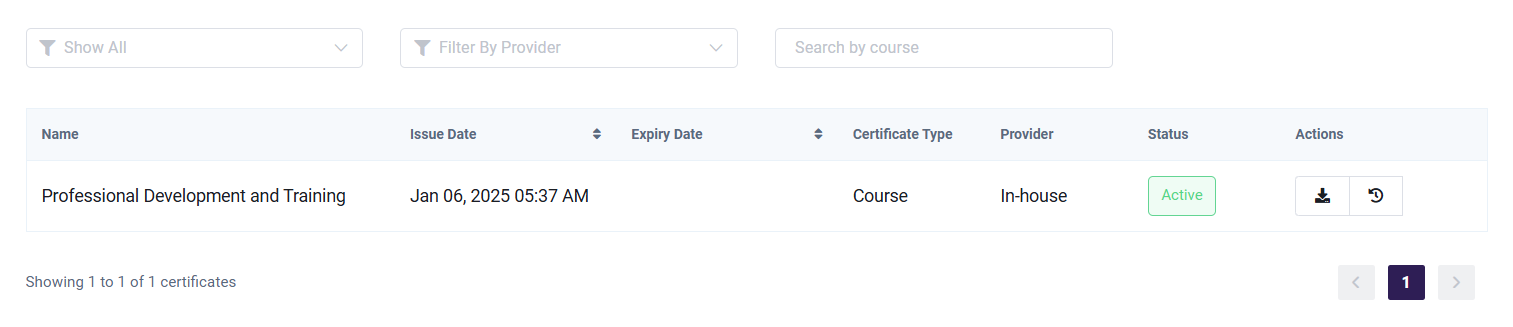
- My Certificates: The My Certificates tab displays a list of all certificates assigned to the learner, allowing users to view and access their earned certifications in one place.
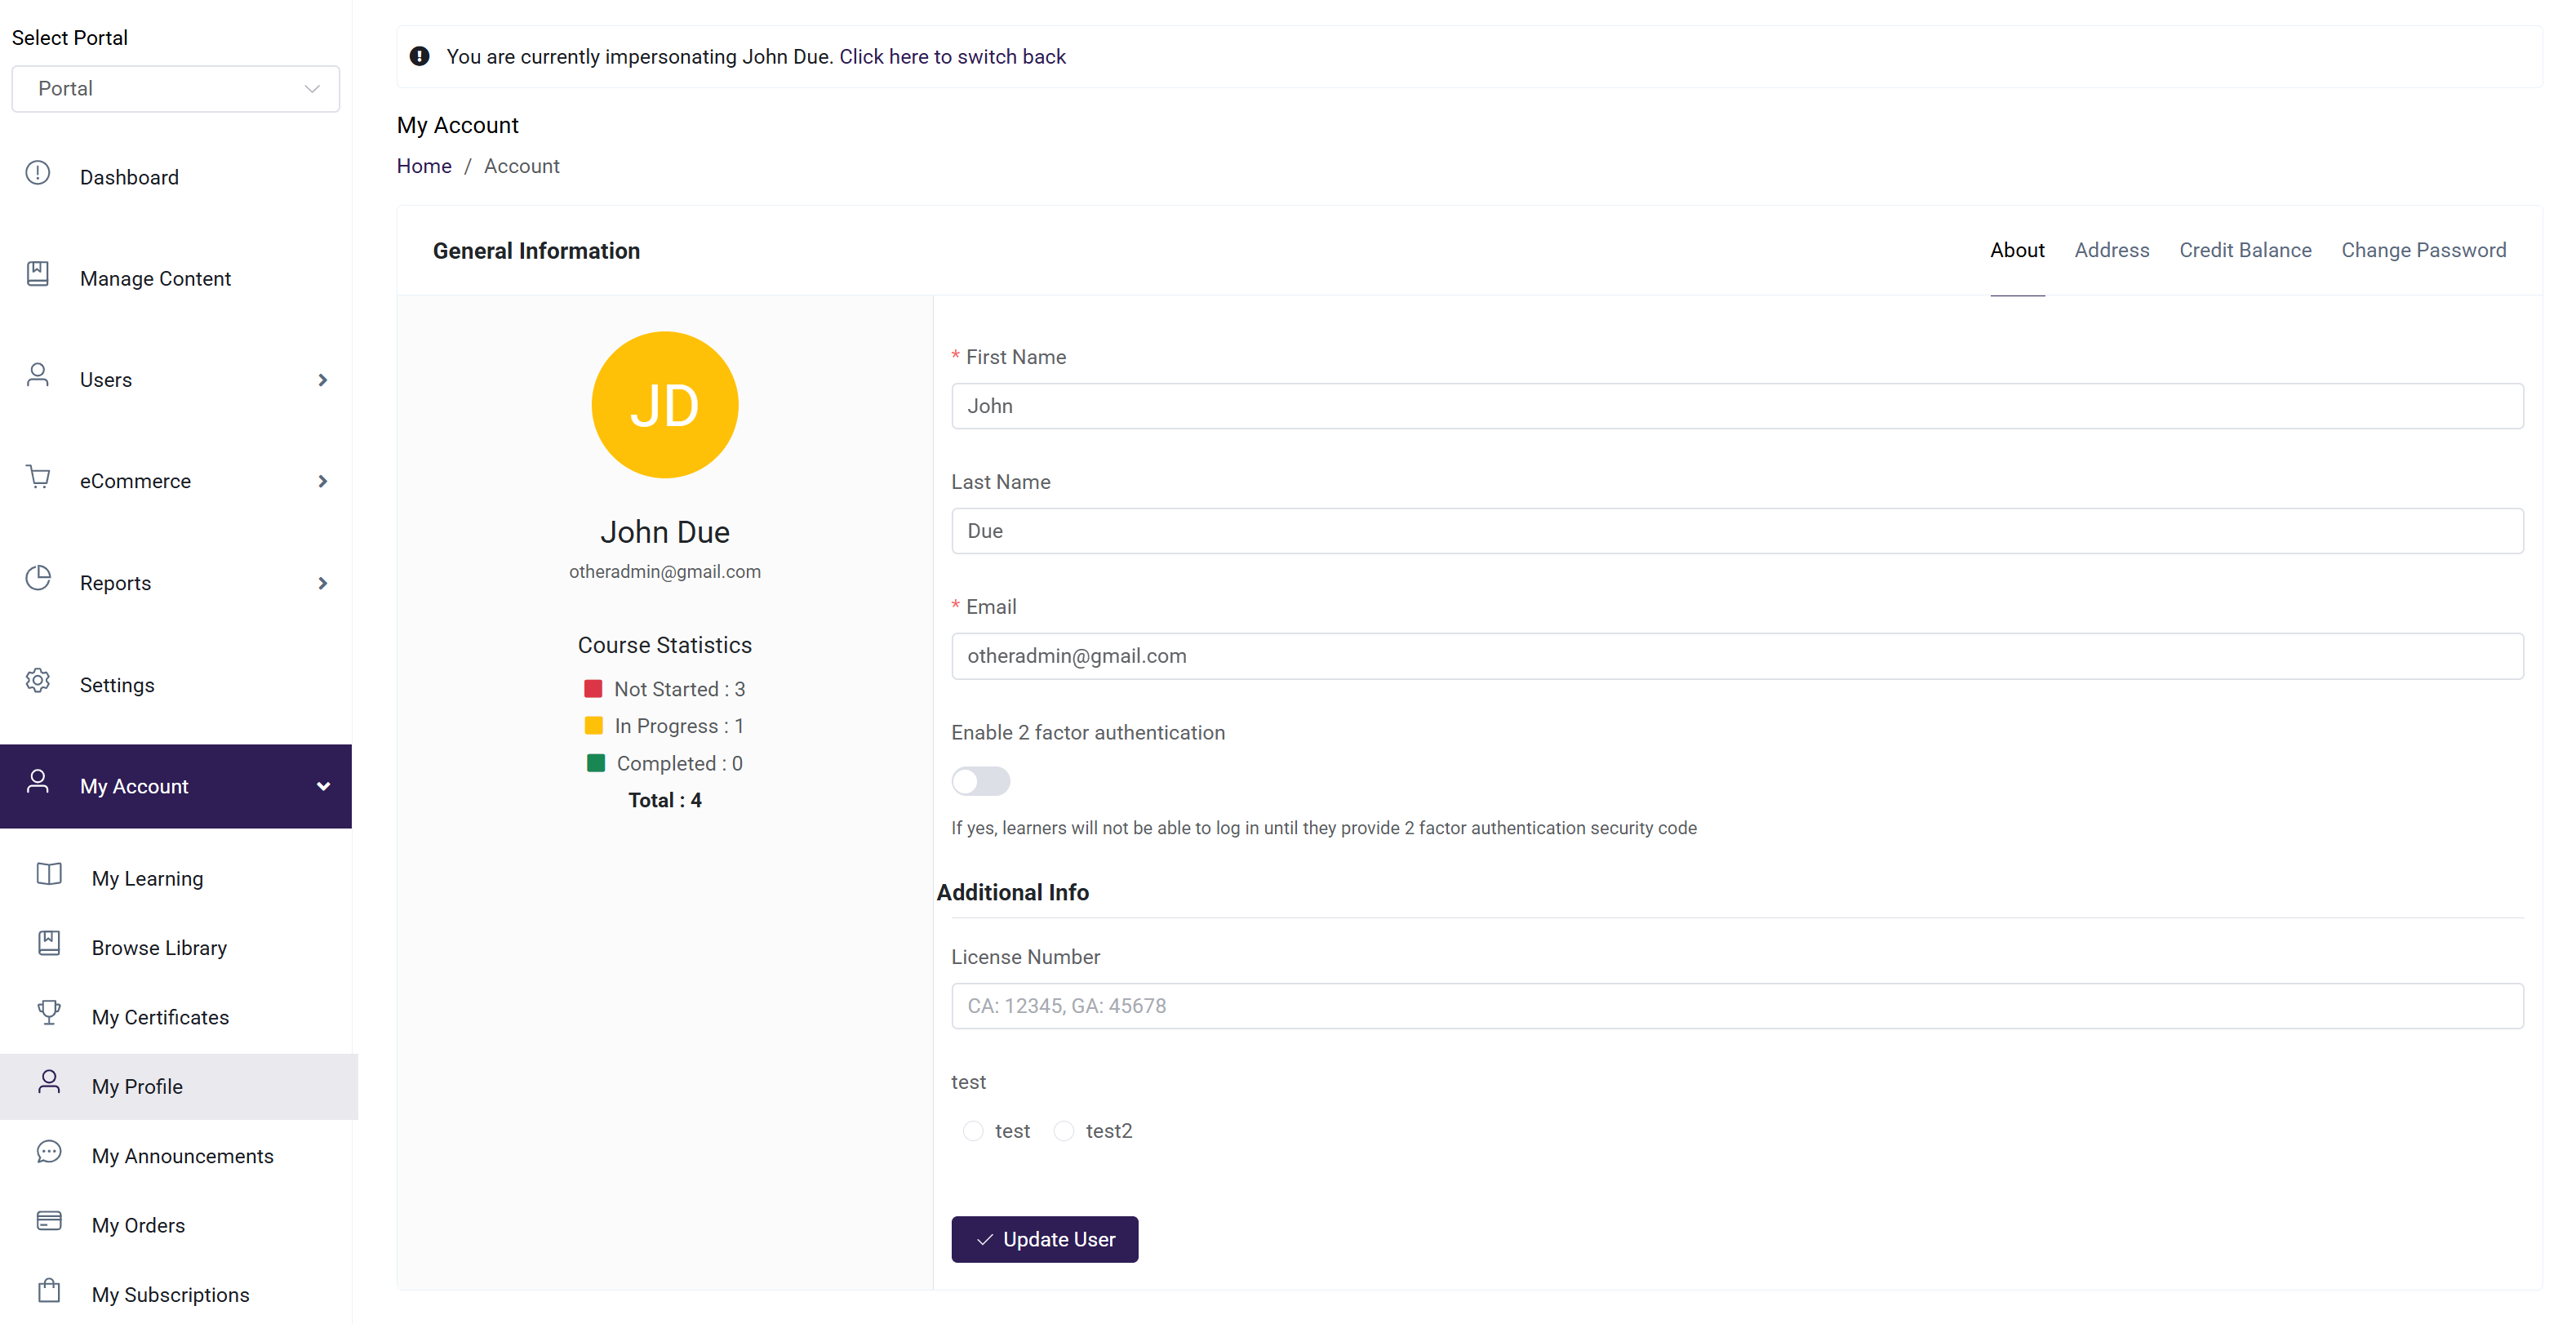
- My Profile: The My Profile tab displays the learner’s profile information, allowing users to view and manage their personal details.
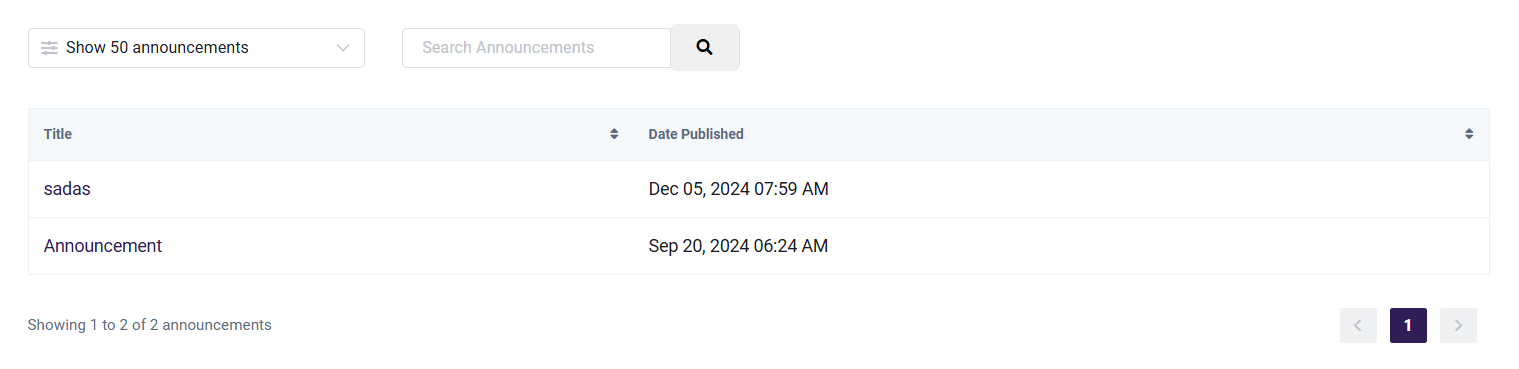
- My Announcements: The My Announcements tab displays a list of all announcements received by the learner, ensuring users can stay updated with important notifications and updates.
- My Orders: The My Orders tab displays a list of all purchased products and order history, allowing users to review their transactions and purchase details.
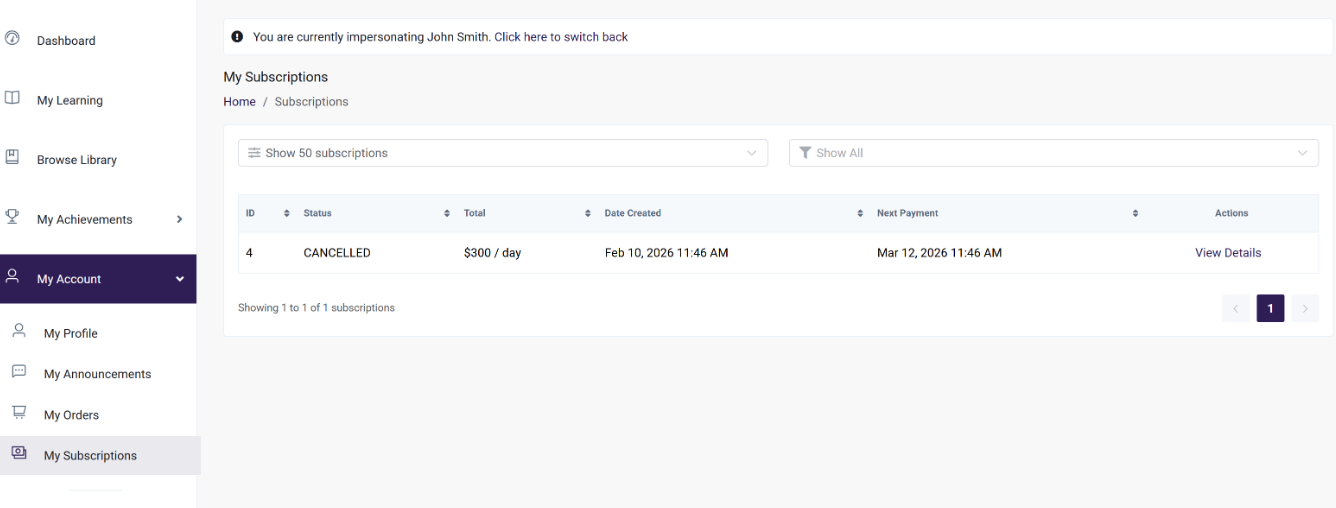
- My Subscriptions: The My Subscriptions tab displays a list of all active and past subscriptions, allowing users to view and manage their subscription details easily.