Sending Platform Announcements to Users
The announcement feature allows you to communicate directly with users on the platform whenever needed. These messages can deliver important updates, such as details about a course a student is currently enrolled in or changes to platform policies. You have complete flexibility to craft announcements with any necessary information. Additionally, they can be used for promotional purposes, such as advertising new courses or sharing coupon codes. This feature offers a straightforward way to connect with your users and tailor messages to suit your needs. You can also select specific users to receive each announcement, ensuring targeted and effective communication.
This article will cover how to create an announcement and what the user experience looks like. We’ll also include a link to the guide on configuring announcement emails, so you can notify users via email about new announcements in their account.
Creating an Announcement
To create a new announcement, follow these steps:
-
From the Admin Dashboard, select Settings, then Announcement.
-
This will show you a list of prior announcements, and you can create a new one as well. To edit an existing announcement, click the three-dot action menu to the right and opt to Edit.
-
To create a new announcement, click Create Announcement.

-
Choose a heading. This will be displayed as a subject line for your users who view it.
-
Now, enter your Content. You can add any message you wish to the Content section. This includes rich media like images and embedded videos, which can be added through the HTML editor.
-
Active Until: Set the date for when you would like the announcement to expire. After that date, users will lose access to view it.
-
Then, choose who to sent this to by selecting your audience in the Send To section. You can choose to send the announcement to all your users, a specific list of users, or all the users currently enrolled in a specific course or by portal, this includes all the users of selected portal.
-
Click Save Announcement when you're done.

User Experience of Announcements
Users who are sent an announcement will be alerted of it in two ways: inside the platform, and by an automated email. They'll also be able to view all announcements via their Student Dashboard.
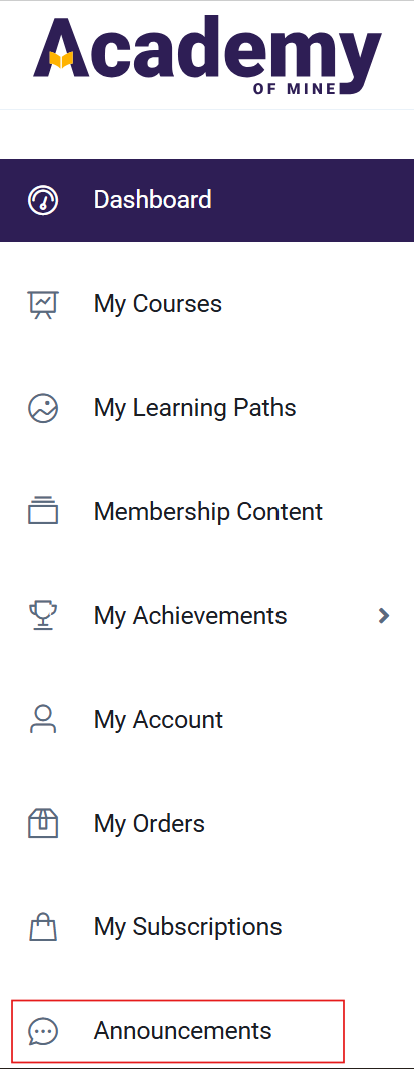
A user can access all of their available announcements through their Student Dashboard by choosing Announcements tab.
The Announcements page will contain all available announcements. These will be kept in this location for reviewing until they expire and are removed from the page. Opening an announcement will allow the reader to view the entire message.

Users can access announcements through the notification icon located in the top right corner of the dashboard as well. By clicking on "View all Announcements", they will be directed to a complete list of all available announcements.
Automated Email
For more information on enabling the automated Announcement email, please review our guide: Other Automated Emails.
If the automated email is enabled, every user included in the audience of an announcement will be sent an automated email notification. This will make sure they see your message, even if they haven't logged in to the platform lately. To set up that email, please follow this documentation