Configuring General Email Settings
Automated emails general settings help you design the look and feel of each message sent to your users. You can set the information a user will see in their inbox (like the From email and name), and choose the colors and logo displayed with each message. You can also set a reply-to email.
This guide will walk you through each of the email general settings options.
For more information on automated emails, please review our guide: Introduction to Automated Emails
Email - General Settings
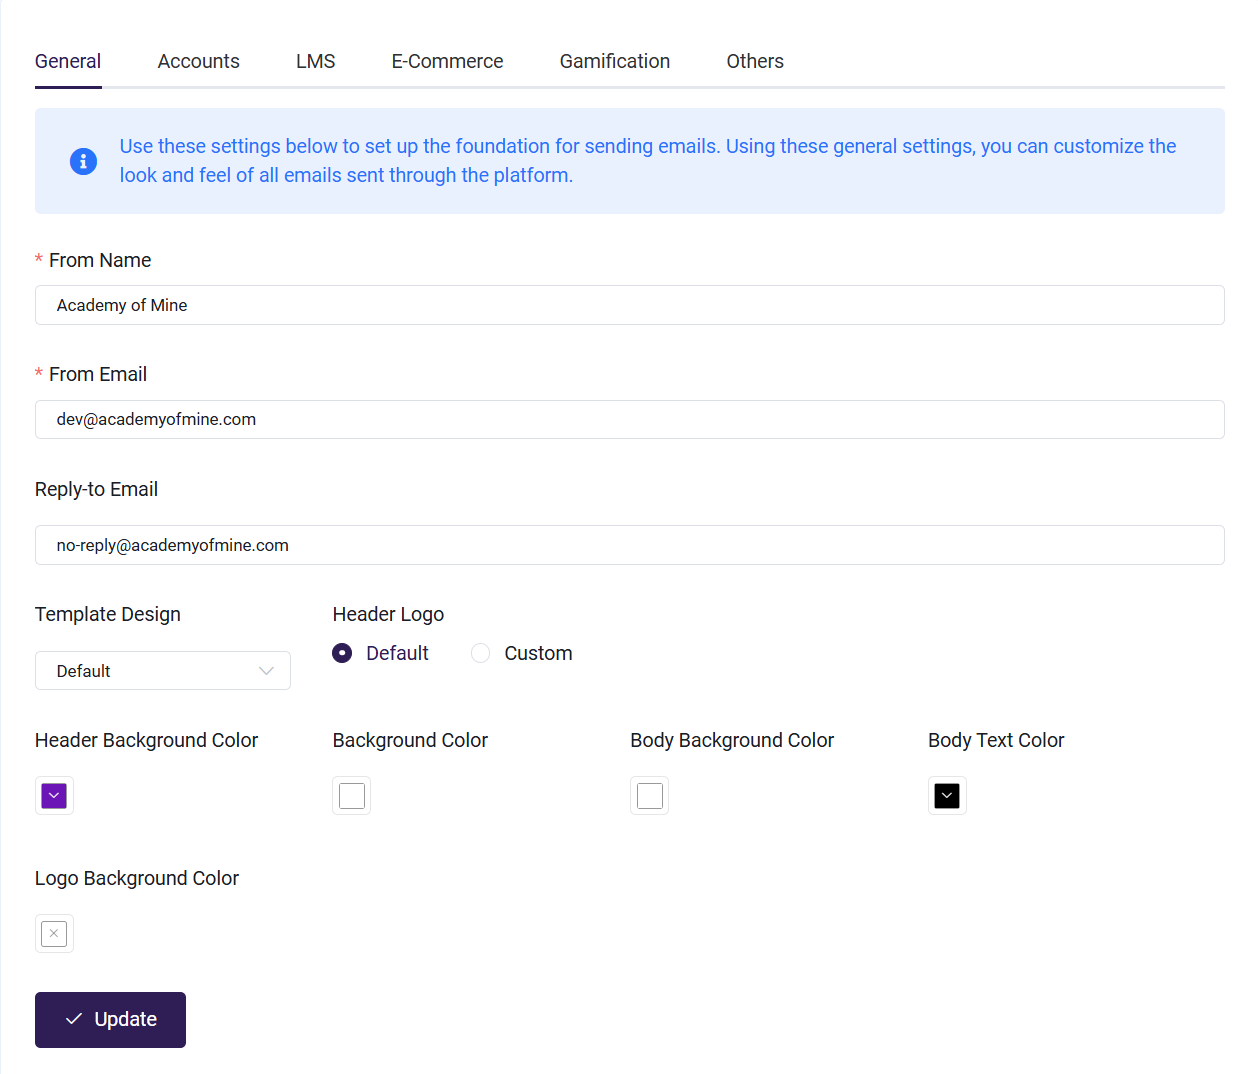
General Email settings screen
Email settings are found on the Admin Dashboard under Settings. Available Email settings are:
- From Name: The name that appears in a user's inbox and in the From field of the message:

From Name
-
From Email: The email address that appears in a user's inbox and in the From field of the message.
noteChanging the "From" email address can cause issues in SparkPost if the domain used is not one that has been verified within SparkPost.
-
Reply-to Email: If your From Email address is not being monitored for replies, you have the option of including a Reply-to Email, where your users can reach someone on your team.
-
Custom Header Logo: By default, the logo in your emails will be the same one you have saved as your platform's Site Logo, which is found in Logos & Colors under Branding. If you would prefer a custom logo to appear on your automated emails, you can add the URL of your image to the Custom Header Logo field.
Adding a Custom Header Logo

- Choose Custom option, here you can Upload a new image, or use one you have previously uploaded.
- Click on Choose / Select to copy the URL where you image is saved.
- Click the Update button in the bottom left corner of the page.
-
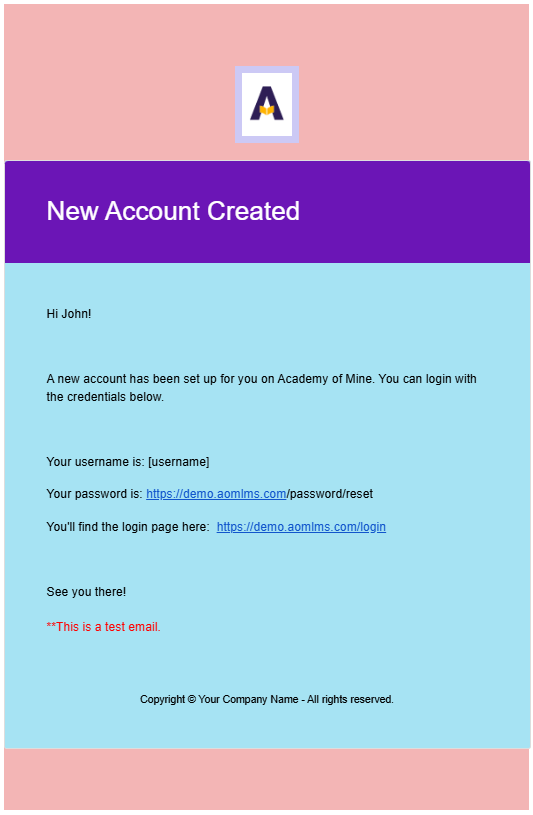
Custom Colors: You have the option to customize the colors of the email message body. By default, these will be the colors you have chosen for the platform Brand Colors, which can be found in the dashboard at Branding > Logo & Colors
-
You are free to select a custom color for each of the following options:
- Header Background Color
- Background Color
- Body Background Color
- Body Text Color
- Logo Background Color
Example:

Next Step
Up next, learn how to customize the layout of your automated emails, and how to use shortcodes to personalize your messages: